That’s right! Hot Glue isn’t just for fake sauces…. you can use it to make faux chocolate / candy cabochons for your decoden project! Its super easy and fast! And you only need a few supplies for it.

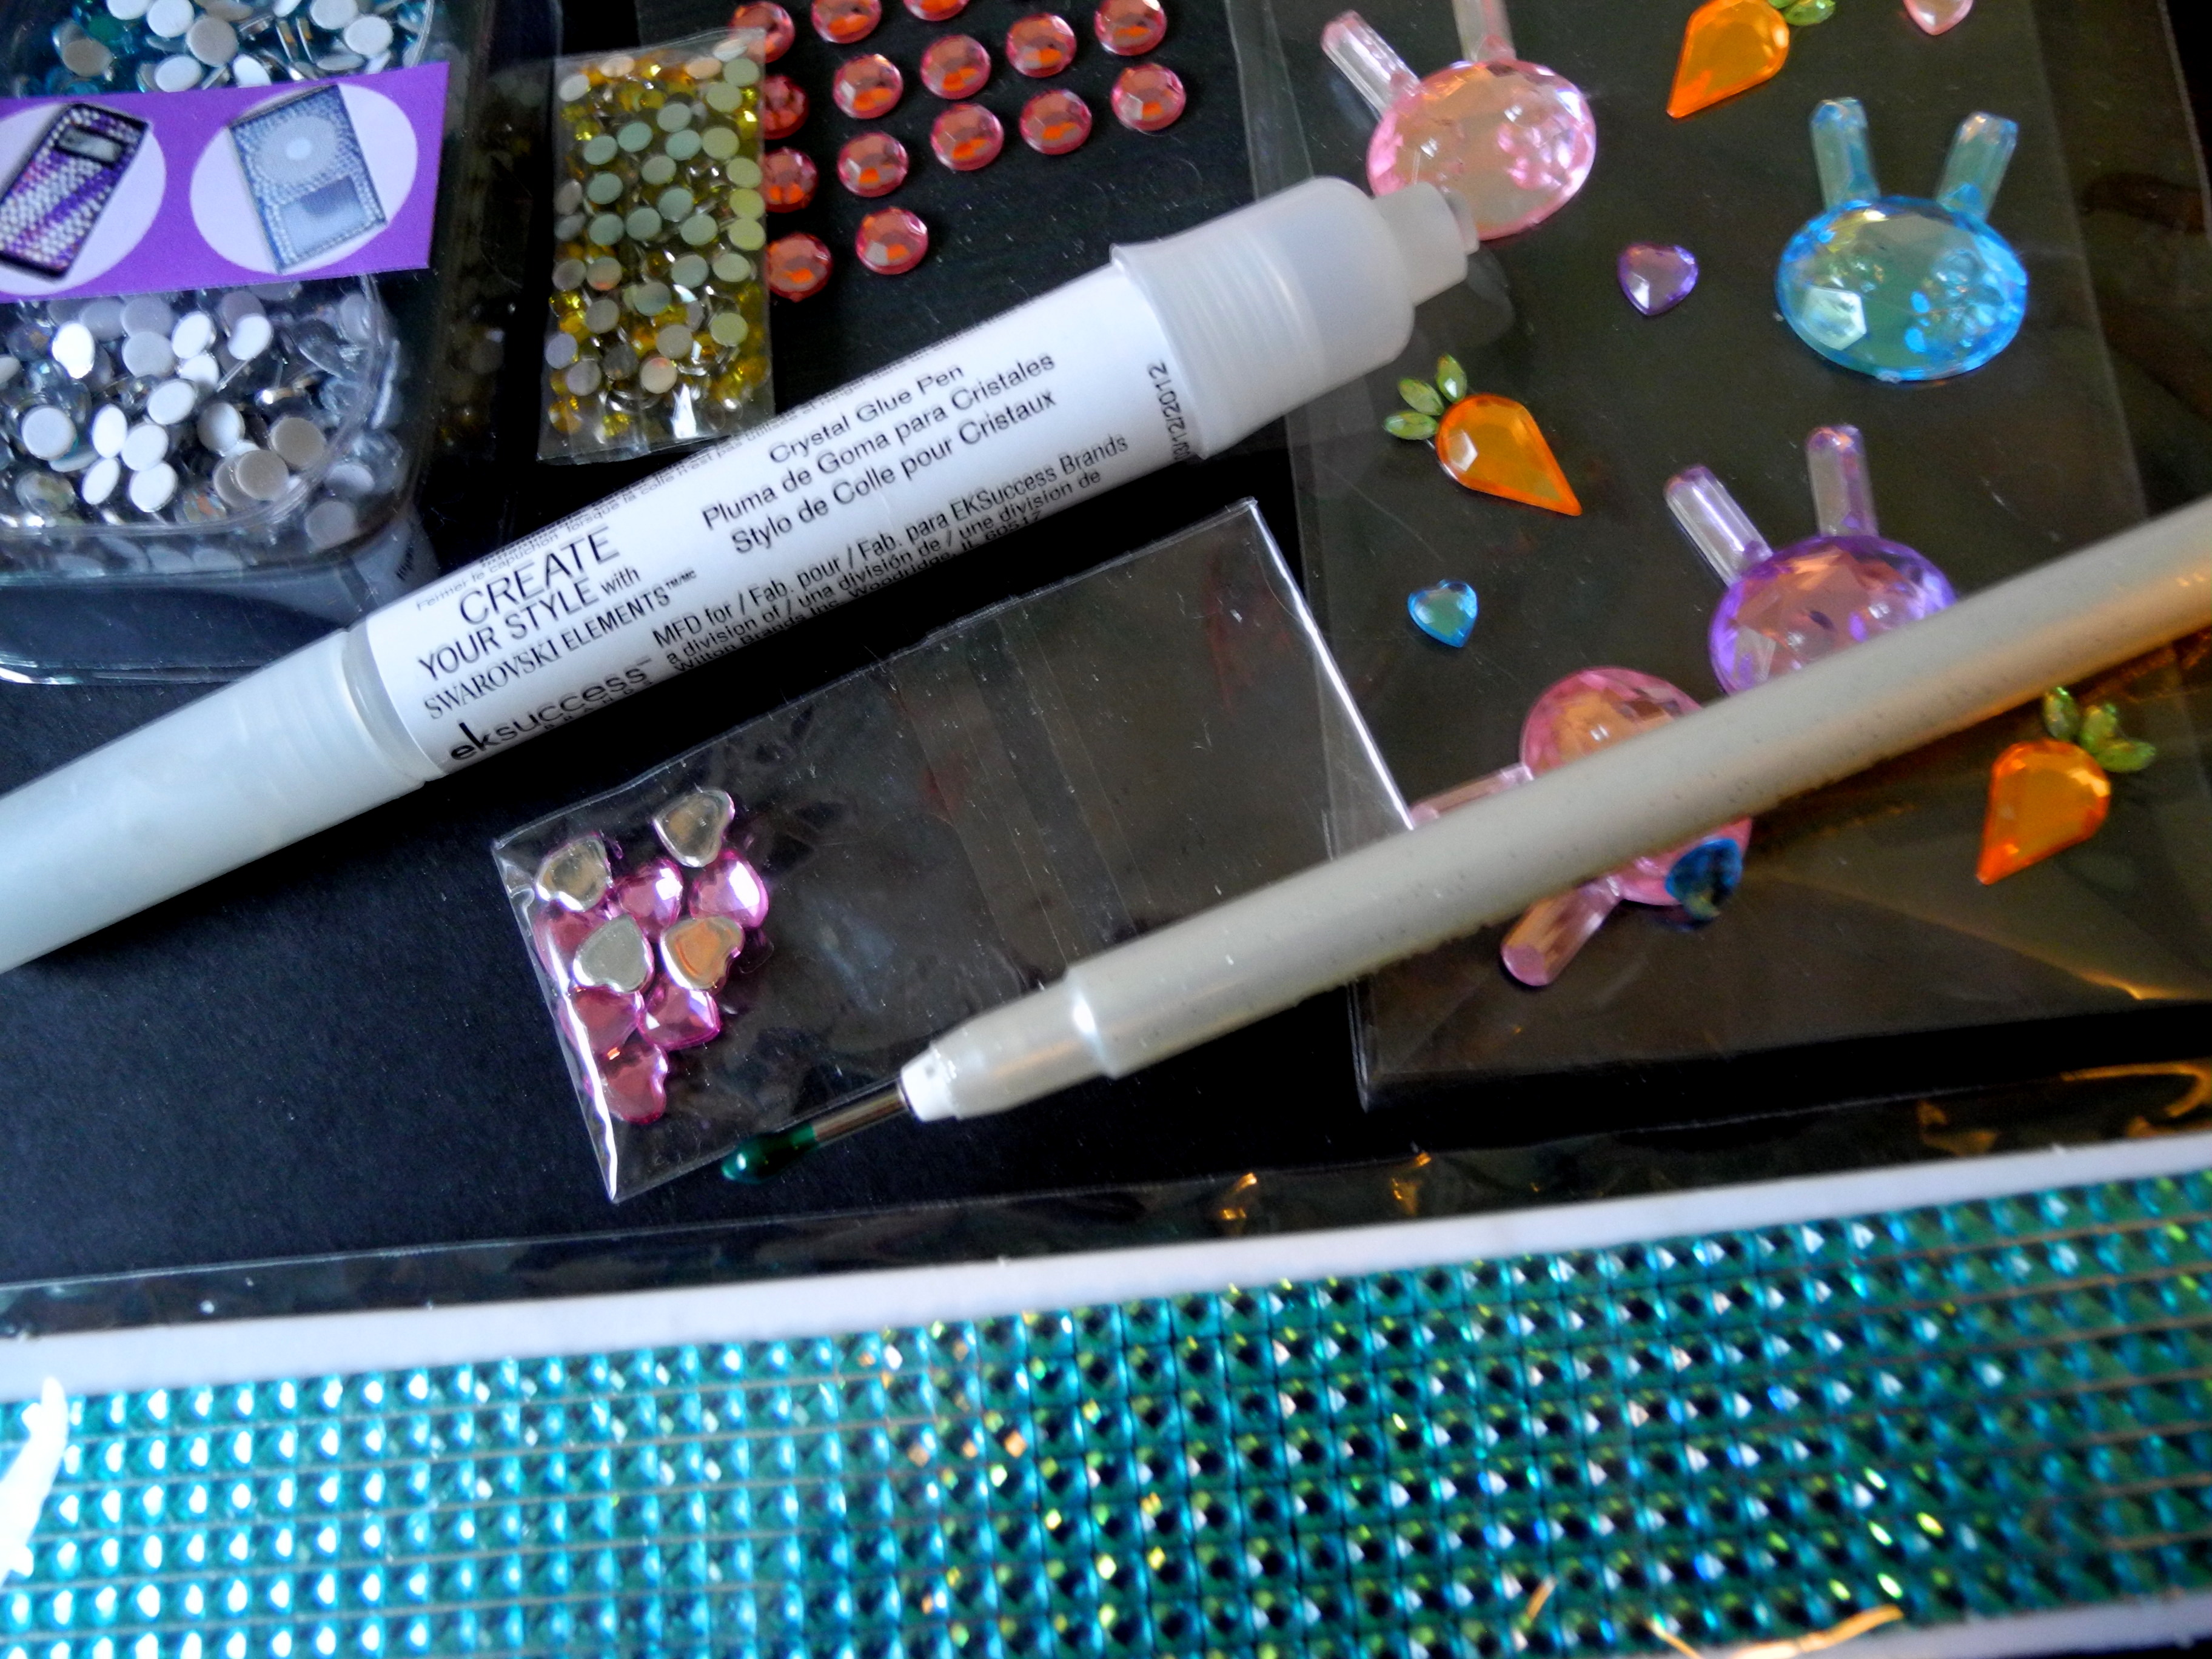
Glue sticks, molds, and glue gun
Here’s the list:
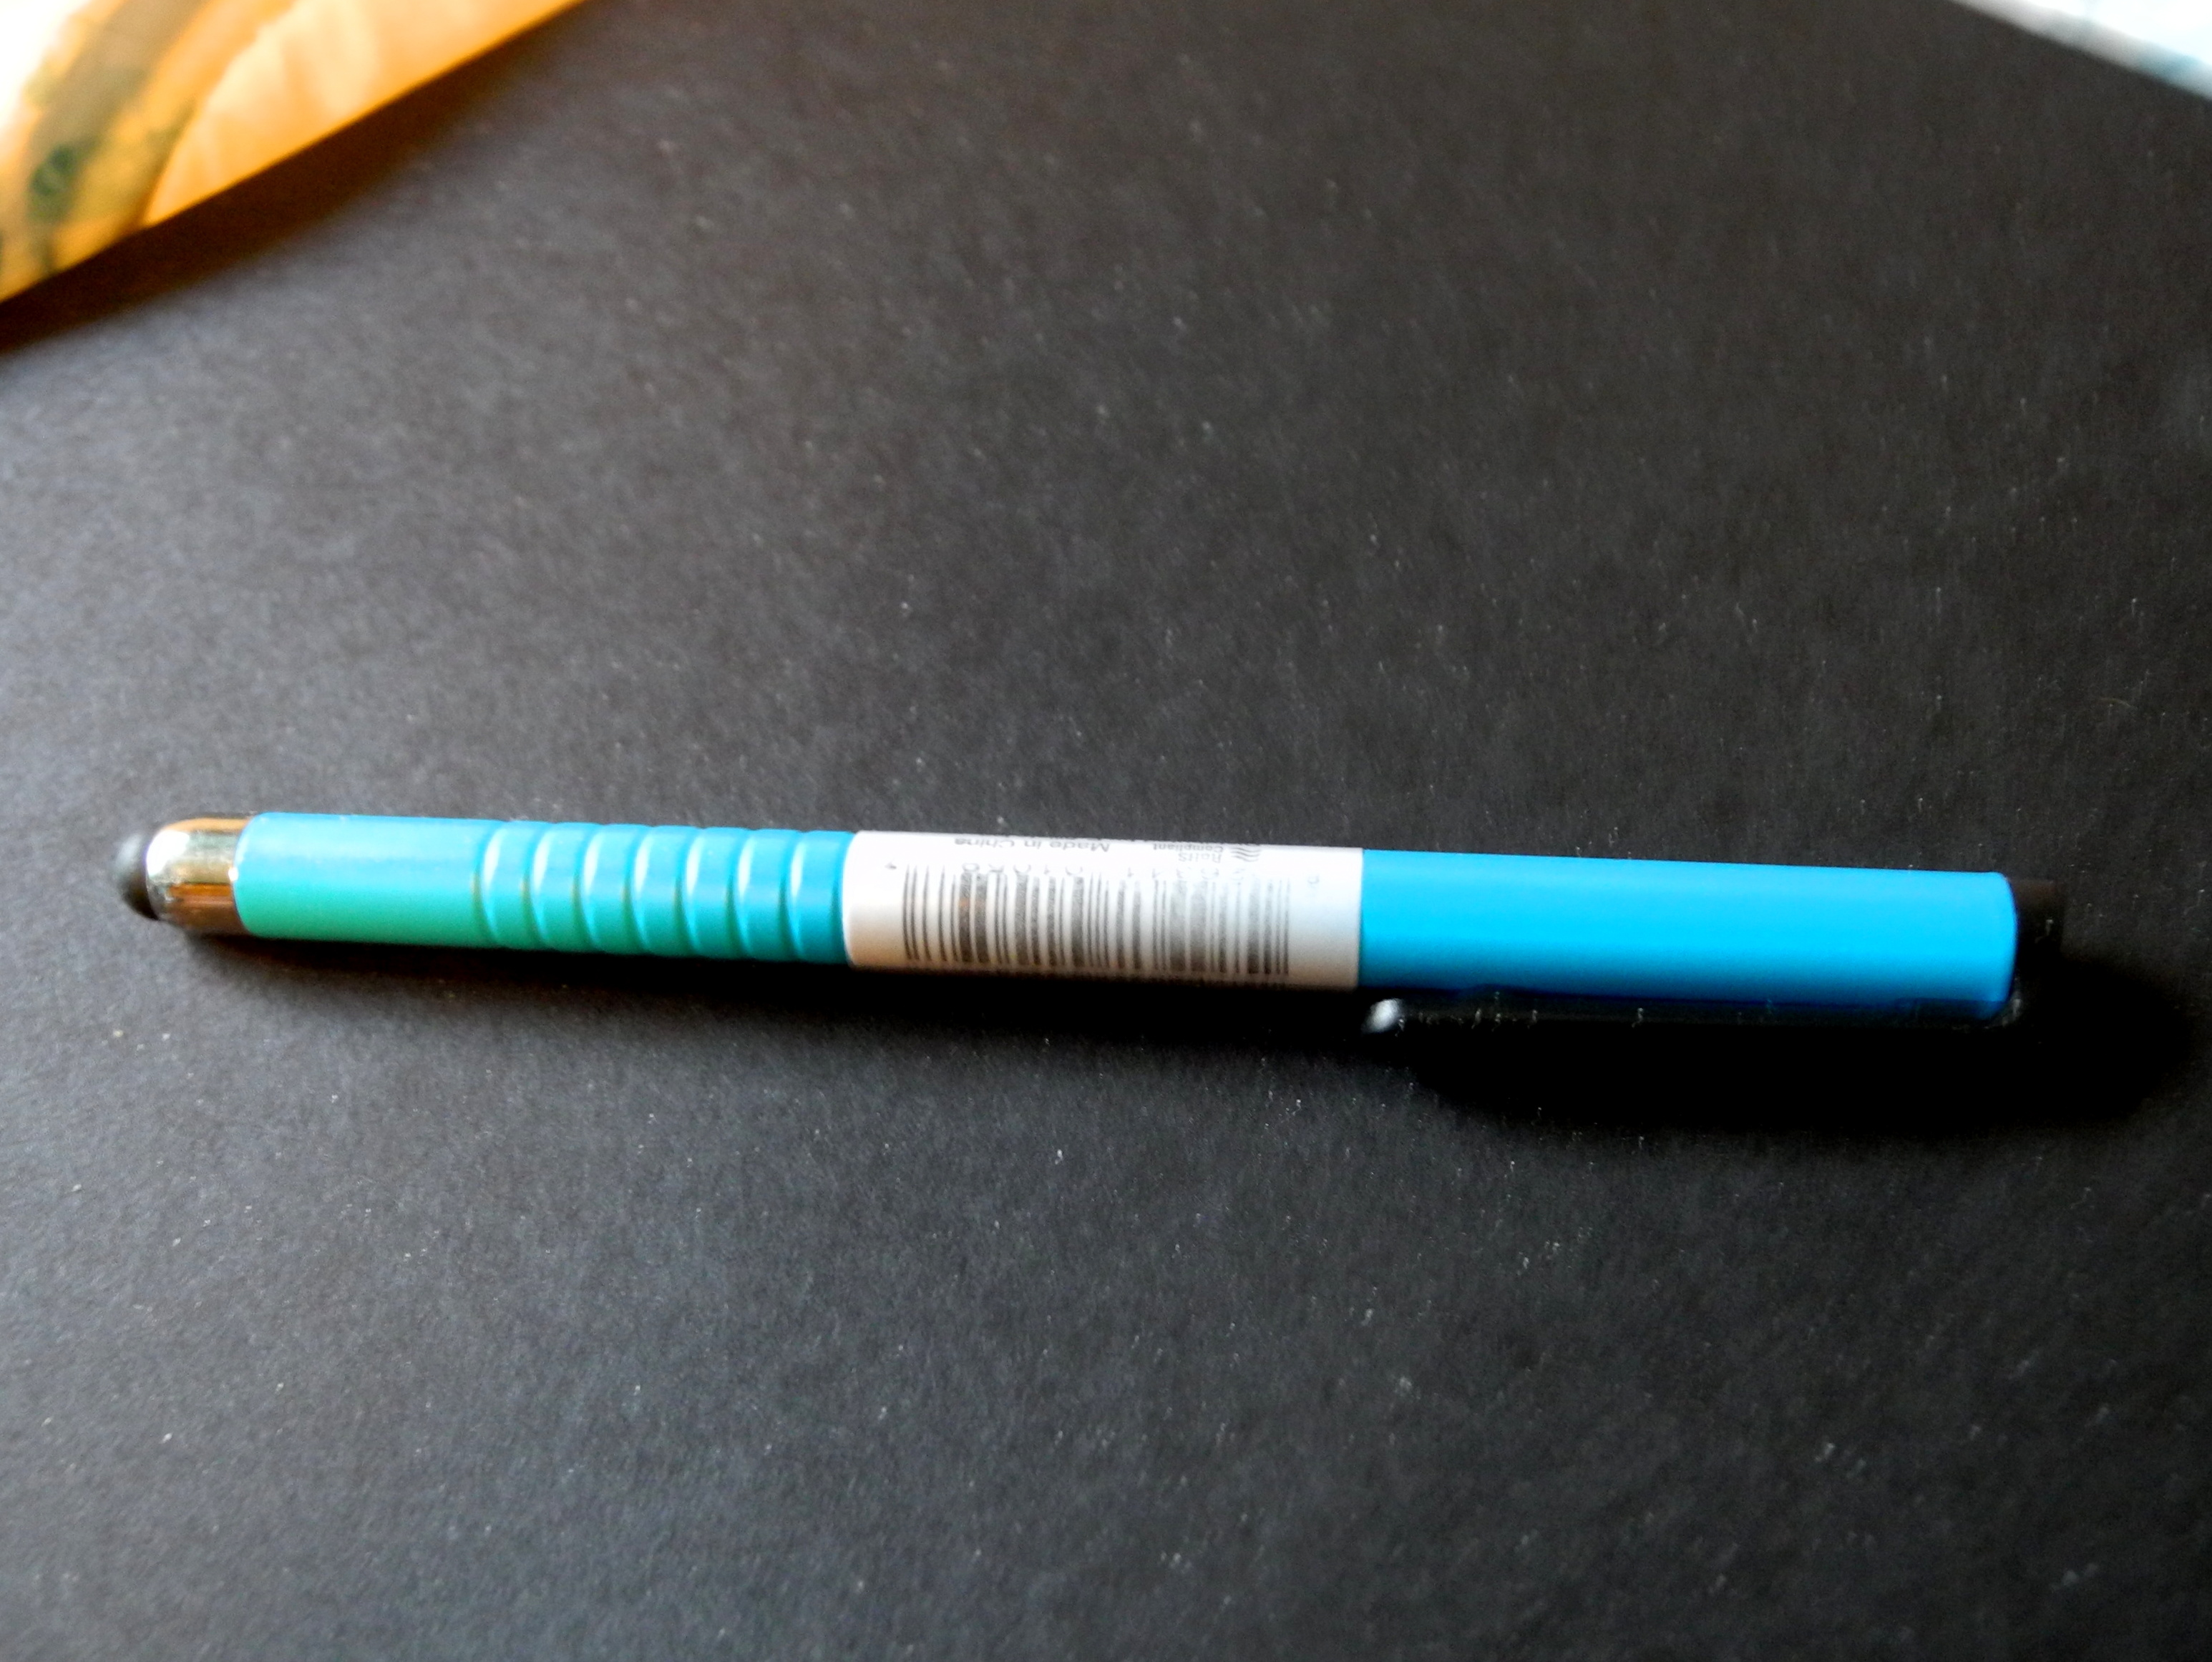
- Opaque colored hot glue sticks (available at Hobby Lobby or on Etsy)
- Glue gun (cool can be used, but medium/hot will give a better result – just make sure it doesn’t get hotter than the mold’s max temperature)
- Silicon Rubber Mold (Made by you, or purchased – check out Etsy for a ton of sellers – remember simple shapes are best for this)
- Sparkle / Glitter Nail Polish (optional)
You do need to make sure you are using a mold which can tolerate high temperatures. I think most silicon molds are good up to 400F. If it can be baked in the over, its probably okay.
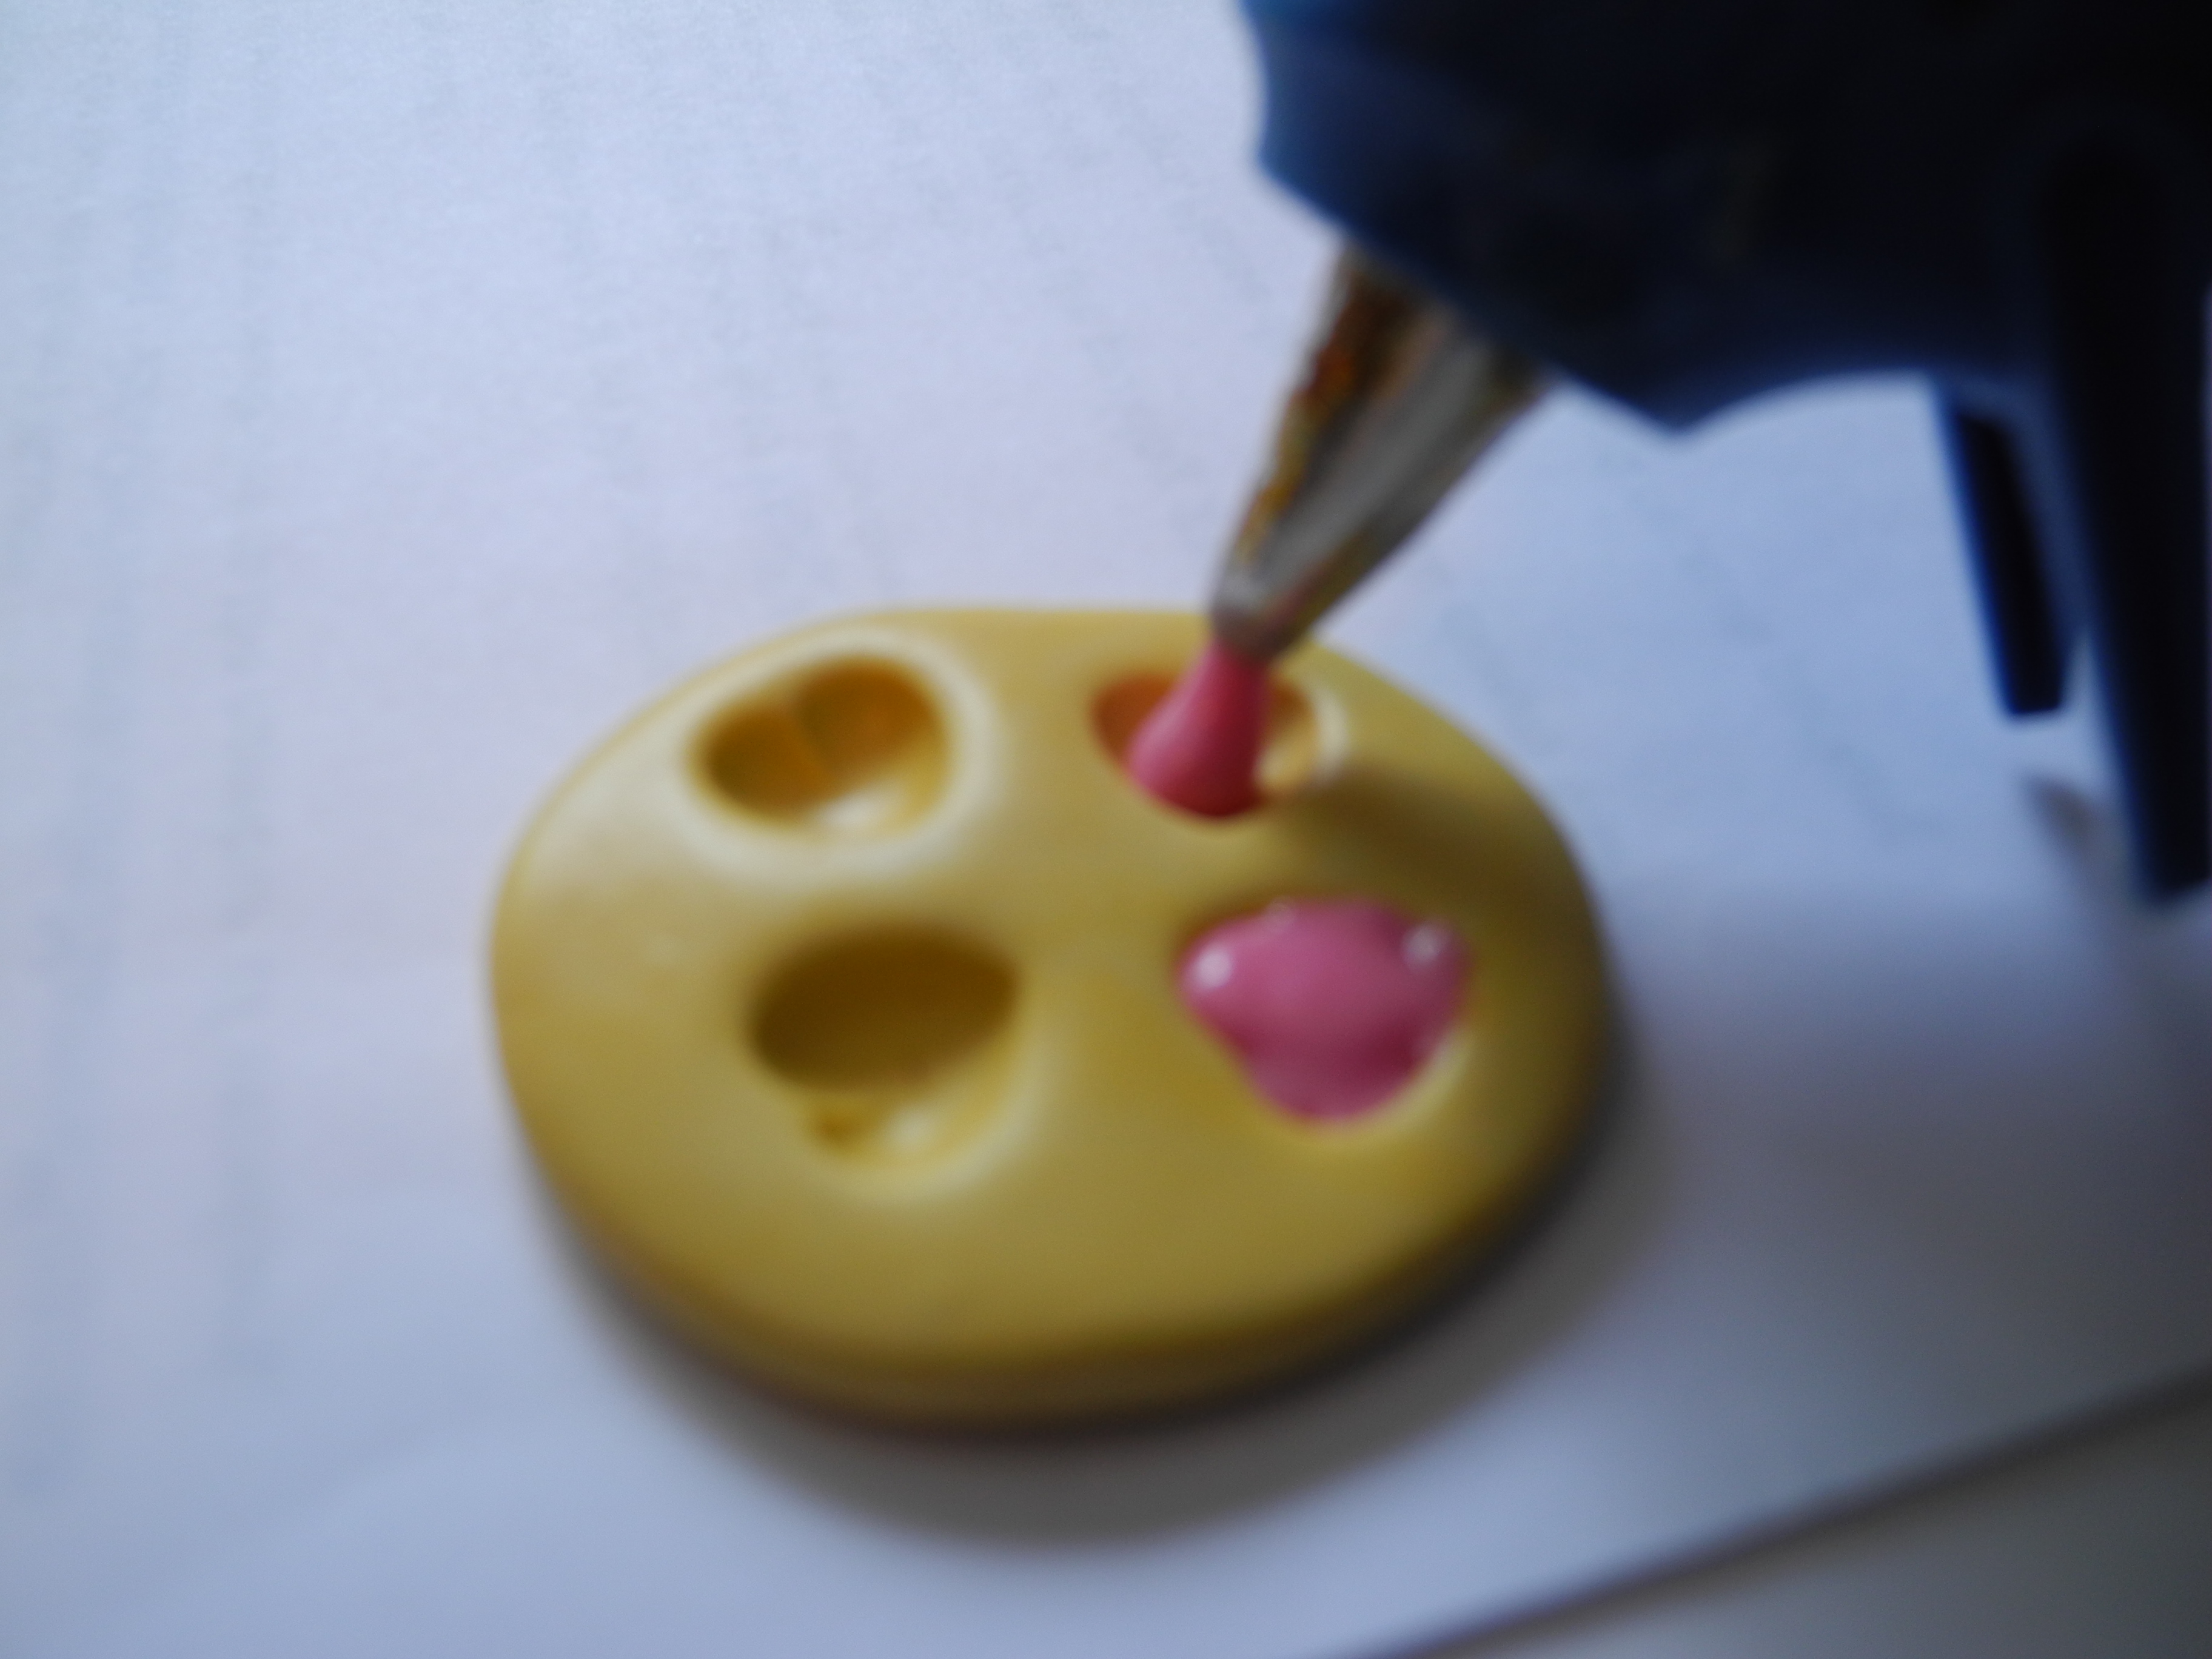
There are two methods for doing this. The fastest way is to use the glue gun w/ glue stick to fill the mold. This works well with simple (smoother) shapes, especially if you are using a low temperature glue gun (the glue may start to cool before it can fill all the tiny details of a complicated mold).

I have yet to master the skill of holding the camera in one hand, and working with the other hand.
The other way is to cut the glue stick into tiny pieces, fill the mold, and then place it in the oven. The Oven method can be used with more complicated shapes since the glue has more time to spread out. Set your oven to about 350F. Bake the mold with glue in it until the glue has completely melted and spread out in the mold.
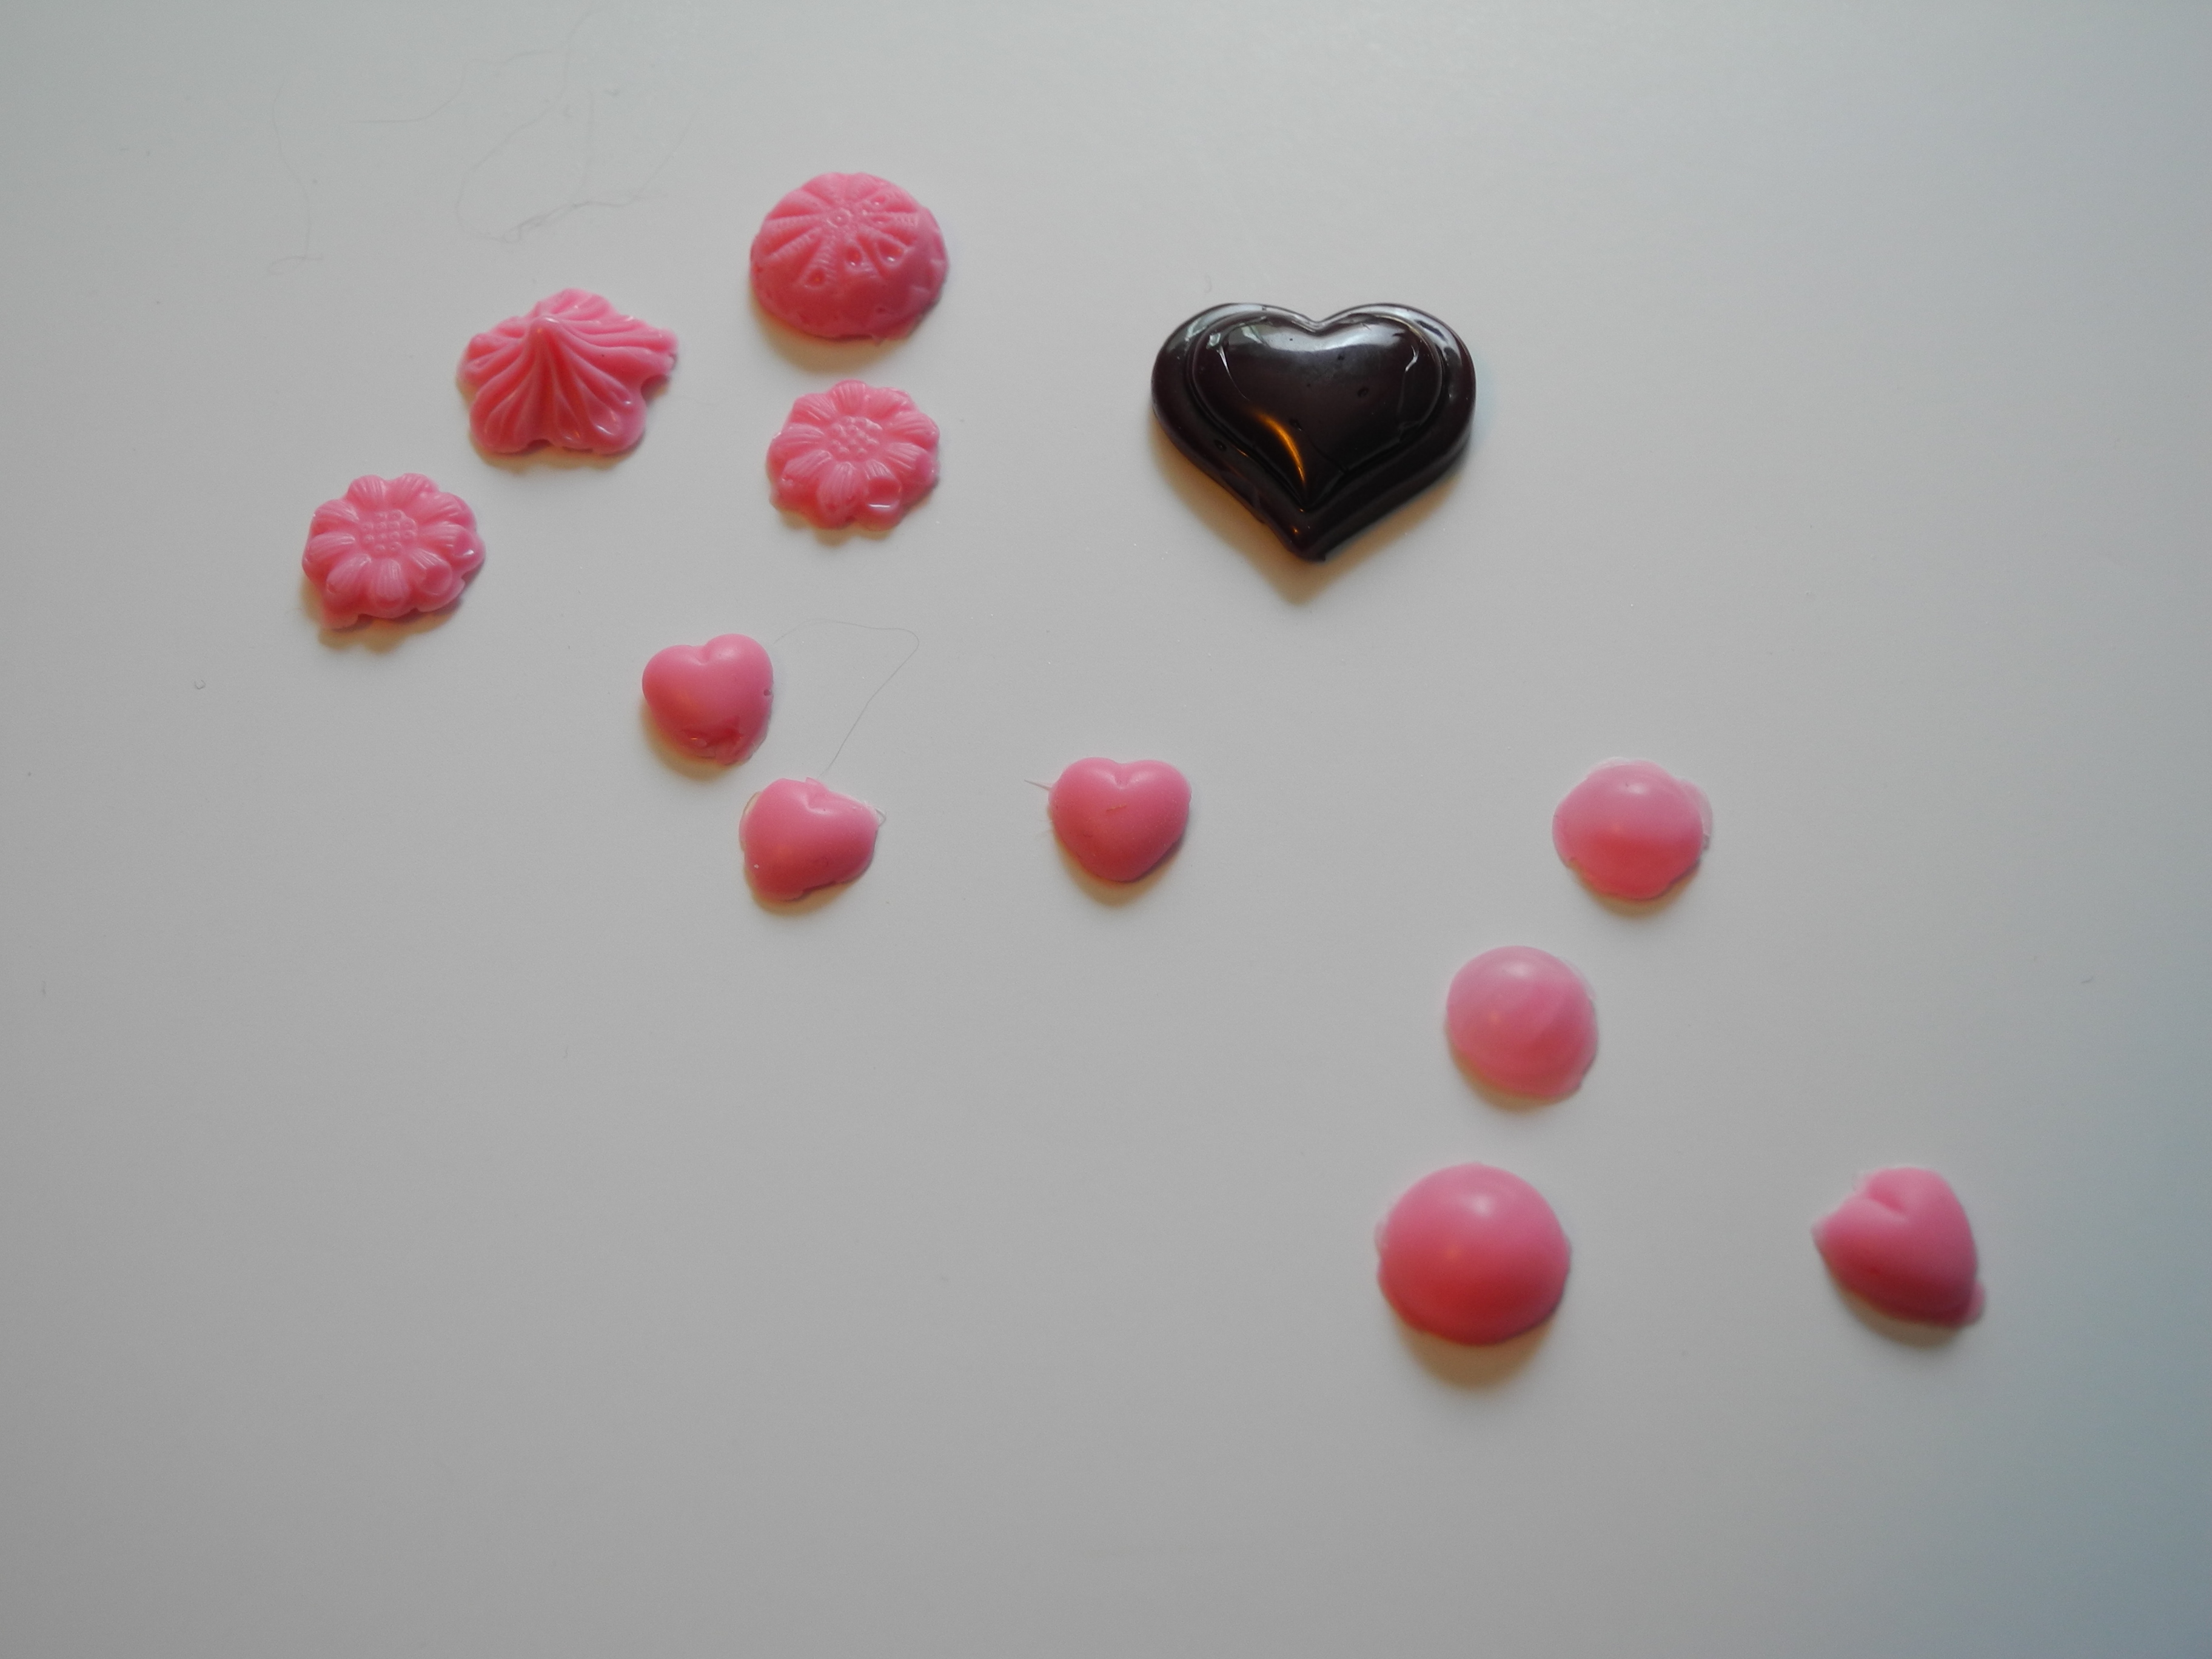
Let the glue and mold cool completely, then pop the finished item out! If the glue overflowed anywhere, you can use a craft knife to trim it off.

I used a low temp glue gun, which is why there are so many imperfections. That’s okay, because I can always cut them up and melt them via oven.

I had to change glue sticks half way through this, but otherwise it looks very much like a chocolate!
An optional step is to paint some glitter nail polish on the finished piece to add some sparkle.