Tutorials

All posts in the Tutorials category

How-To: Stitch Markers

Published August 22, 2014 by kurolace

Hiya! Today I’ve got a quick tutorial for you on making stitch markers! This is great for yourself or as a gift for someone who knits. The stitch markers that we’re going to make are no-snag, so they wont damage the yarn you’re knitting with. They can also easily be made any size. ( These are closed – so they’re the kind of stitch markers you might use when knitting in the round.)

Okay…. let’s goooooo!

DSCN1845

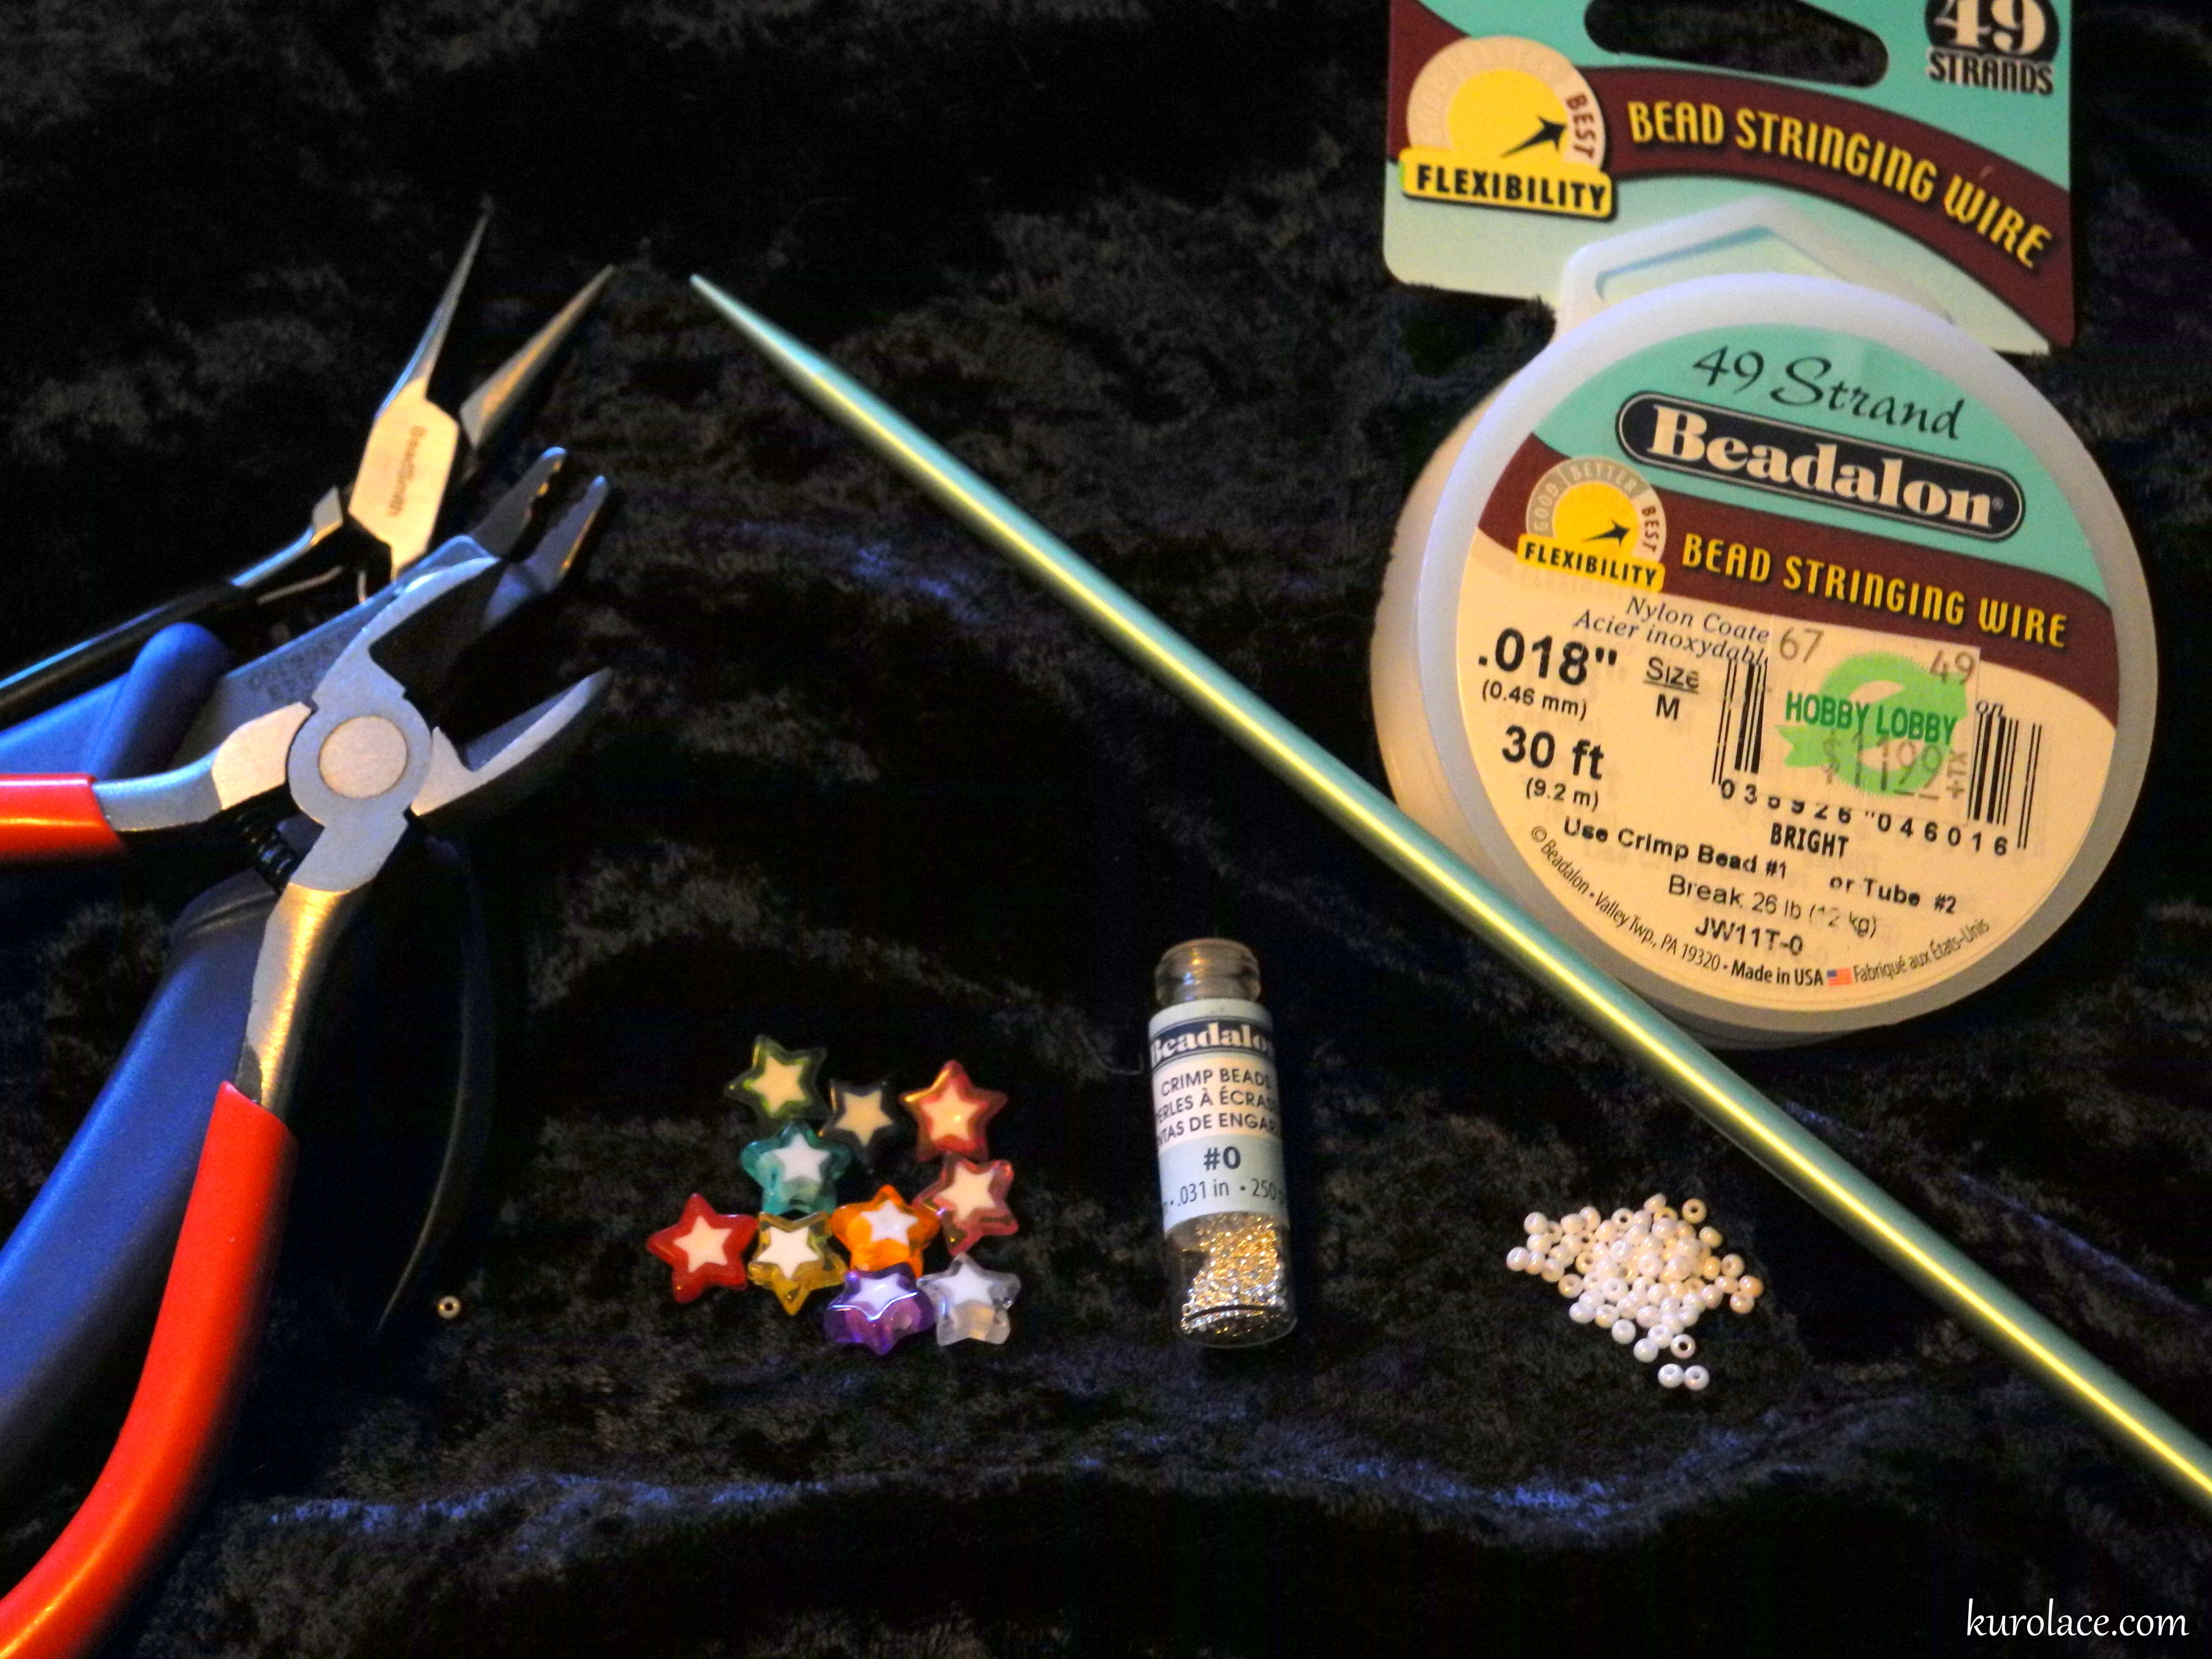
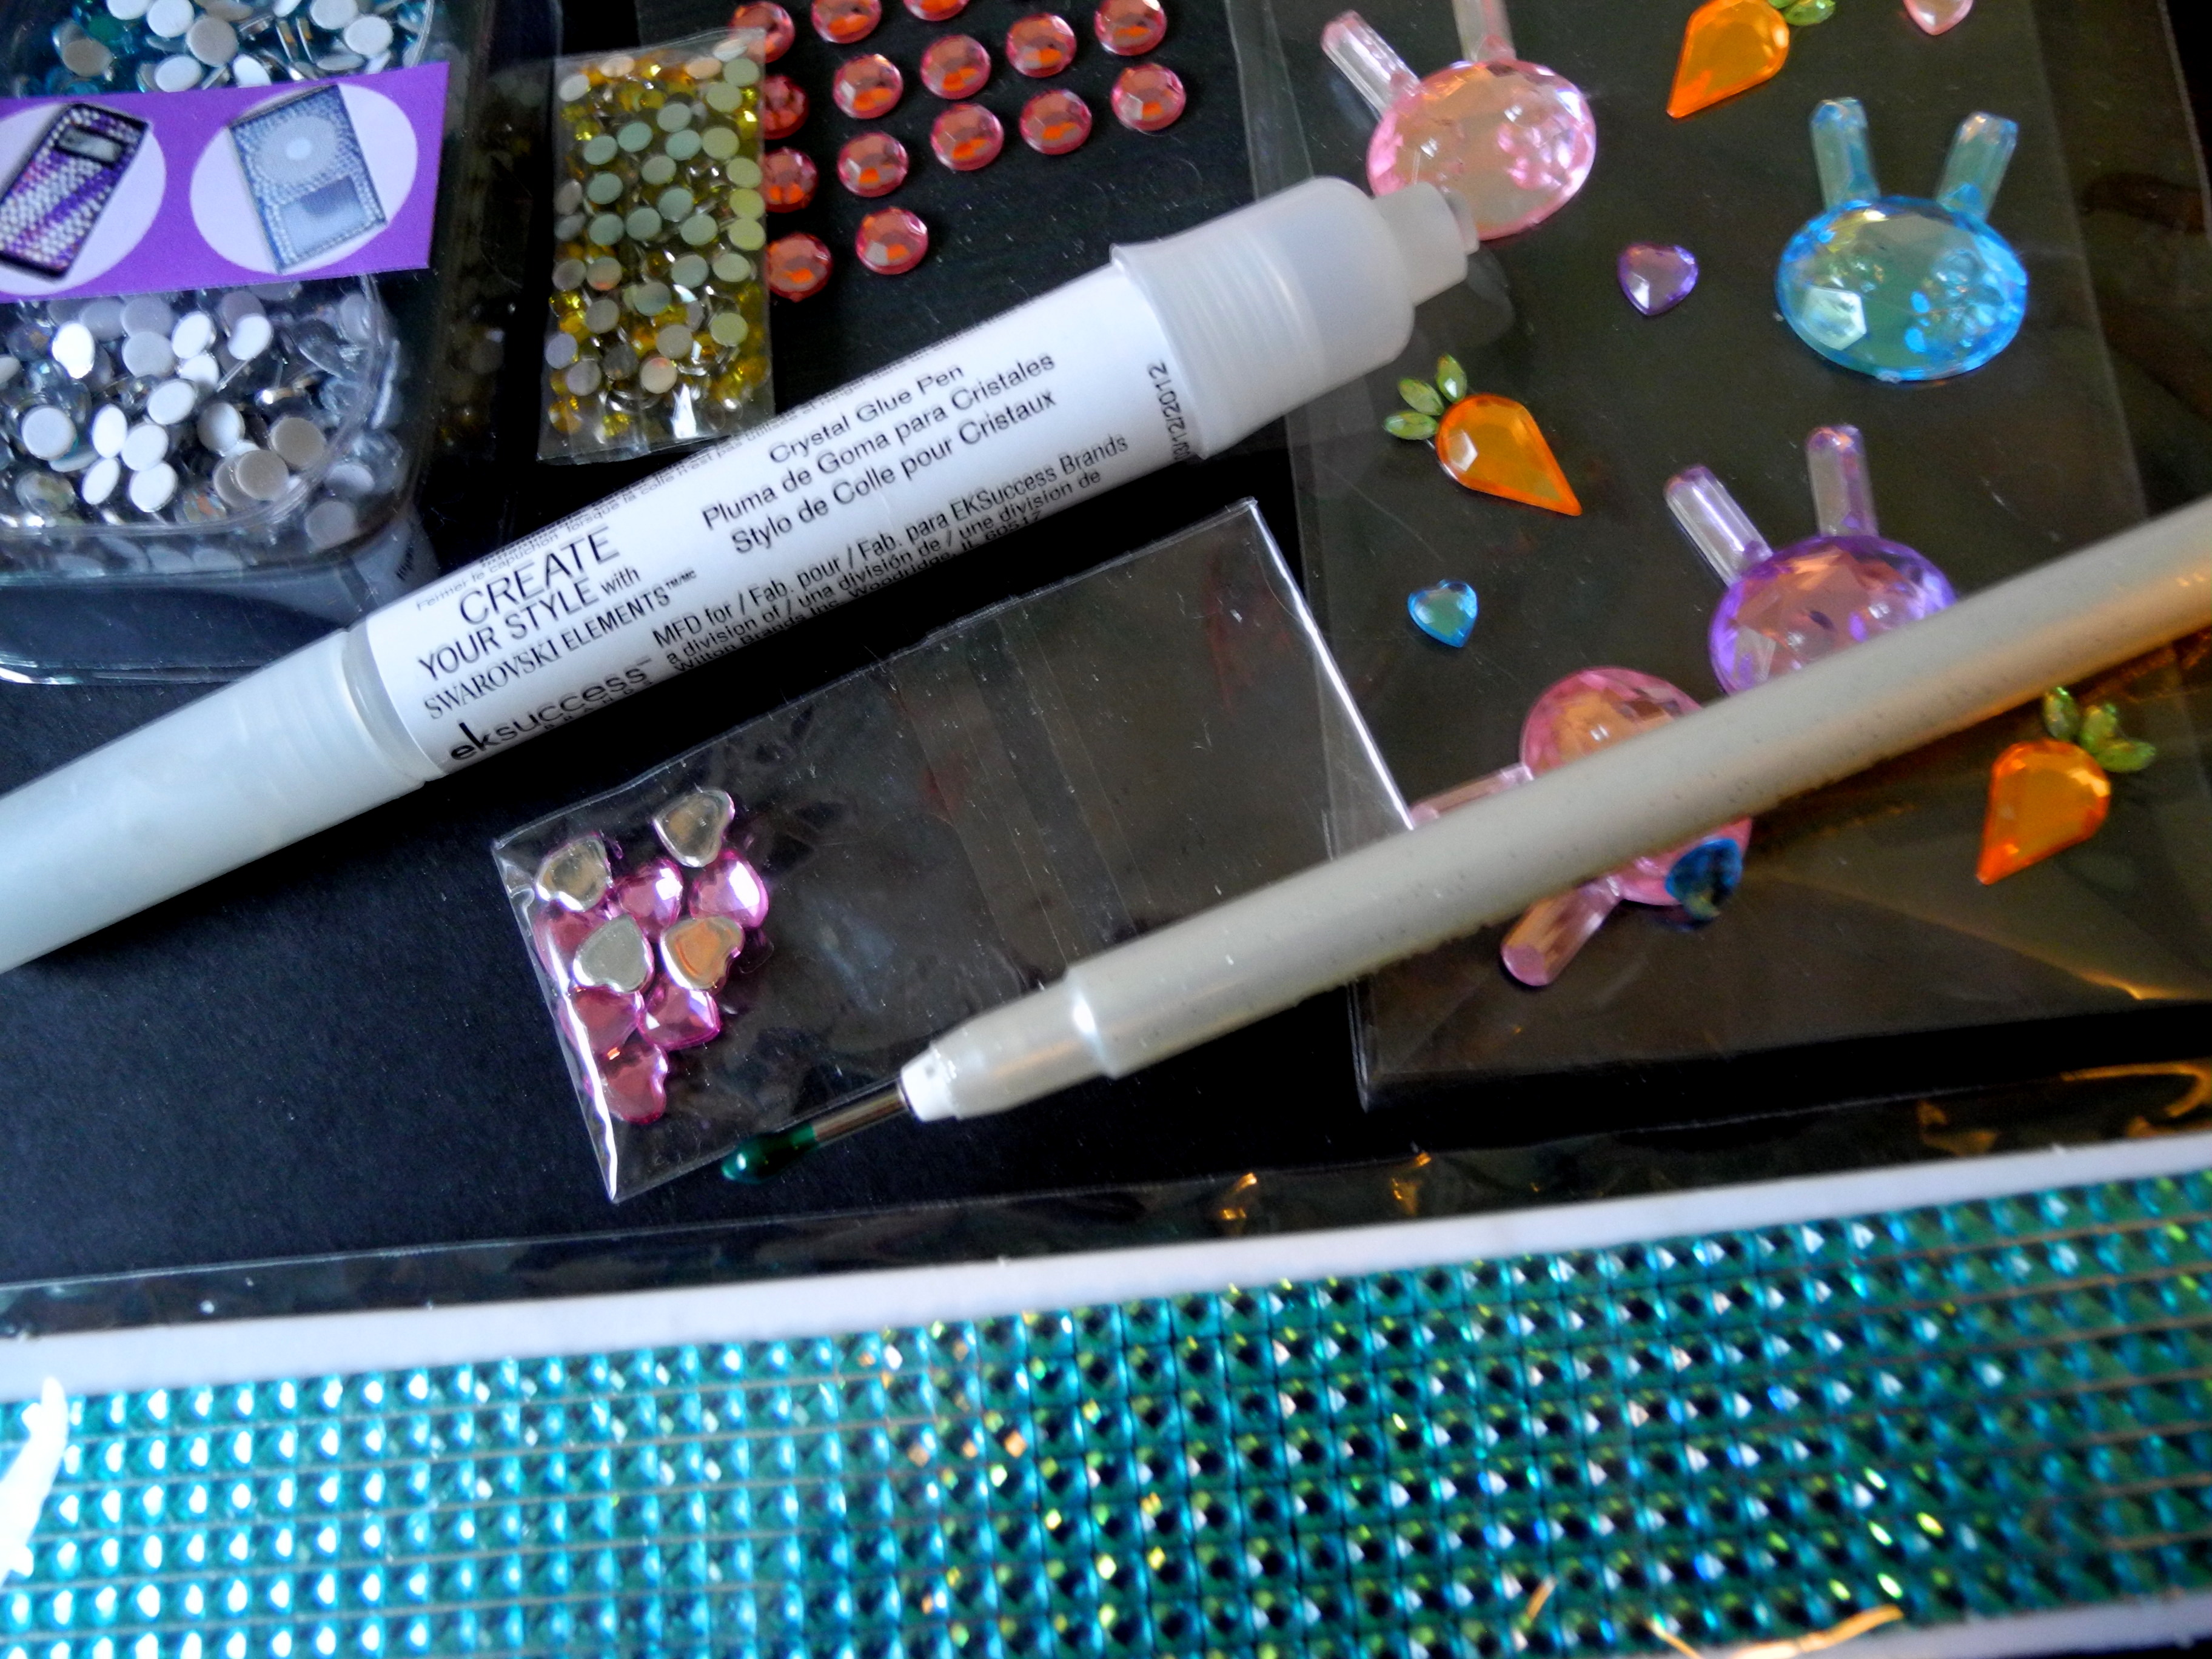
First lets gather some supplies:

  • Beading wire, such as “Beadalon.” Please get a small diameter with high flexibility. You can get a wider selection online, if your local craft store doesn’t carry much.
  • Wire cutting pliers
  • Crimping pliers – or chain nose will work too
  • Crimp beads. The picture shows size 0, but I actually recommend size 1. (Your wire should be able to fit through the crimp bead twice.)
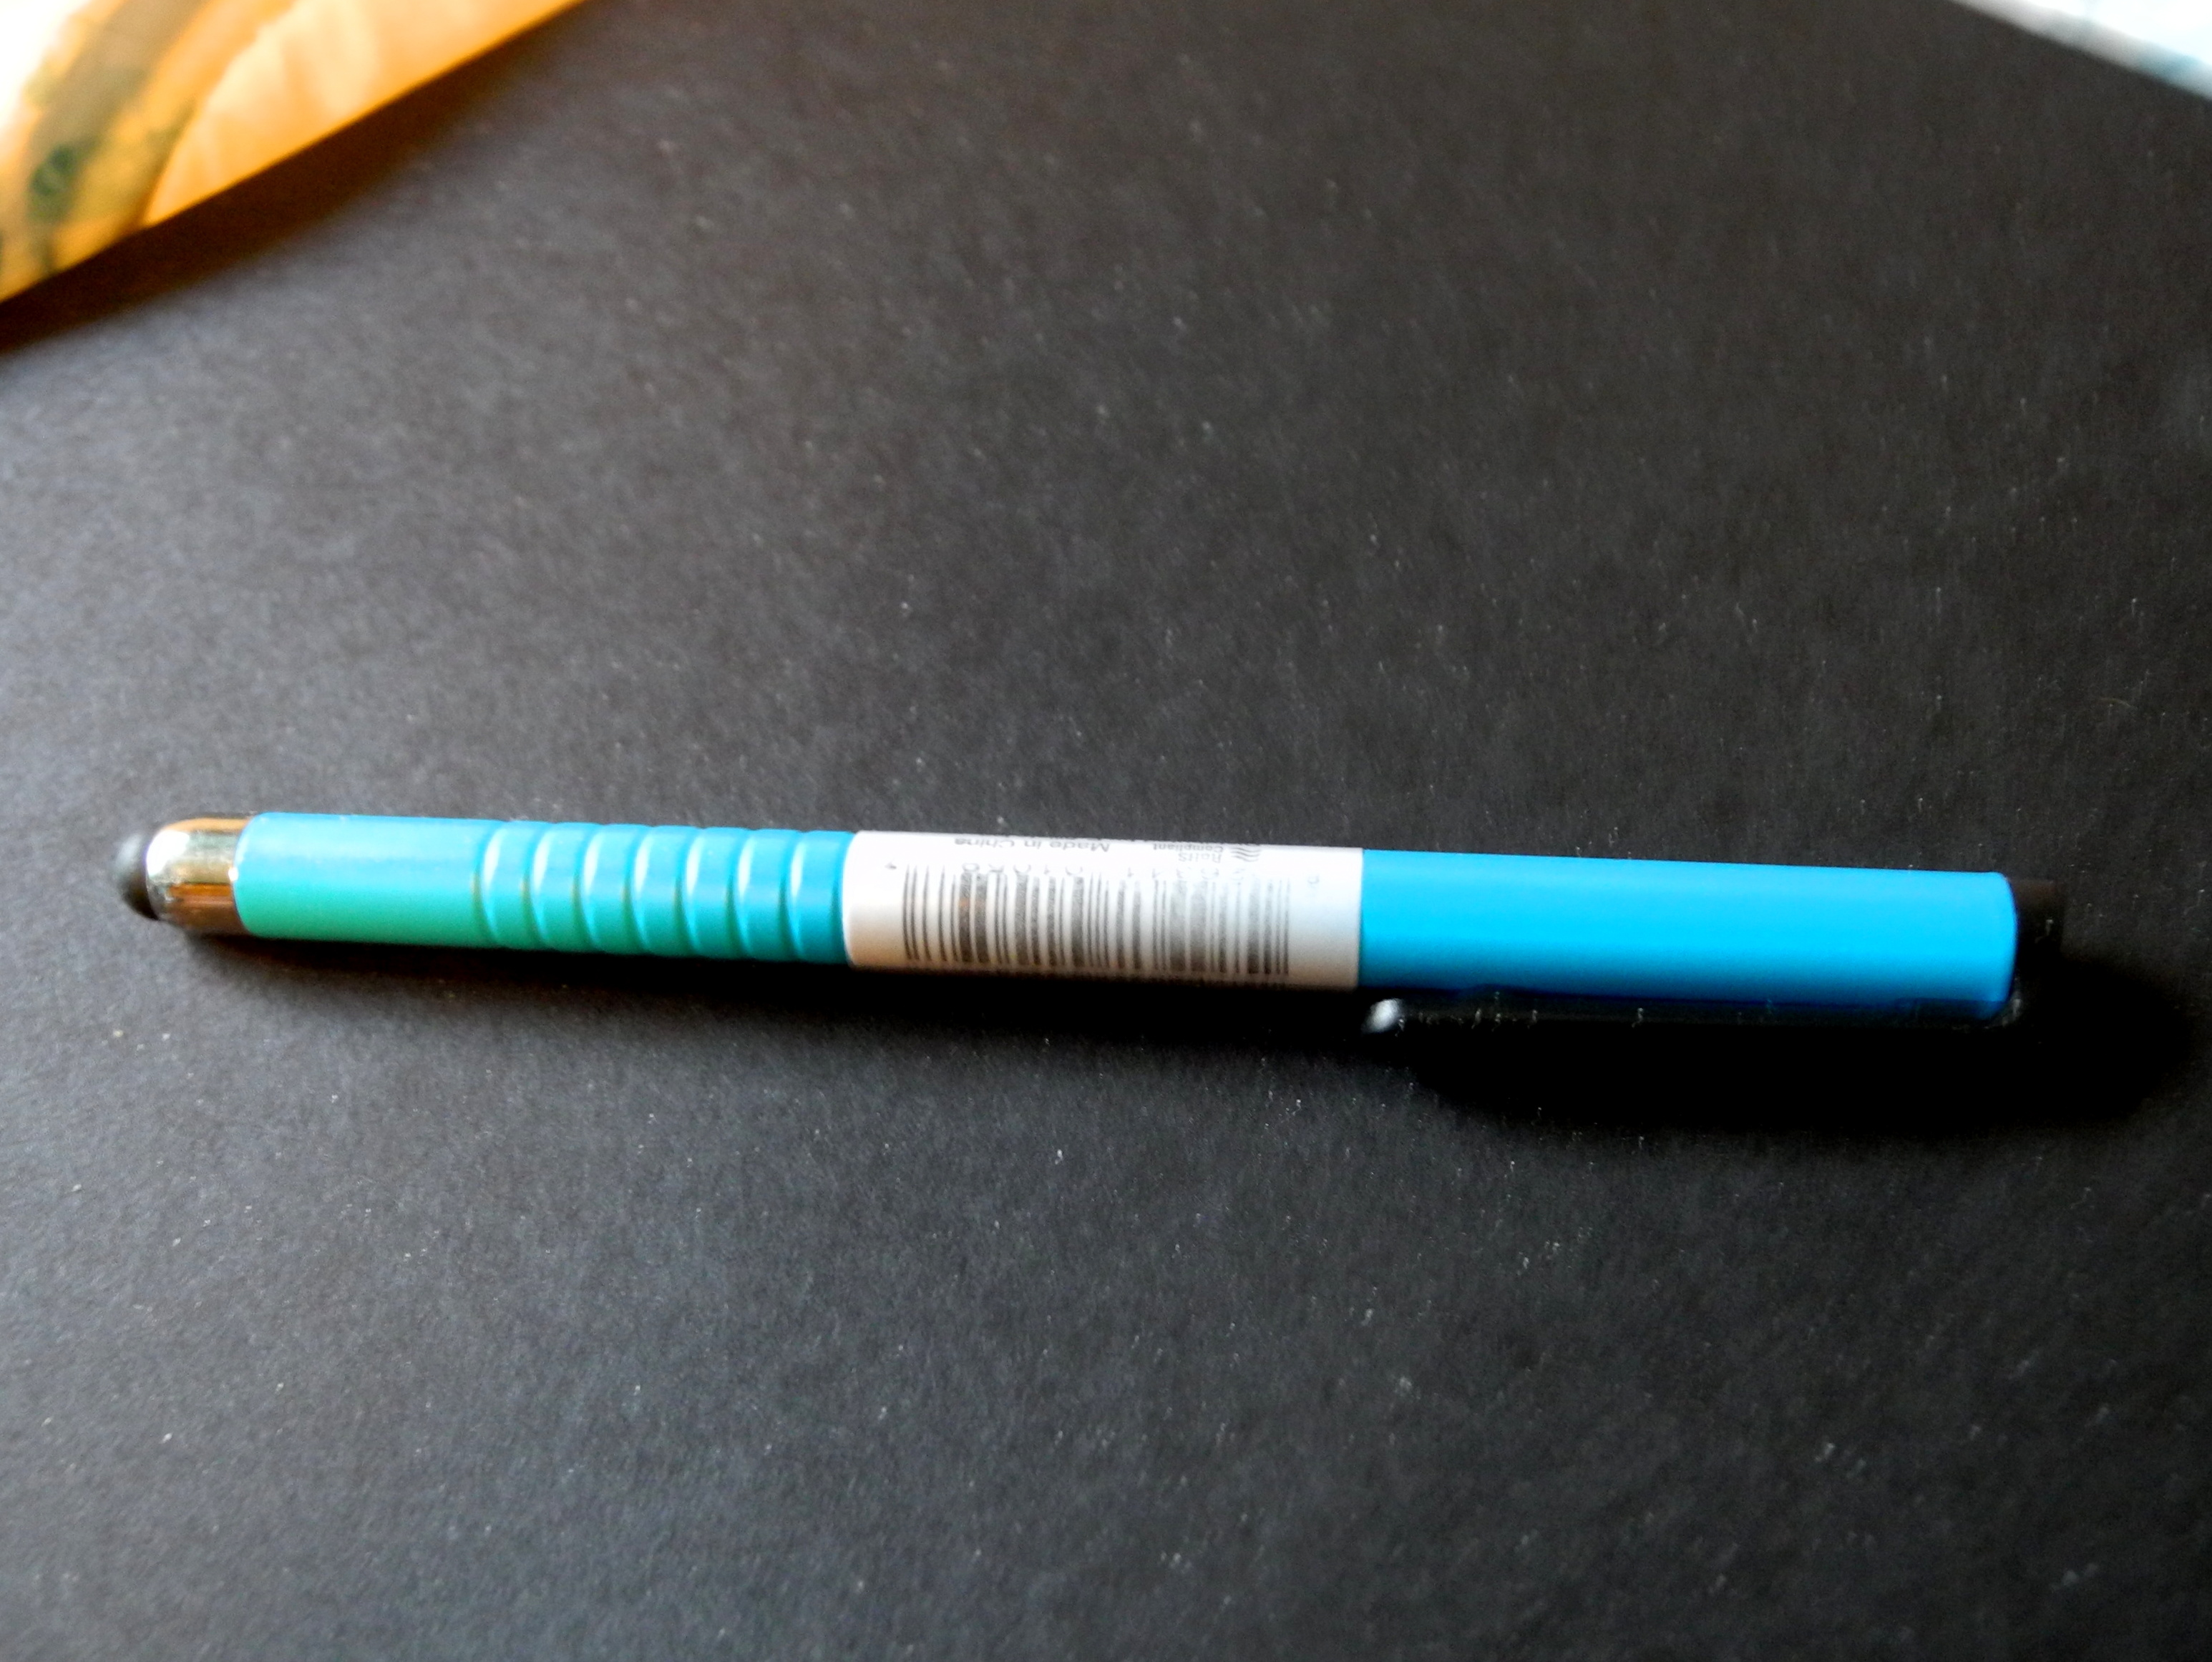
  • A knitting needle of the max. size you want the markers to fit.
  • Main beads (in this case, acrylic stars)
  • Seed beads to complement the main beads (in this case pearly white)

*When choosing your beads, please make sure they have a large enough hole to fit two strands of the wire through.*

First you want to cut small sections of wire. The exact length depends on the size stitch marker you want to make, as well as the bead (or beads) you are using. Hold your knitting needle, wrap the wire around it, and cut a section long enough. Give yourself a few centimeters extra length, for workability.

DSCN1848

My sections of wire were about 2.5″ or 3″

Keep the wire around the knitting needle, hold the two ends of wire together, and put them both through a crimp bead. Push the crimp bead up towards the knitting needle to tighten the loop. Don’t make it too tight though – you want to be able to easily slide the stitch marker along the needle. Crimp the crimp bead with the crimping pliers or with chain nose pliers. If using chain nose pliers, make sure it’s really tight and the crimp bead can’t move.

DSCN1855If you are making a set of markers, you might want to go ahead and get all of the wire sections prepared before moving on to the next step. I think it helps me keep them all a bit more uniform in regards to the tightness of the loop.

Next you’ll add your beads. I put one seed bead, one star bead, and one seed bead. Obviously this is up to you, and time to use your design sense! You can use any kind of bead that’ll fit on your wires!


*Remember that we’re always putting BOTH wire ends through – just think of them as a single strand.*


Next add another crimp bead, and crimp.

Make sure the crimp bead is secure and isn’t moving at all. Then you can trim the wires so that they end just after the crimp bead. If they seem sharp to you, use a file on the ends to round them off.

DSCN1862

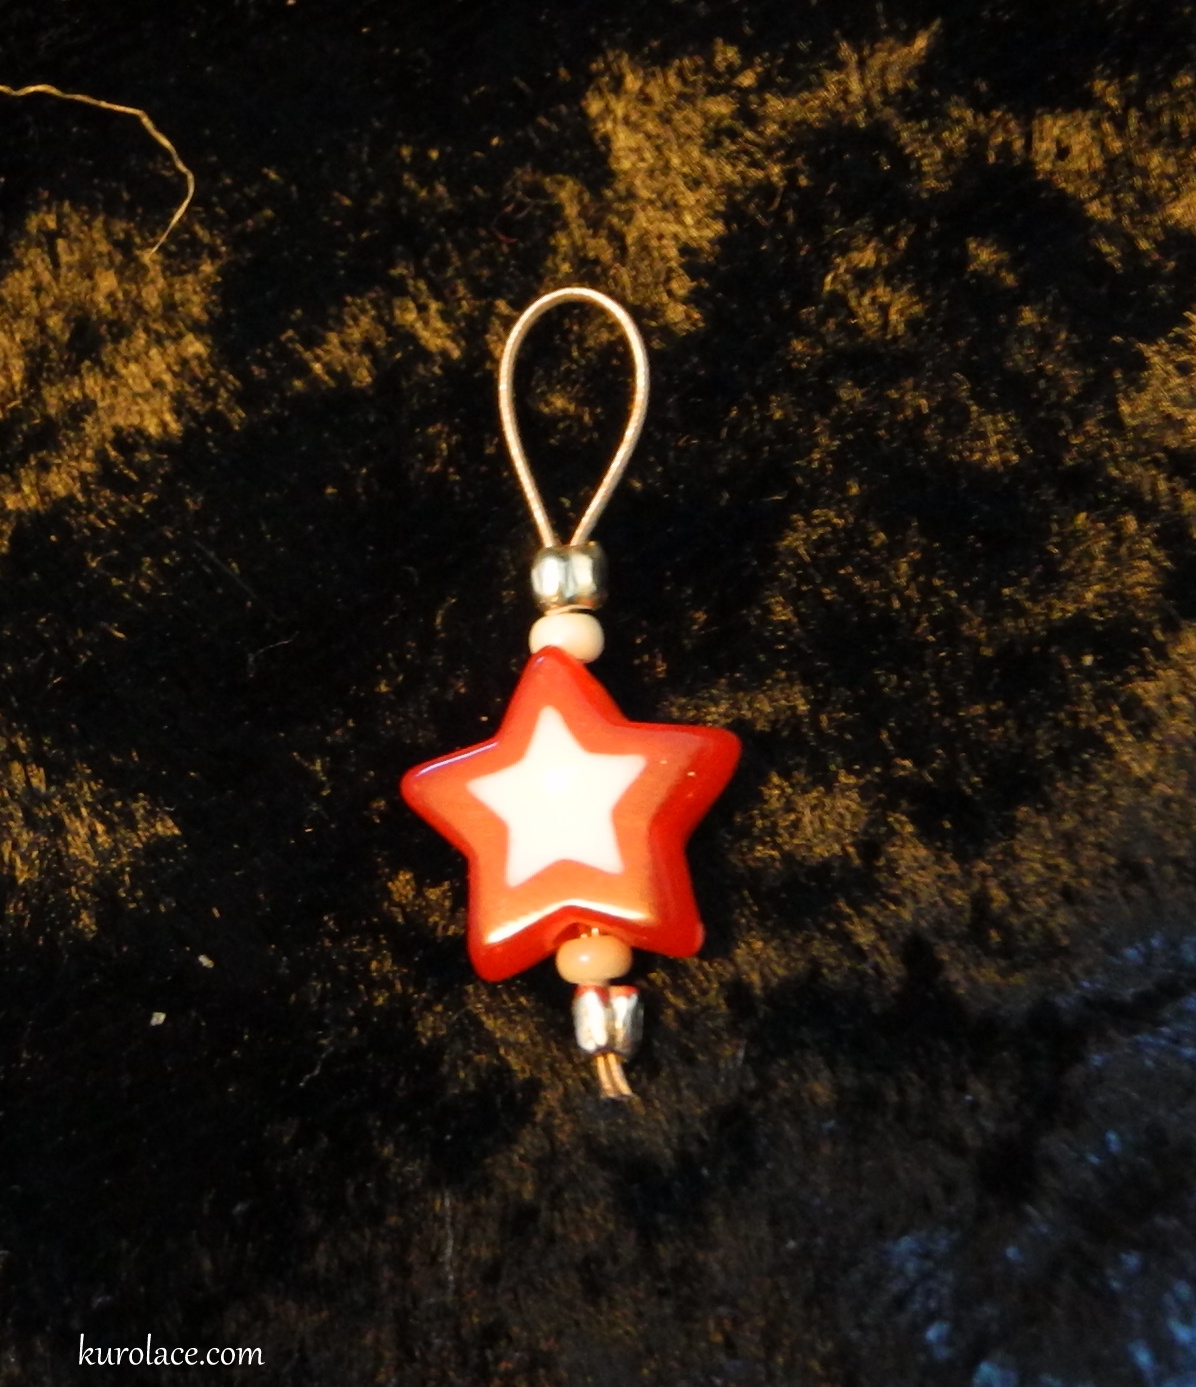
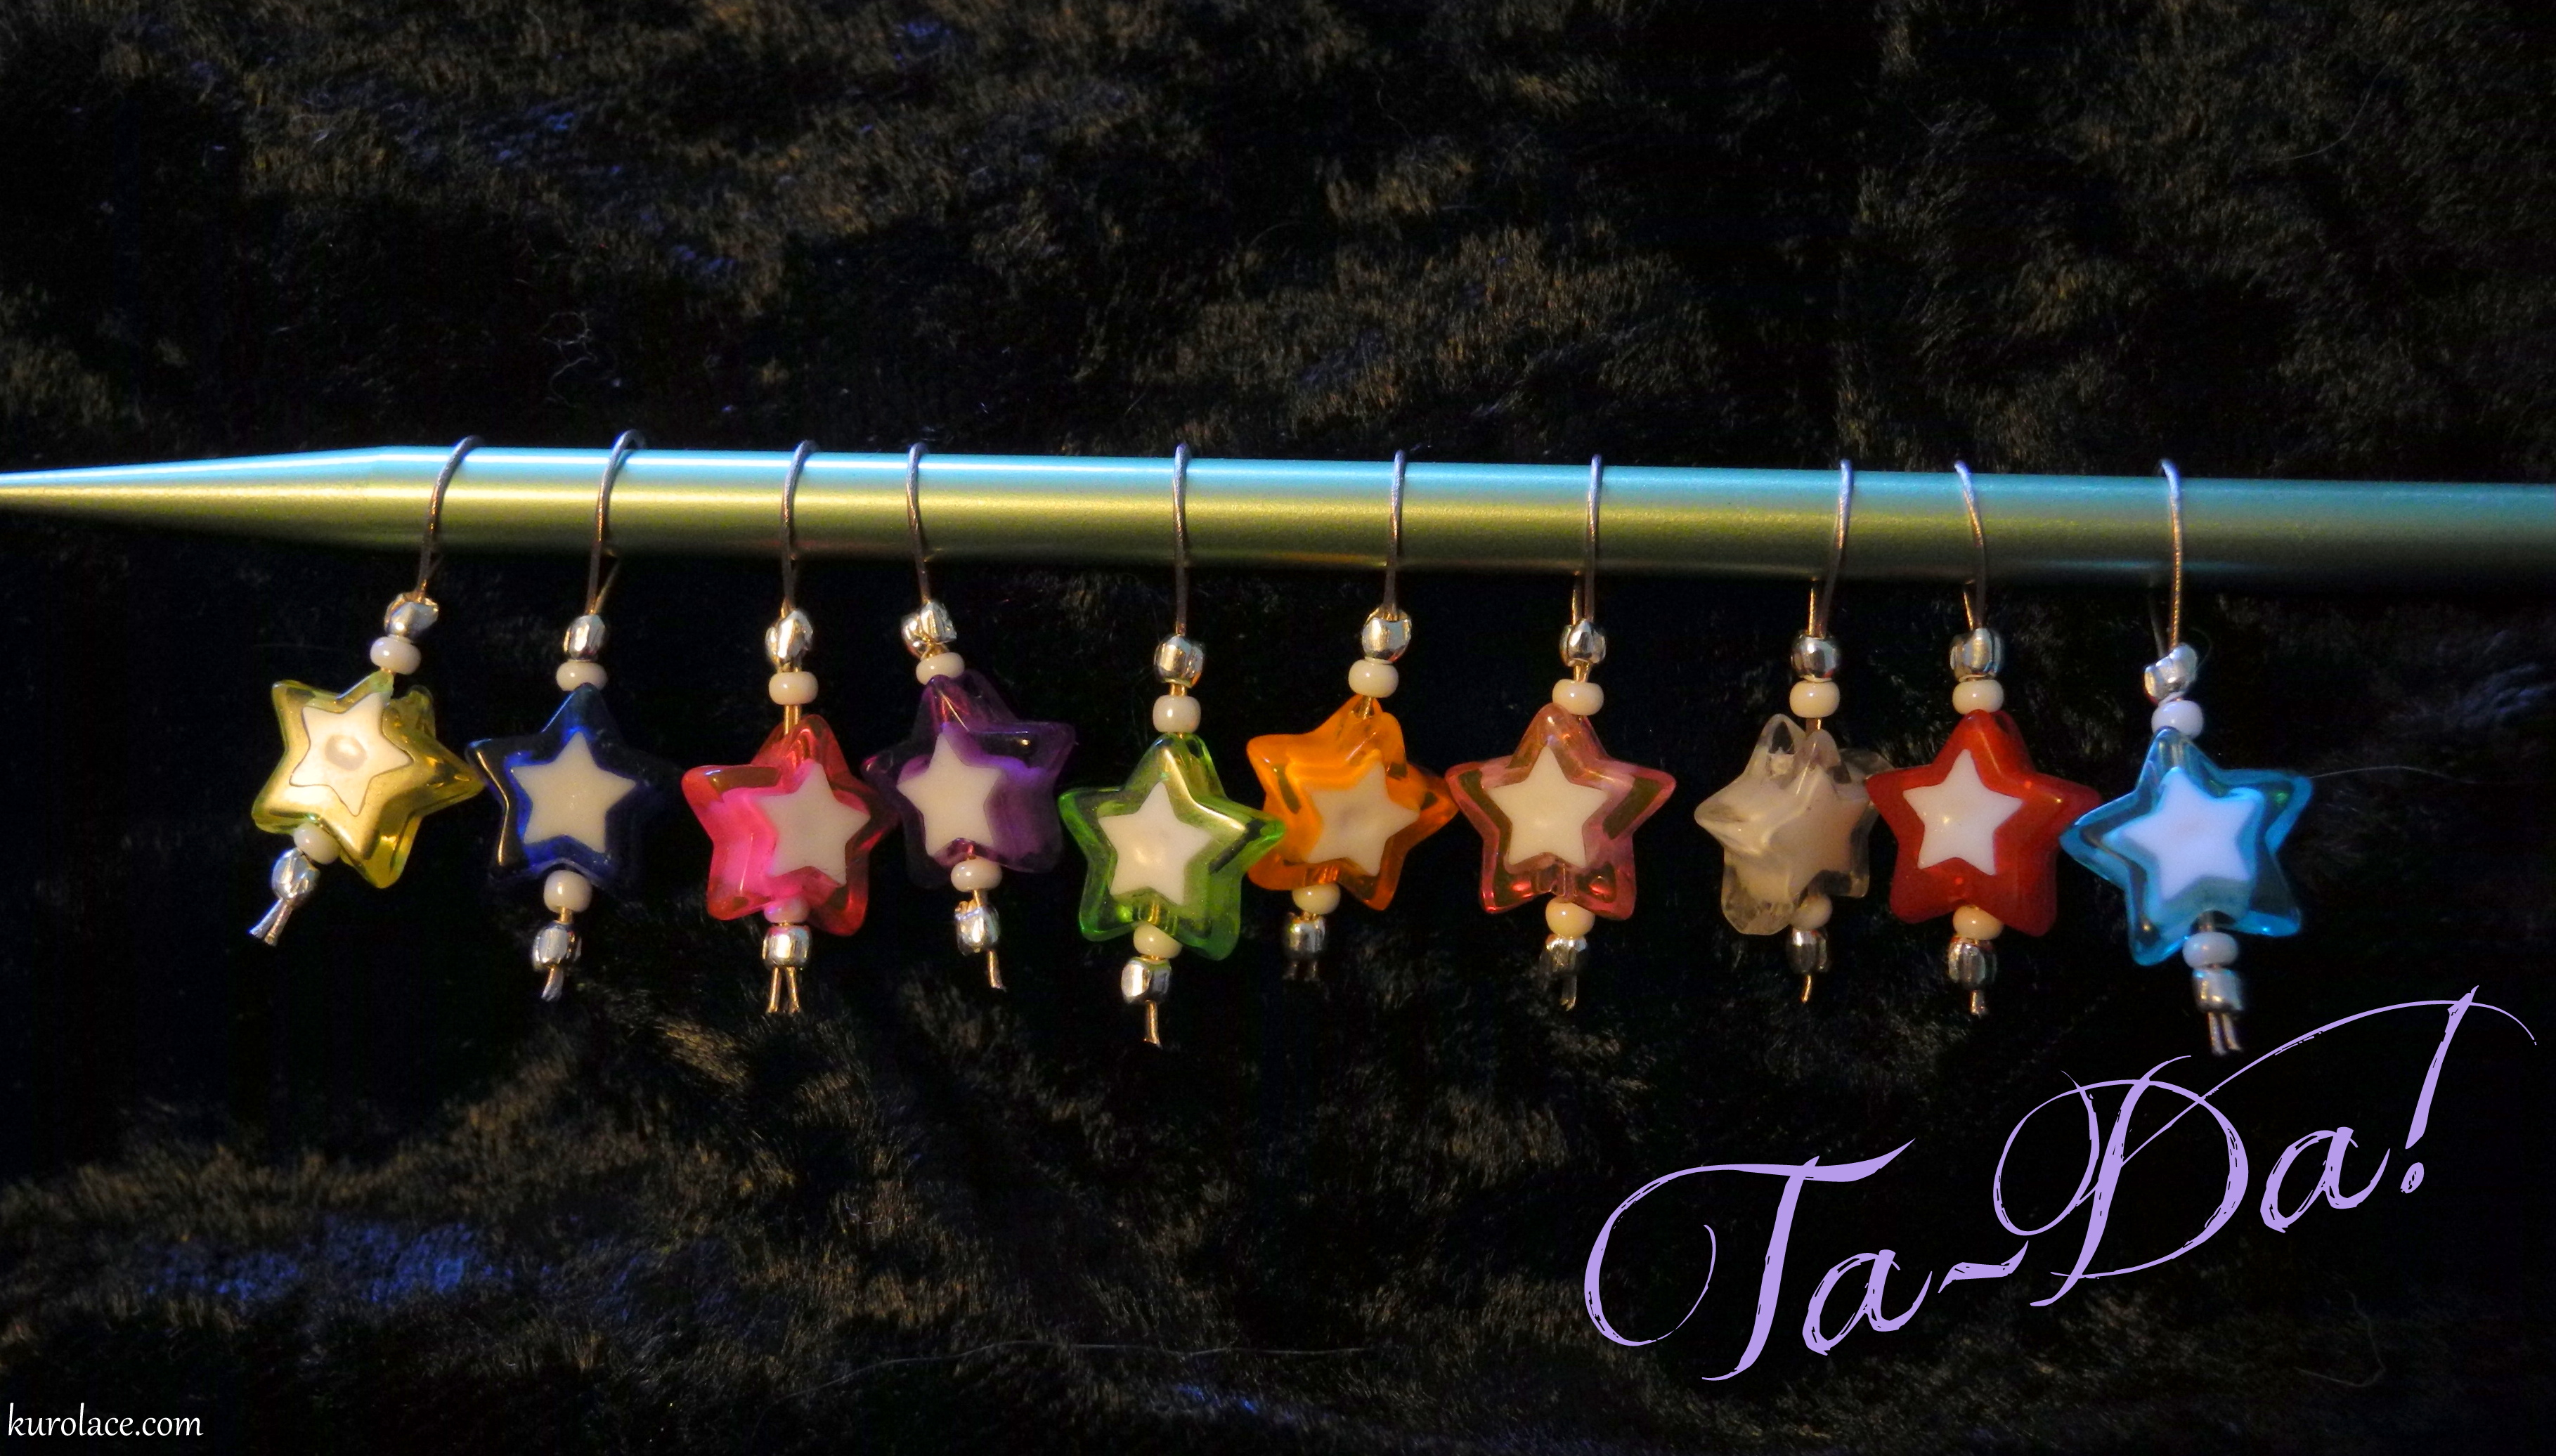
Viola! Your stitch marker is now complete! Continue on to make a matching set of 5 or 6, or make a bunch of mix-and -match ones! As you can see below, I made a large set of rainbow stars!

DSCN1863

Advertisement

Speedy Stylus Make-over

Published May 7, 2013 by kurolace

Hi There!

While at Walgreens the other day, I happened to discover that they had some smart phone styluses for sale for $5. I bought a blue one to use with my phone. Its okay on its own, but a little plain.

Seriously the hardest part was taking the bar-code sticker off.

Seriously the hardest part was taking the bar-code sticker off.

So I decided to try to beautify it a little bit. All you need to do this is some rhinestones, or rhinestone stickers, and some glue. Also the little “rhinestone picker-uper” is useful if you use small rhinestones.

Obviously the bunnies are too big, but I used one of the little hearts from that set.

Obviously the bunnies are too big, but I used one of the little hearts from that set.

A few minutes later, and you have a slightly more cute stylus! Yay! If you have some tiny cabochons, you could also use those. I didn’t happen to have any that I felt were tiny enough.

I kept it simple, so that the rhinestones don't bother my hand or get caught on stuff.

I kept it simple, so that the rhinestones don’t bother my hand or get caught on stuff.

Yep… it doesn’t get much easier than that!

How-To: Make Satin Cord Necklaces for Pendants

Published April 27, 2013 by kurolace

Today I am going to show you why you don’t ever need to buy premade cord necklaces for you pendants! Seriously people, premade ones are a rip off, and if you are selling your item, they cut into your profit margin significantly! Making satin cord necklaces (or cotton cord or leather cord ones, for that matter), is really very easy and only takes a few ingredients!

From top to bottom: Rattail (nylon), Mousetail (Rayon), Bugtail (Rayon).

From top to bottom: Rattail (nylon), Mousetail (Rayon), Bugtail (Rayon).

Before getting into the tutorial, lets talk satin cord for a minute. This is my cord of choice. I typically prefer it over cotton and leather because it is much more flexible and therefore drapes better. Its even better than chain or ball chain in many cases, but of course this depends on the overall look you are going for.

There are two types of satin cord: Rayon and Nylon/Polyester. Rayon is a bit softer and the type that I prefer. You cannot heat seal rayon, because its mostly natural fiber, but you can use clear nail polish on the ends to keep it from fraying (Or glue, or that “no fray” stuff).  Nylon/Polyester cord has a slightly stiffer body, can be heat sealed, and is the type you’ll find at Hobby Lobby in the ribbon section.  Both Rayon and Nylon/Polyester Satin cord comes in a variety of colors, and in 3 sizes: Bugtail (1-1.4mm, also called “Petite #0”), Mousetail (1.5 -1.9mm, also called “Lightweight #1”), and Rattail (2mm also called “Heavyweight #2).

Check out The Satin Cord Store to buy either rayon or nylon satin cord by the yard, in 10 yard coils, or 70-yard rolls. You can also get it from Firemountain Gems – I believe theirs is nylon – in all three sized & many colors. Hobby Lobby only carries the heavyweight nylon satin cord, but its only $1.99 (or less if you go when its on sale), for 24ft (8 yards), and they have a decent variety of colors.

The rest of the supplies for this tutorial can be bought from your favorite jewelry supply store – In my case, Beadaholique, but Hobby Lobby or Michaels may also have what you need.

Okay… lets gather our materials, to make a satin cord necklace you will need:

I apologize... the lighting only gets worse from here.

I apologize… the lighting only gets worse from here.


  • Petite #0 / Bugtail Satin Cord (you can choose any length, of course – 18″ is usually the shortest length for this type of necklace)
  • Glue, nail polish or other sealing method
  • 2 Coil cord ends to fit cord (for Bugtail, you need 1.5mm)
  • 2 jump rings
  • 2″ Extender chain
  • Lobster clasp
  • Chain Nose Pliers
  • E6000 or similar permanent glue with some working time (not superglue)

To start, cut the Bugtail cord to the length you desire. Remember 18″ is usually the shortest length for these pendant necklaces. I actually prefer 21″… Obviously you can choose the length you prefer. We will be adding a 2″ extended chain, so remember to add that in when calculating the total possible length of the finished necklace.

When putting the glue on the cord, and inserting into coil, try to avoid the end of the coil on the left side of this picture.

When putting the glue on the cord, and inserting into coil, try to avoid the end of the coil on the left side of this picture.

Seal the ends of the cord. Use glue or nail polish or “no fray” if you are using Rayon cord. Use a lighter, candle, or heat tool if you are using nylon cord. A light touch is best for this step, especially with the glue or nail polish – too much and it’ll wick into the cord and discolor it.

Apply a small amount of E6000 to one of the ends of the cord. The slip the cord into the coil end. Push it all the way in. Clean up any excess glue on the cord.

Do the same with the other end of the cord. Allow the ends to complete dry… I usually leave them for about an hour or so just for good measure.

See where the coil wire end has been clamped down?

See where the coil wire end has been clamped down?

Take your pliers and clamp down the end of the coil onto the cord. I try to avoid splitting

the cord, and I try to keep the cord centered in the coil…. but it doesn’t always come out perfectly. Don’t worry too much about that. Its only crazy nit picky people like me who notice!

Add jump rings, then extender chain and lobster clasp

Add jump rings, then extender chain and lobster clasp

Put a jump ring on each end. The add a lobster clasp to one end, and the extender chain to the other end.

Voila! You have a nice satin cord necklace for your pendant!  Make a whole bunch at one time, in a few colors, so that you have them on hand to add finished pendants to later!

In case your wondering, this cord is actually "lavender" you just can see it due to the glare.

In case your wondering, this cord is actually “lavender” you just can’t see it due to the glare.


How-to: Make Faux Chocolate Decoden Cabochons with Hot Glue

Published April 27, 2013 by kurolace

That’s right! Hot Glue isn’t just for fake sauces…. you can use it to make faux chocolate / candy cabochons for your decoden project! Its super easy and fast! And you only need a few supplies for it.

Glue sticks, molds, and glue gun

Glue sticks, molds, and glue gun

Here’s the list:

  • Opaque colored hot glue sticks (available at Hobby Lobby or on Etsy)
  • Glue gun (cool can be used, but medium/hot will give a better result – just make sure it doesn’t get hotter than the mold’s max temperature)
  • Silicon Rubber Mold (Made by you, or purchased – check out Etsy for a ton of sellers – remember simple shapes are best for this)
  • Sparkle / Glitter Nail Polish (optional)

You do need to make sure you are using a mold which can tolerate high temperatures. I think most silicon molds are good up to 400F. If it can be baked in the over, its probably okay.

There are two methods for doing this. The fastest way is to use the glue gun w/ glue stick to fill the mold. This works well with simple (smoother) shapes, especially if you are using a low temperature glue gun (the glue may start to cool before it can fill all the tiny details of a complicated mold).

I have yet to master the skill of holding the camera in one hand, and working with the other hand.

I have yet to master the skill of holding the camera in one hand, and working with the other hand.

The other way is to cut the glue stick into tiny pieces, fill the mold, and then place it in the oven. The Oven method can be used with more complicated shapes since the glue has more time to spread out. Set your oven to about 350F. Bake the mold with glue in it until the glue has completely melted and spread out in the mold.

Let the glue and mold cool completely, then pop the finished item out! If the glue overflowed anywhere, you can use a craft knife to trim it off.

I used a low temp glue gun, which is why there are so many imperfections. That's okay, because I can always cut them up and melt them via oven.

I used a low temp glue gun, which is why there are so many imperfections. That’s okay, because I can always cut them up and melt them via oven.


I had to change glue sticks half way through this, but otherwise it looks very much like a chocolate!

I had to change glue sticks half way through this, but otherwise it looks very much like a chocolate!


An optional step is to paint some glitter nail polish on the finished piece to add some sparkle.

Henna Adventures…. or: How-to Dye Your Hair Naturally

Published April 26, 2012 by kurolace

Hello Again!

Yesterday I dyed my hair with henna for the second time. The first time was over 9 months ago. Back then I used a henna/cassia mix because I wasn’t sure how red I wanted the results. This time I used a henna/indigo mix because I wanted to darken my hair a bit. I sort of messed up and didn’t take a before picture… sorry :P… my hair was sort of a warm, slightly red, light brown, but with ashy-brown roots.

1 day after using a 2/3 henna, 1/3 indigo mix (picture taken with scanner - so that's why there's a weird light :p)

In high school I had a few crazy colors in my hair, and then started using boxed grocery-store hair dye… but in college I eventually developed a sensitive scalp and had to find a new way to dye my hair. I actually let my hair grow out for about 1 year, then last summer I decided to try henna…. (it wasn’t the first time I had tried henna.. but the really-first time was such a messy disaster without any results what so ever – That was the bought-at-co-op type henna that is all twiggy and leafy when you open it up)

After searching the web I found a great site about dying your hair with henna, called: Henna for Hair. That site links to one where they sell the pure henna, cassia, and indigo that you might want to dye your hair with. Its much higher quality henna than what you might buy even at the whole foods store. Its also extremely well powdered and certified by an independent pharmacy to be safe. The pricing isn’t too bad – its more expensive than the grocery store boxed dyes, of course… but it isn’t as expensive as a trip to Aveda. I bought about 200g of henna, and 100g indigo, for $36, and it turned out to be twice the amount I needed.


Steps for dying your hair:

1) (Optional) Do a test swatch by harvesting hair from your brush and preparing a small amount henna to dye it in. (I’ll admit, I always skip this step – but if you area really picky about what color your hair turns, then you should go ahead and do this) Try different strengths of solution and different lengths of time until you get what you want. Henna for Hair sells small sample amounts that you can use to find your ideal color.

2) Buy enough henna to cover your hair  – if you haven’t already. The Henna for Hair website claims you need about 100g per 3inches of hair, but in my case that wasn’t true. I have really fine hair, so although its long, it just doesn’t need a full 500g of dye (the amount that I bought the first time ). Even 300g was too much. BUT I think you’re best getting the full recommended amount the first time, so that you don’t run out. – Luckily henna can be frozen and stays good for a few months that way (so you can save left overs – just don’t forget about it!). Unfortunately I don’t think indigo can be saved.

3) Mix up your henna the night before, using something acidic like lemon juice. Let the henna develop for 12 hours.

4) The next day, section your hair carefully and wind the sections up into mini buns all over your head. The more sections, the better – it’ll be easier and faster to apply the henna. MAKE SURE to use plastic accessories / pins, because metal can react with henna and ruin it.

5) Clear the area where you’re going to work. If you want to, you can put down plastic or wear a garbage bag if you are worried about getting stuff on you or the floor. Definitely wear latex / rubber gloves – or else by the time you finish dying your hair, your hands will be dyed too.

6) If you are using any indigo… now is the time to mix it up with some water, then add it in with the henna and stir well. Don’t let it sit around, or it will loose its potency.

7) Apply henna to head. The instructions that came with my order said to “pack it on like a child making mud pies” lol… I used a salon highlighting brush to apply my mixture… you can easily buy one on amazon. It took me forever to apply the mixture… about 1.5 hours. But I am slow and have a hard time with the back of my head … plus my hair is long. The easiest (and fastest) way to dye your hair, of course, is to get someone else to apply the mixture to your hair – like your mom, sibling, girl/boyfriend or friend.

8) After you’ve gotten all of your hair covered in dye, wear a shower cap. You’ll need to leave the dye in for a long time…. at least 2 hours. You can blow dry your hair a little bit to speed up the process.

9) Rinse all of the dye out. Shampoo and condition if you want to. Henna darkens a little bit over the next 2 days.

Above the instructions, you may have noticed I mentioned both Cassia and Indigo. Cassia is sometimes called “blonde henna”… but its a different plant. Its a very lightly colored dye and wont show up much (or at all) if you have darker hair. But it makes a good “spacer” and a conditioner. That’s why I used it to dilute the henna for my attempt 9 months ago. Indigo is a plant which can dye your hair black. It only takes about 2-3 hours to become useless, so that’s why you don’t mix it up ahead of time like you would the henna or cassia.

Natural hair dyes can’t get you blue, green, or purple hair…but you can achieve dark auburn, red, or black hair… which are all good Goth hair colors in my book. 🙂 By mixing different amounts of henna, cassia, and indigo, as well as a adding a few herbs, you can really tweak your hair color to exactly what you want. For instance…. mixing henna and cassia together, and using it on light hair, can result in strawberry blonde hair. Pure henna will usually result in red or auburn hair. Henna mixed with indigo can result in auburn, dark auburn, or brown hair. And indigo, applied after rinsing out henna, can create a beautiful midnight / jet black.


Gemstones – Uses and Meanings

Published April 25, 2012 by kurolace

Oh, hi there….. 😛 Sorry for being absent for almost 2 months. I’ve been kinda busy. In March, one of my cats had to be put to sleep 😦 Well, it wasn’t a surprise… he was 17 years old, diabetic, and also had cancer. He suddenly stopped eating, and after 2 days of no food, he could no longer move around on his own – not even to go the bathroom. So, my parents took him to the vet and did what had to be done…. 😦 RIP Maximilian.

Also I had to sort out my taxes. This is the first year I filed taxes by myself. To make it complicated, I have to do self-employment taxes since I’m technically an independent consultant when it comes to my job. On top of that, one of my former employers (from my time at the university) sent my W-2 to the wrong address, so I had to request another be sent.

Enough excuses… lets get down to business.

Today I want to write a little about gemstones. Attributing meaning to rocks and minerals is an age old practice. The most common place we see this in the modern era is birthstones. Birthstones are commonly used in jewelry. If you make jewelry, designing birthstone-themed pieces can be a good starting point when you are lacking design ideas, or if you’re making a gift for a friend. One thing about birthstones that I find interesting are the wide variety stones you can choose from for each month. Yep – that’s right – there are actually a lot more birth stones assigned to each month than just one….. But the one that you are likely familiar with comes from the English traditions – which was “standardized” in 1912 by the National Association of Jewelers.

What’s Your Birthstone?

Wikipedia has a great chart which lists the birthstones according the month of birth, and there’s also a poem from the middle ages about birthstones. However, its missing some of the Eastern and Ancient birthstones.

Here’s a list combining both ancient and modern birthstones (US standard / popular listed first):

January — Garnet … and: Onyx, Quartz, Beryl, Jet, and Obsidian

February — Amethyst … and: Blue Sapphire, Hyacinth (yellow zircon), Lapis, Aquamarine,

March —  Aquamarine & Bloodstone …and: Diamond, Turquoise, Jade, Jasper, Tourmaline,

April — Diamond … and: Ruby, Red Jasper, Rock Crystal, Carnelian, Coral

May — Emerald … and: Chrysoprase, Golden Topaz, Lapis, Azurite, Agate

June — Pearl, Alexandrite, & Moonstone … and: Cat’s Eye, Crystal, Agate, Aquamarine, Beryl,  Turquoise

July — Ruby …and: Cornelian, Moonstone, Pearl, Green Turquoise, Sapphire

August — Peridot … and: Amber, Sardonyx, Ruby, Jacinth, Topaz, Moonstone

September — Sapphire …and: Pink Jasper, Rhodochrosite, Azurite, Star Sapphire, Lapis Lazuli, Zircon

October — Opal… and: Fire Agate, Agate, Tourmaline, Coral

November — Topaz … and: Cat’s Eye, Citrine, Coral, Garnet, Ruby, Zircon

December — Turquoise … and: Amethyst, Bloodstone, Malachite, Ruby, Tanzanite, Topaz


Gemstone Powers – Uses and Meanings

Remember those power bead bracelets? Different colors of stones / beads were attributed specific benefits that they were supposed to grant the wearer. You could often buy them up near the cash register in bookstores or novelty stores… I’m sure you can still find them in some shops (although, it seems to me that the height of their popularity was back in about 1998-2000). The only problem with such bracelets was that there wasn’t always a consistent pattern in regards to which stone bracelet represented what.  Sometimes the meaning was based more on the color of the stone than anything else.

I have an entire book on the subject of gemstones’ beneficial properties and effects. Its called Stone Power, by Dorothee L. Mella…. published back in the 1980s. In it she lists some 48 stones with their uses and meanings. Needless to say, that some of it overlaps and some contradict…. I’m generally of the opinion that things mean / represent whatever you want them to represent. But here are just a few of the more popular associations:

Lapis Lazuli – A spiritual stone, it was associated with power, love, and Universal Truth (Ancient Egypt)

Opal – Commonly believed to open one’s mind to visions, used for prophecy and divination (Greece)… also considered a stone of romance and love

Pearls – Associated with femininity and beauty.

Peridot – Believed to contain the power of the sun, and the ability to cure liver disease, as well as jealous thoughts (Ancient Egypt)

Obsidian – A stone of protection, often found in ancient South American amulets and lucky charms.

Malachite – Thought to ward off negative energies (additionally thought to be able to warn owner of impending danger by breaking in half)

Moonstone – Associated with moon magic… but also used to promote love. Romans associated the stone with Diana.

Emerald – Represents security in love… also thought to strengthen memory and increase intelligence.

Garnet – A protective stone thought to help heal emotional issues and also clear the body of toxins. Increases positivity.

Coral – Thought to destroy negative energy. It was used by the Romans to protect children. Also used to by newlyweds to protect against sterility.


Well, that’s all for now, since this post has gotten rather long! Hopefully this has been of some use to someone out there :)… Of course, you can find lots of additional information by looking up specific stones, or by looking into specific traditions (Modern vs. Ancient, Western vs. Eastern). I’m sure there are newer books out there than the one I have (which, btw, was kind of a random handout from my grandmother, lol).


Two Ways to Heat-Free Curls

Published March 4, 2012 by kurolace

Hiya! The other day while working, I was also on YouTube browsing through some beauty videos. I came across two really great videos about how to curl your hair without heat. I found both of these ideas really interesting, and although I have yet to try them, I wanted to share them here on my blog. I’m a big fan of “no-heat” or “little heat” hair styles. I personally don’t blow dry my hair unless I absolutely have to, and I prefer to use old-fashioned means for curling my hair (satin rollers are one of my favs!)…

The first video shows you how to use a head band to get curls. I actually went out to the store to buy a suitable head band to try this with… Then when I started trying to use it, I realized that I think my hair is a little too long for this method, so I’ll have to wait until after I cut my hair (which I’m planning to do soon).

The second video uses socks(!). This is genius and one of those “why didn’t I think of that?” sort of things. Actually, I was thinking that instead of socks I might go buy some terry cloth from the fabric store, cut it into strips, double them over and sew them, so that they are a little smaller and easier to take up high on the head. BTW, the girl in this video… I am SO jealous of her hair. I wish I could grow my hair out that long and have it look so full.

Well, there you go. 🙂 Hope you find these videos as interesting as I did 😛

How-To: Easiest Bracelet Ever

Published February 21, 2012 by kurolace

Whether you are new to making jewelry, or an old-timer who just wants to whip up something fast, these stretchy bracelets are the easiest beading project I know of.

A nice & short supply list

One thing that makes them easy is the fact that you don’t need any pliers or wire cutters or crimps, etc. You just need:

  • Some beads (I’m using black 6mm matte glass beads & flat diamond-shaped red glass beads)
  • Stretchy Beading Cord – This comes in different colors and diameters, so make sure you get the right diameter for the beads you are using.
  • Hypo-Cement
  • Scissors and a measuring tape or ruler

You should be able to find every thing you need at your local hobby / craft store, but if not, you can certainly find it online.

One of the most important things about making a stretchy bracelet is to make sure you make it the right length. It needs to be long enough to fit around your wrist comfortably, but short enough that it doesn’t fall off your hand. If you are making the bracelet for yourself, you can measure your own wrist to get an idea of how long to cut the cord. If you are making the bracelet as a gift, or to sell, then you can usually go by the guideline of about 7-7.5″ for most adults. (7.5″ is usually a bit too long for these stretchy bracelets though) Cut the cord to at least 8.5 inches just to be safe – this way you’ll have enough for when you make the finishing knot.

If you are using really big beads, you’ll need to make the bracelet longer. If you use really small beads, you’ll make the bracelet shorter. So as

I actually only cut the cord to 7.5", which was almost too short. I barely could tie the knot!

you string the beads,  keep checking the length of the bracelet by wrapping it around your wrist.

Once you’ve got it to the proper length, you’ll need to tie a knot. I use a basic square knot (right over left, left over right).

Now the awkward part… Before you pull the square knot tight, you need to put a dab of hypo-cement in the middle of the knot. Then pull the knot tight, and hold it for a few minutes as the glue sets. Try not to get any glue on the beads next to the knot.

Let the knot dry completely – say, about 10 minutes to be sure. Then try the bracelet on. Take it off, put it on, pull on the cord a little bit to make sure the glue & knot hold.

Finished!

If you used a small enough (diameter) cord, with beads that have larger holes, you might be able to stick the cord ends back through the beads. Otherwise, trim the cord down so that there is only about 2 mm on each side of the knot.

Voila! You’ve got yourself a bracelet. You can wear just one, or make a few to mix & match.

A few extra notes:

  • If you are planning to sell the bracelet or to give it as a gift, please take if for a “test drive” : Wear it for at least a few hours or a full day, to make sure the knot holds.
  • You can use a crimp bead & cover on the larger diameters of cord if you want. This way you cover the knot up.
  • Clean the tip of the hypo-cement off before trying to put glue on the knot. Having old, semi-dried globs at the end can make the knot look messy.
  • You can string a lot of bracelets and then knot and glue them all at once (This way you only have to uncap & use the hypo cement once). I use those clamp-paper clips (the ones with the black clamp) at each end of the bracelet in order to hold the beads on the cord.

Some of the many stretchy bracelets I've made.

How To: Straighten Ribbons

Published February 14, 2012 by kurolace

I use a lot of ribbons to make hair accessories and jewelry… and sometimes I buy those “grab bag” deals at my local craft store. Inevitably, some of the ribbons are crumpled up… to the point of being unusable. But ribbons are expensive… so I don’t want to throw those crinkled ribbons away. Fortunately, there is a very easy, and fast, way to straighten ribbons.

Hair straightener & wrinkled up ribbon

All you need is the crinkled ribbon and a hair straightener. I think a large curling iron would also work, because large, loose curls in a ribbon aren’t obvious in most projects.

The process is simple and probably obvious to most people, but here’s a quick step-by-step:

Plug in the straightener and turn dial to lowest setting. Remember most ribbons are made from synthetic materials, which can melt if you use too high of a setting.

Slowly and firmly start to straight iron the ribbon. Start ironing just above the wrinkled part, moving slowly along the length of the ribbon to the end. Repeat this over and over until you notice the ribbon looking much better.

Depending on the type of ribbon you are working with, some creases might still be visible. The red ribbon pictured has a more paper-y feel to it, and still has creases… but it’s now much more workable than when it was all wrinkled up.  Straightening works very well on satin ribbons, although I sadly don’t have any pictures to show you that.

Yes, still creased, but much better than before!

So, there you have it… No reason to buy a fancy “ribbon straightener”… (yes, they do make these).