Today I am going to show you why you don’t ever need to buy premade cord necklaces for you pendants! Seriously people, premade ones are a rip off, and if you are selling your item, they cut into your profit margin significantly! Making satin cord necklaces (or cotton cord or leather cord ones, for that matter), is really very easy and only takes a few ingredients!

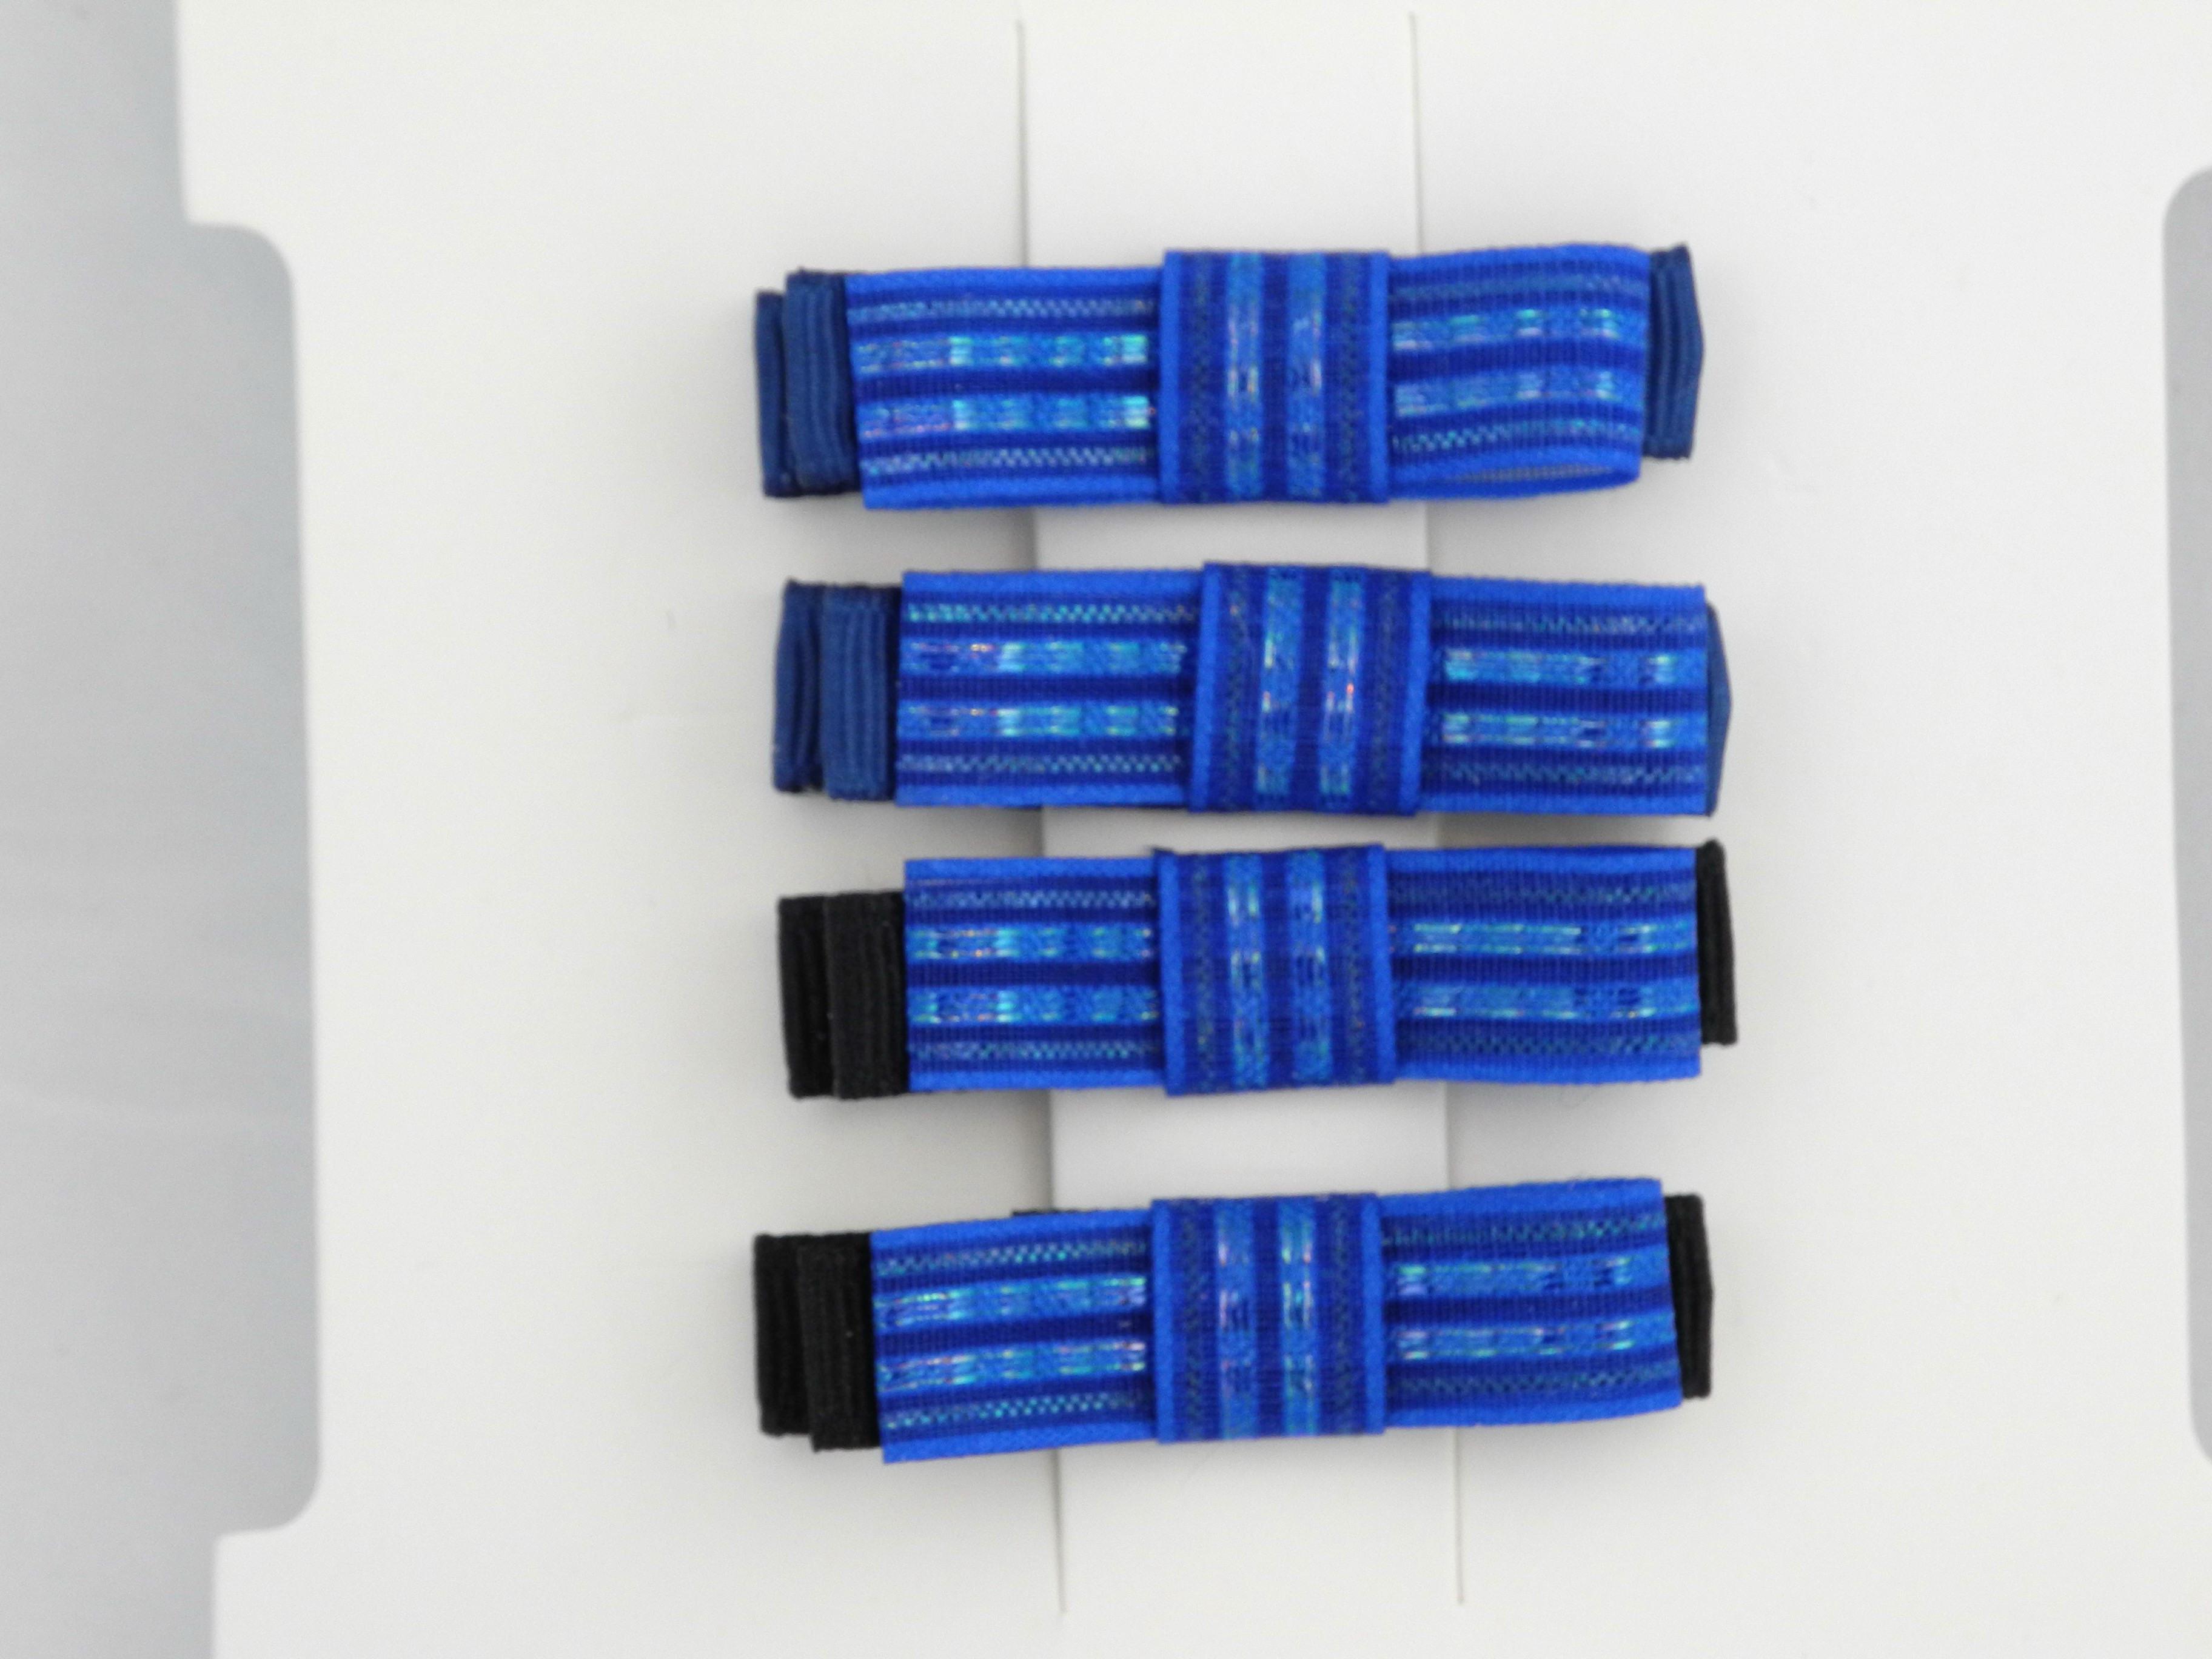
From top to bottom: Rattail (nylon), Mousetail (Rayon), Bugtail (Rayon).
Before getting into the tutorial, lets talk satin cord for a minute. This is my cord of choice. I typically prefer it over cotton and leather because it is much more flexible and therefore drapes better. Its even better than chain or ball chain in many cases, but of course this depends on the overall look you are going for.
There are two types of satin cord: Rayon and Nylon/Polyester. Rayon is a bit softer and the type that I prefer. You cannot heat seal rayon, because its mostly natural fiber, but you can use clear nail polish on the ends to keep it from fraying (Or glue, or that “no fray” stuff). Nylon/Polyester cord has a slightly stiffer body, can be heat sealed, and is the type you’ll find at Hobby Lobby in the ribbon section. Both Rayon and Nylon/Polyester Satin cord comes in a variety of colors, and in 3 sizes: Bugtail (1-1.4mm, also called “Petite #0”), Mousetail (1.5 -1.9mm, also called “Lightweight #1”), and Rattail (2mm also called “Heavyweight #2).
Check out The Satin Cord Store to buy either rayon or nylon satin cord by the yard, in 10 yard coils, or 70-yard rolls. You can also get it from Firemountain Gems – I believe theirs is nylon – in all three sized & many colors. Hobby Lobby only carries the heavyweight nylon satin cord, but its only $1.99 (or less if you go when its on sale), for 24ft (8 yards), and they have a decent variety of colors.
The rest of the supplies for this tutorial can be bought from your favorite jewelry supply store – In my case, Beadaholique, but Hobby Lobby or Michaels may also have what you need.
Okay… lets gather our materials, to make a satin cord necklace you will need:

I apologize… the lighting only gets worse from here.
- Petite #0 / Bugtail Satin Cord (you can choose any length, of course – 18″ is usually the shortest length for this type of necklace)
- Glue, nail polish or other sealing method
- 2 Coil cord ends to fit cord (for Bugtail, you need 1.5mm)
- 2 jump rings
- 2″ Extender chain
- Lobster clasp
- Chain Nose Pliers
- E6000 or similar permanent glue with some working time (not superglue)
To start, cut the Bugtail cord to the length you desire. Remember 18″ is usually the shortest length for these pendant necklaces. I actually prefer 21″… Obviously you can choose the length you prefer. We will be adding a 2″ extended chain, so remember to add that in when calculating the total possible length of the finished necklace.

When putting the glue on the cord, and inserting into coil, try to avoid the end of the coil on the left side of this picture.
Seal the ends of the cord. Use glue or nail polish or “no fray” if you are using Rayon cord. Use a lighter, candle, or heat tool if you are using nylon cord. A light touch is best for this step, especially with the glue or nail polish – too much and it’ll wick into the cord and discolor it.
Apply a small amount of E6000 to one of the ends of the cord. The slip the cord into the coil end. Push it all the way in. Clean up any excess glue on the cord.
Do the same with the other end of the cord. Allow the ends to complete dry… I usually leave them for about an hour or so just for good measure.

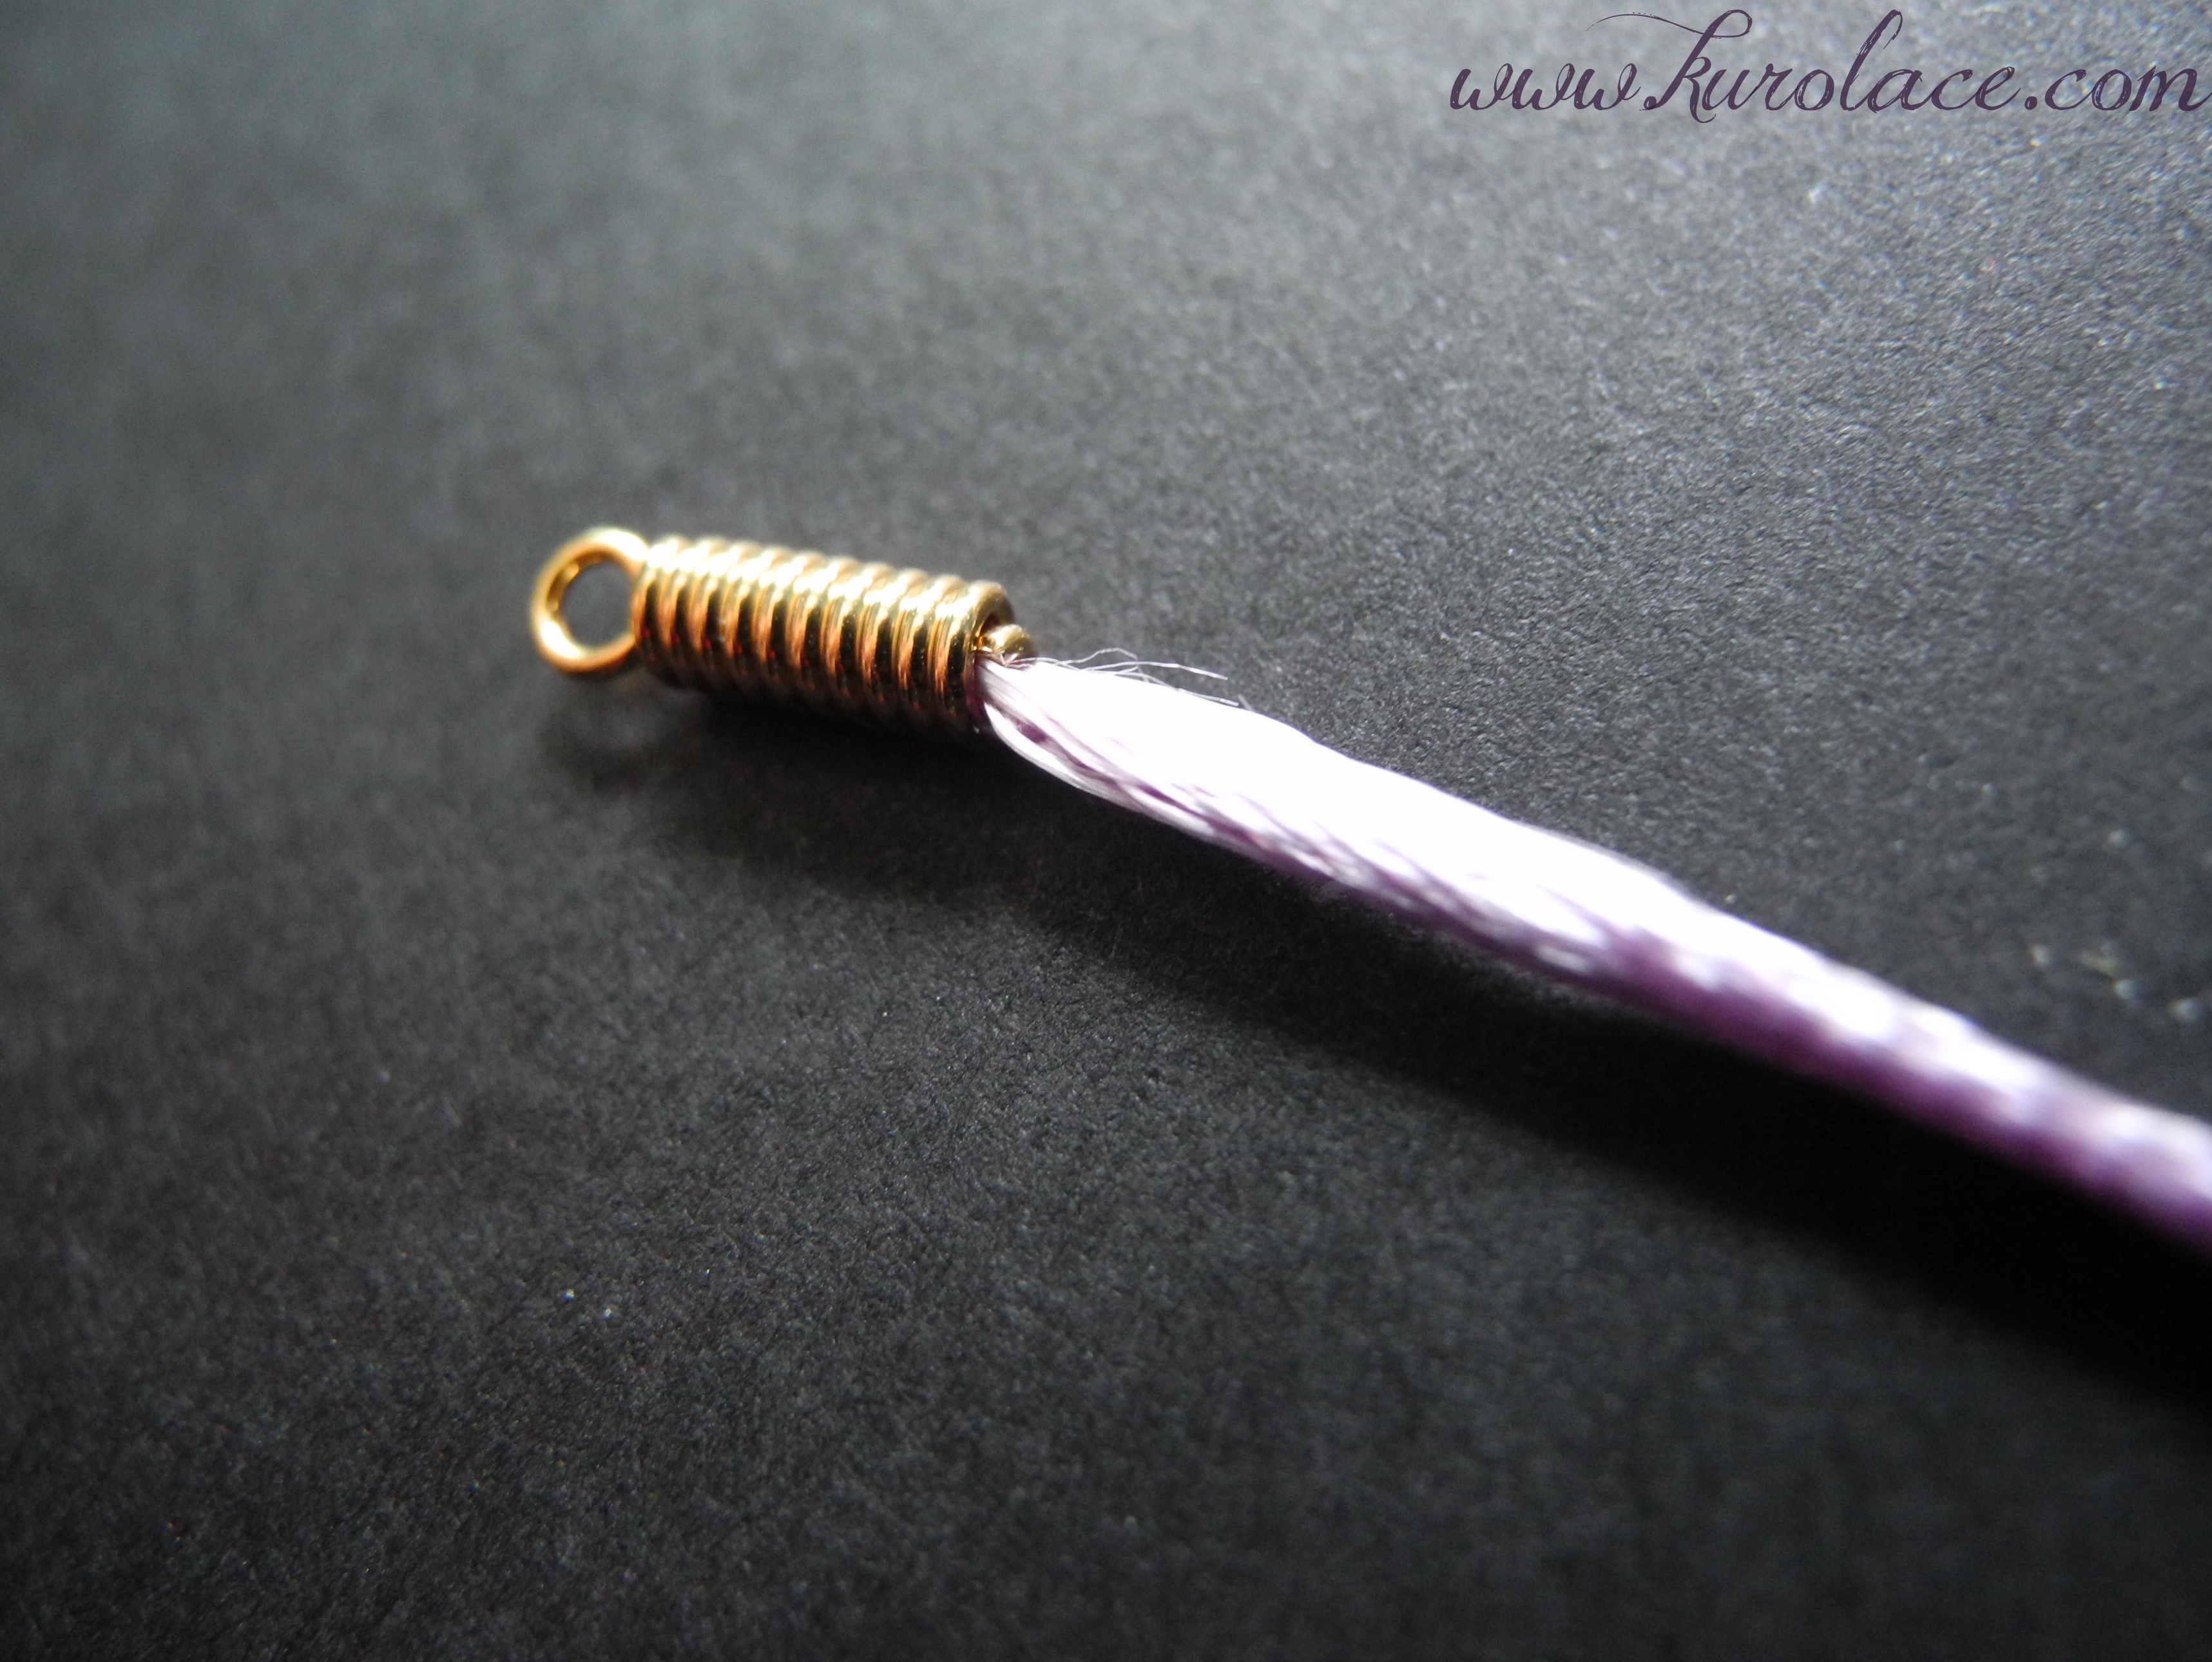
See where the coil wire end has been clamped down?
Take your pliers and clamp down the end of the coil onto the cord. I try to avoid splitting
the cord, and I try to keep the cord centered in the coil…. but it doesn’t always come out perfectly. Don’t worry too much about that. Its only crazy nit picky people like me who notice!

Add jump rings, then extender chain and lobster clasp
Put a jump ring on each end. The add a lobster clasp to one end, and the extender chain to the other end.
Voila! You have a nice satin cord necklace for your pendant! Make a whole bunch at one time, in a few colors, so that you have them on hand to add finished pendants to later!

In case your wondering, this cord is actually “lavender” you just can’t see it due to the glare.