
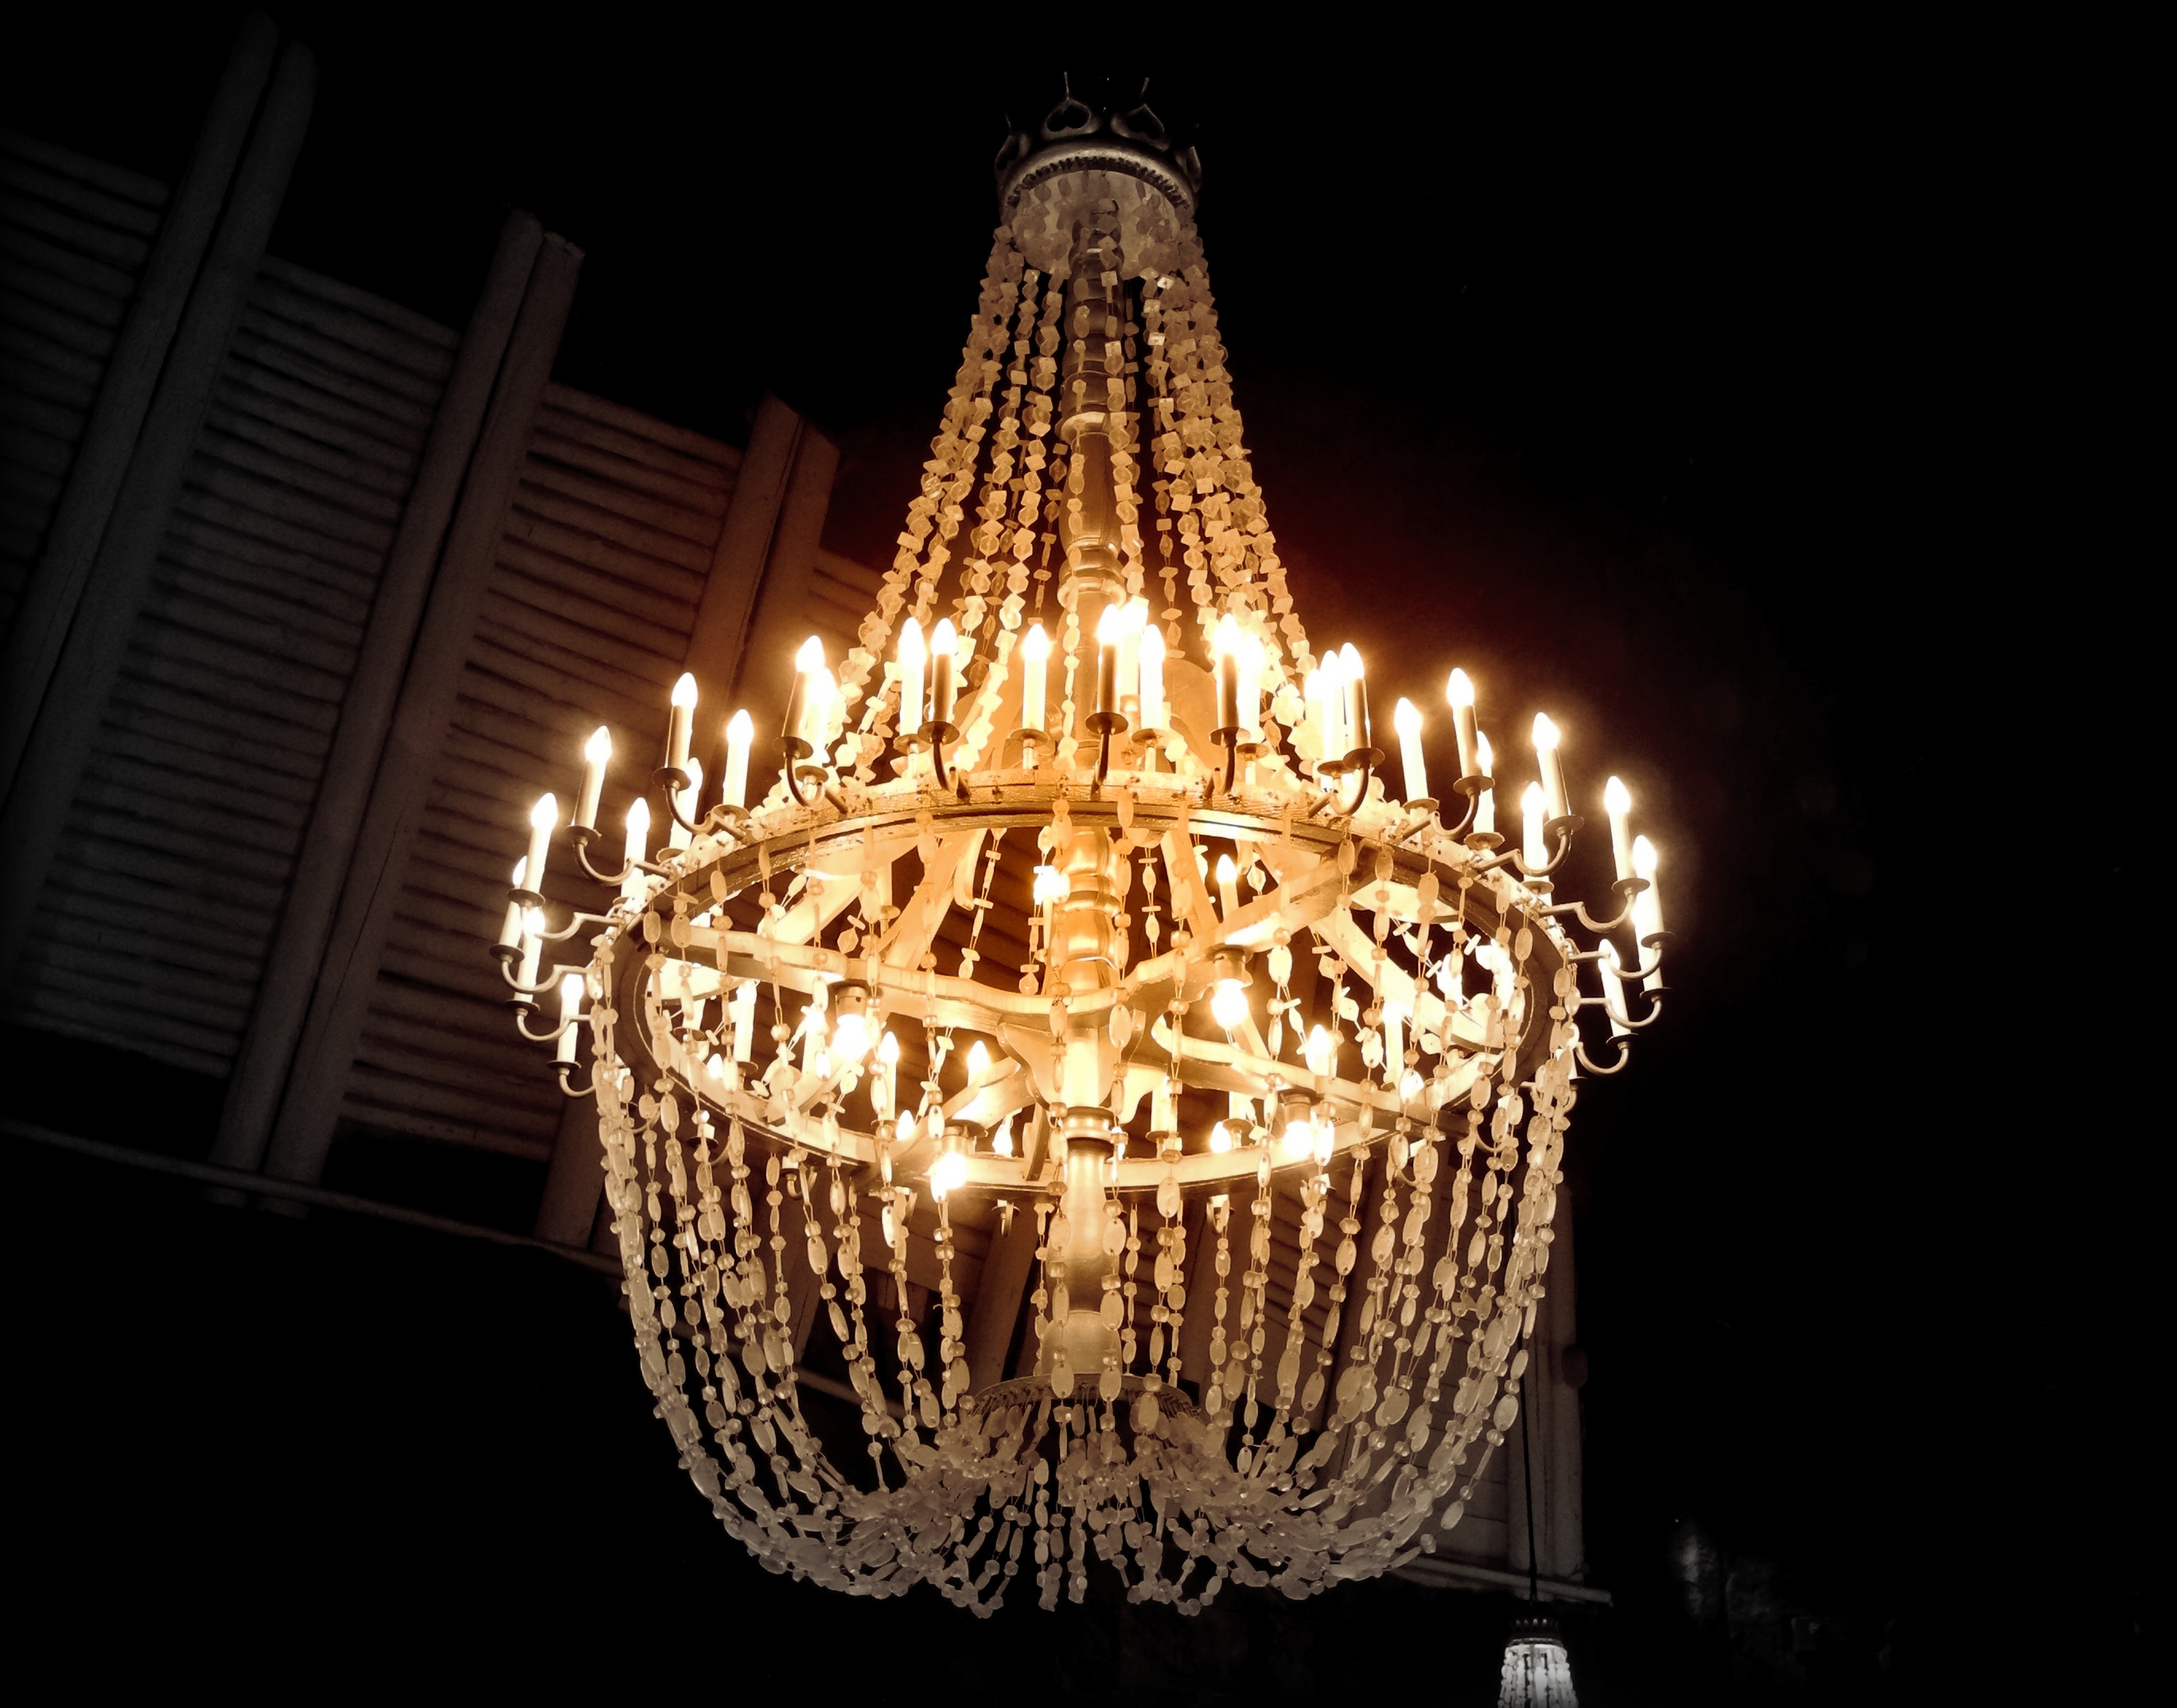
Lights inside a restaurant in Krakow.
Lights inside a restaurant in Krakow.
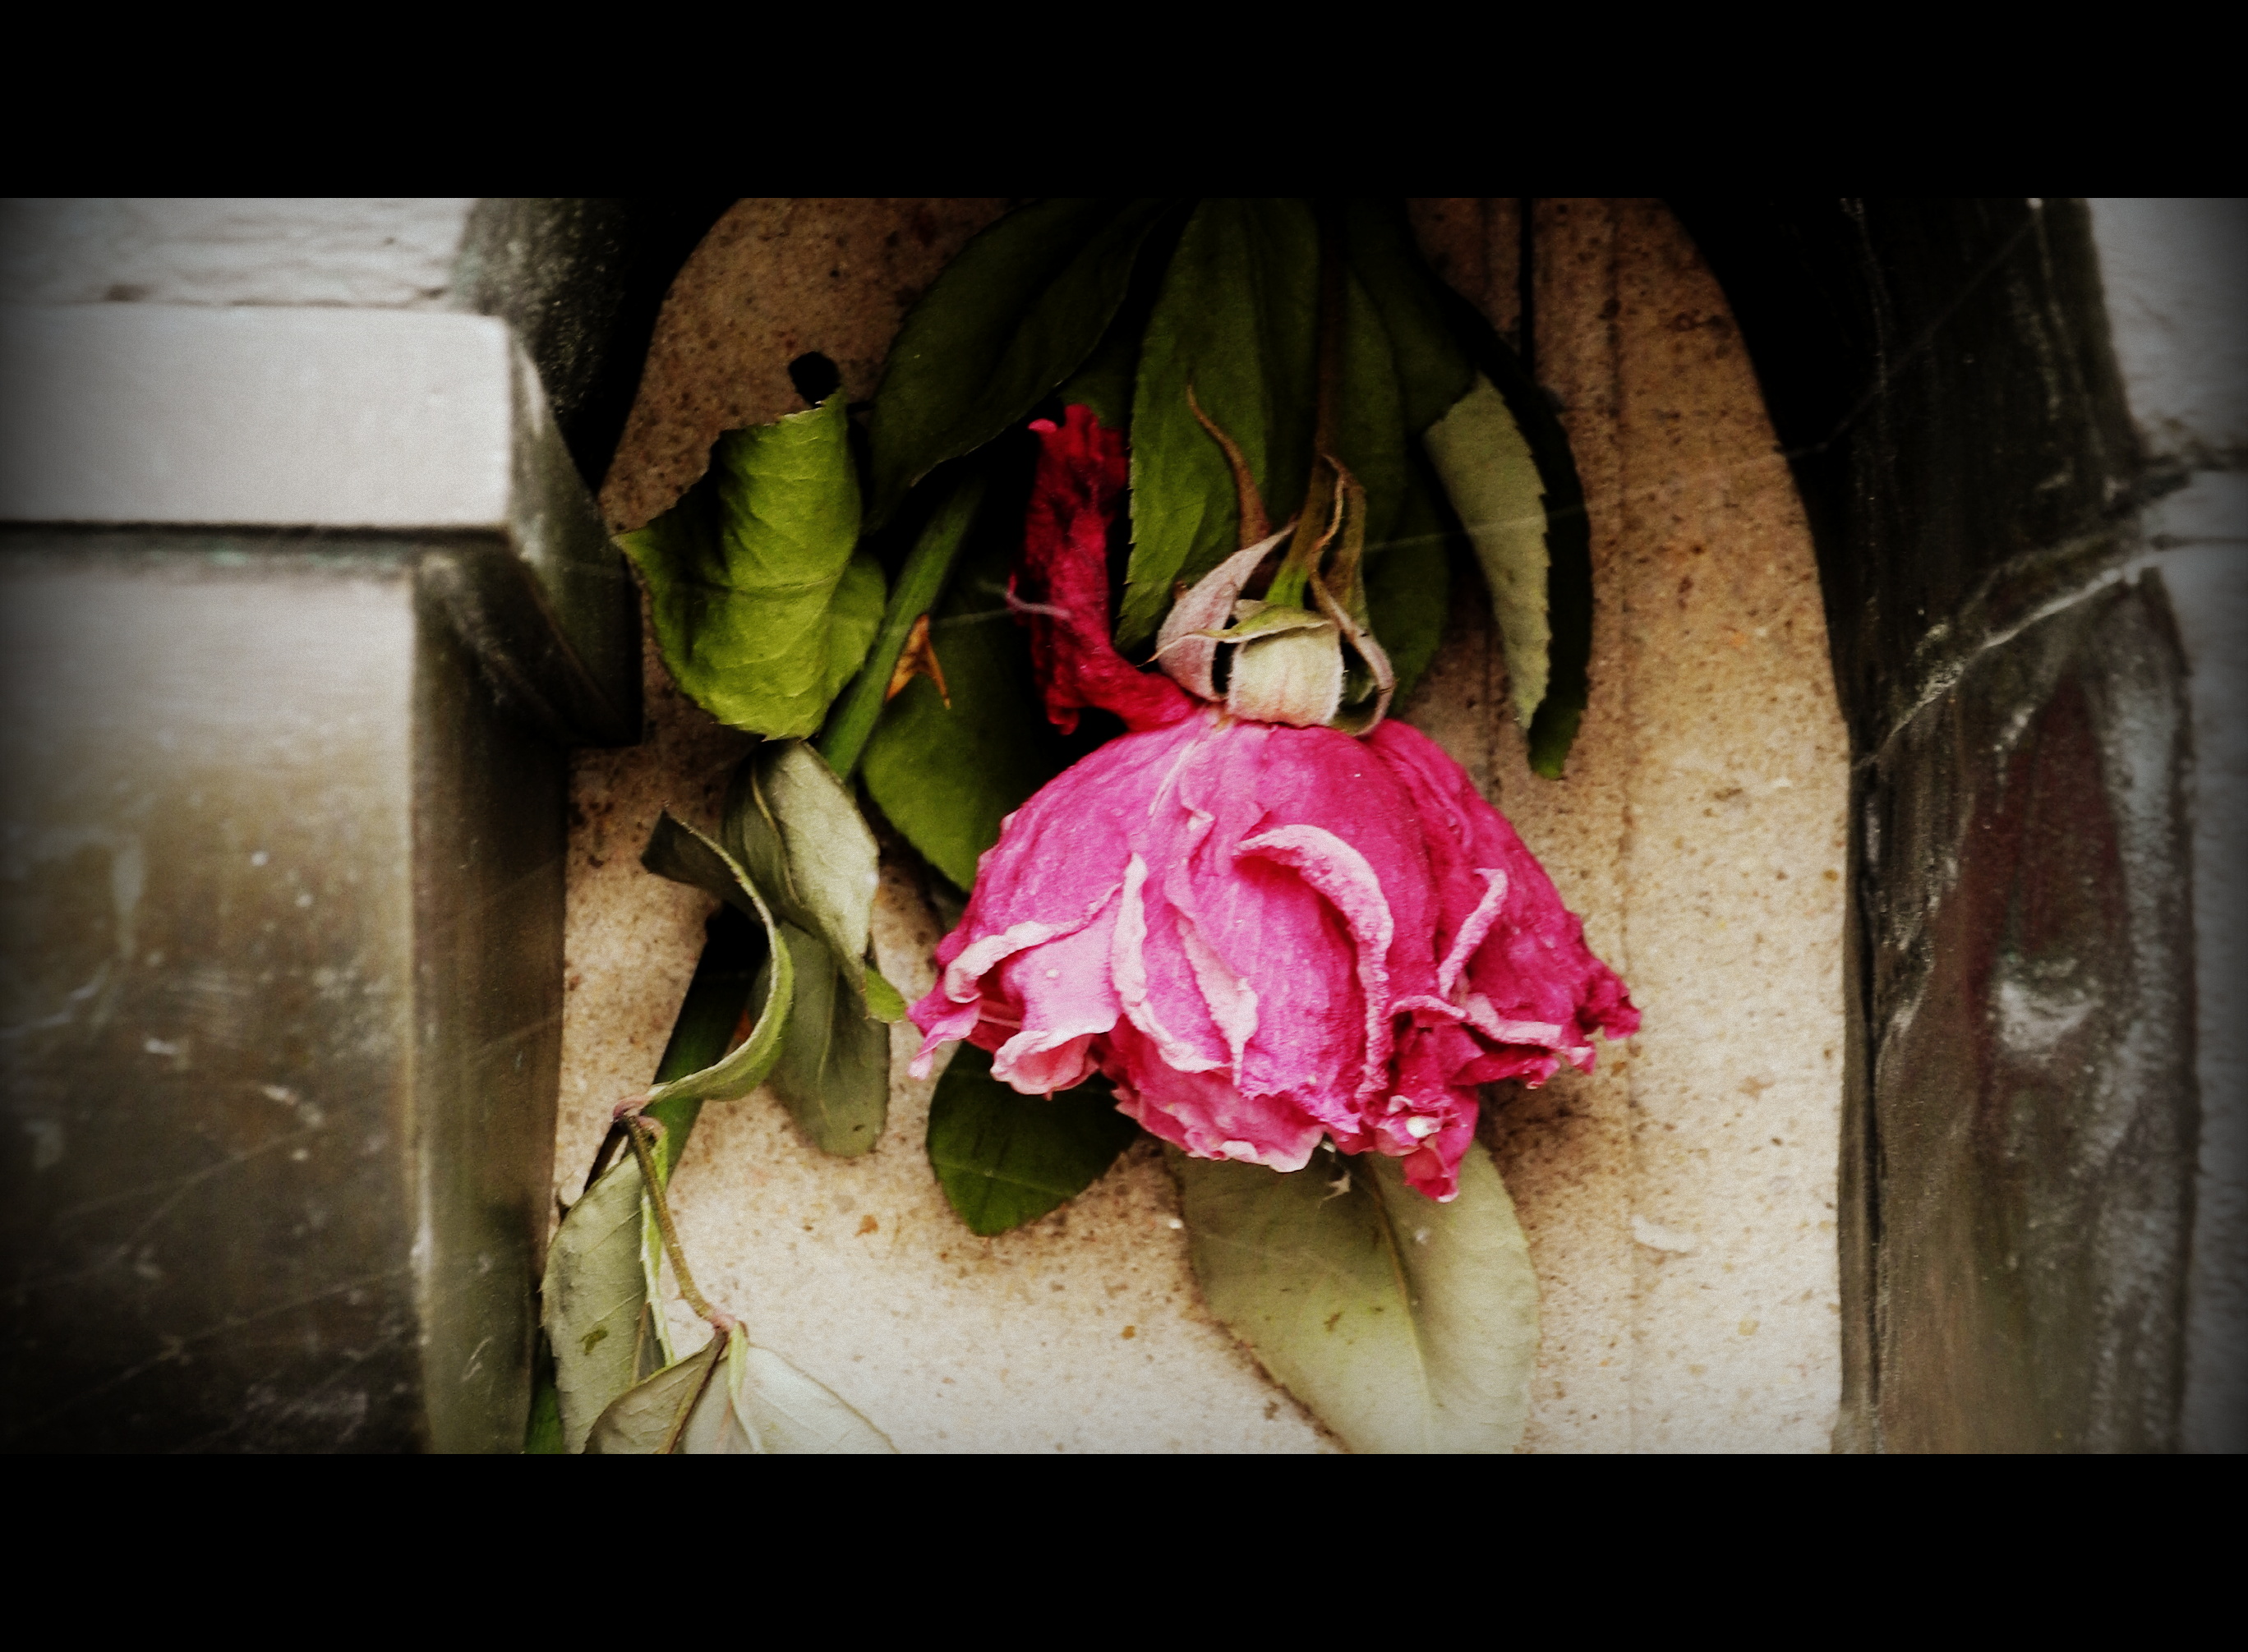
Random rose tucked into a wall decoration/alter thing at a church in Krakow.


Glass art light in a restaurant in Krakow
Hello Sweet Strange-lings.
So I’ve been on a bit of a hiatus from WordPress. Things were quite busy for me during the summer as I was taking an online class, an in-person art class, volunteering at the hospital, working part time, AND getting ready to go to Poland! Yes, I found out toward the end of June that I would be coming to Poland to do an English teaching internship. There was only about a month and a half to get everything in order, so things were quite frantic. We were also fostering kittens and doing other things at my house.
So I have been in Poland for about a month. Things here haven’t exactly gone as I had imagined they would, there’s plenty of chaos, bullying, and general BS in relation to this job. But I’m in a slightly more steady situation now after 1 month. I’m going to be here until at least Valentine’s Day, perhaps longer. I sort of want to stay on a year so that I can go to Wave-Gotik-Treffen in Leipzig in June! Although I would need to find someone to go with before then, cause I’m way too much of a scaredy cat on my own! But seriously, how cool would that be?
Well, hopefully I’ll be getting some pictures up soon of places and cool things (bought a few cool accessories here), and in the meantime I’ll be catching up reading others’ blogs!
Oh, and I would looove to hear from anyone in Poland, and also from anyone who may be going to WGT!
Hi There!
While at Walgreens the other day, I happened to discover that they had some smart phone styluses for sale for $5. I bought a blue one to use with my phone. Its okay on its own, but a little plain.
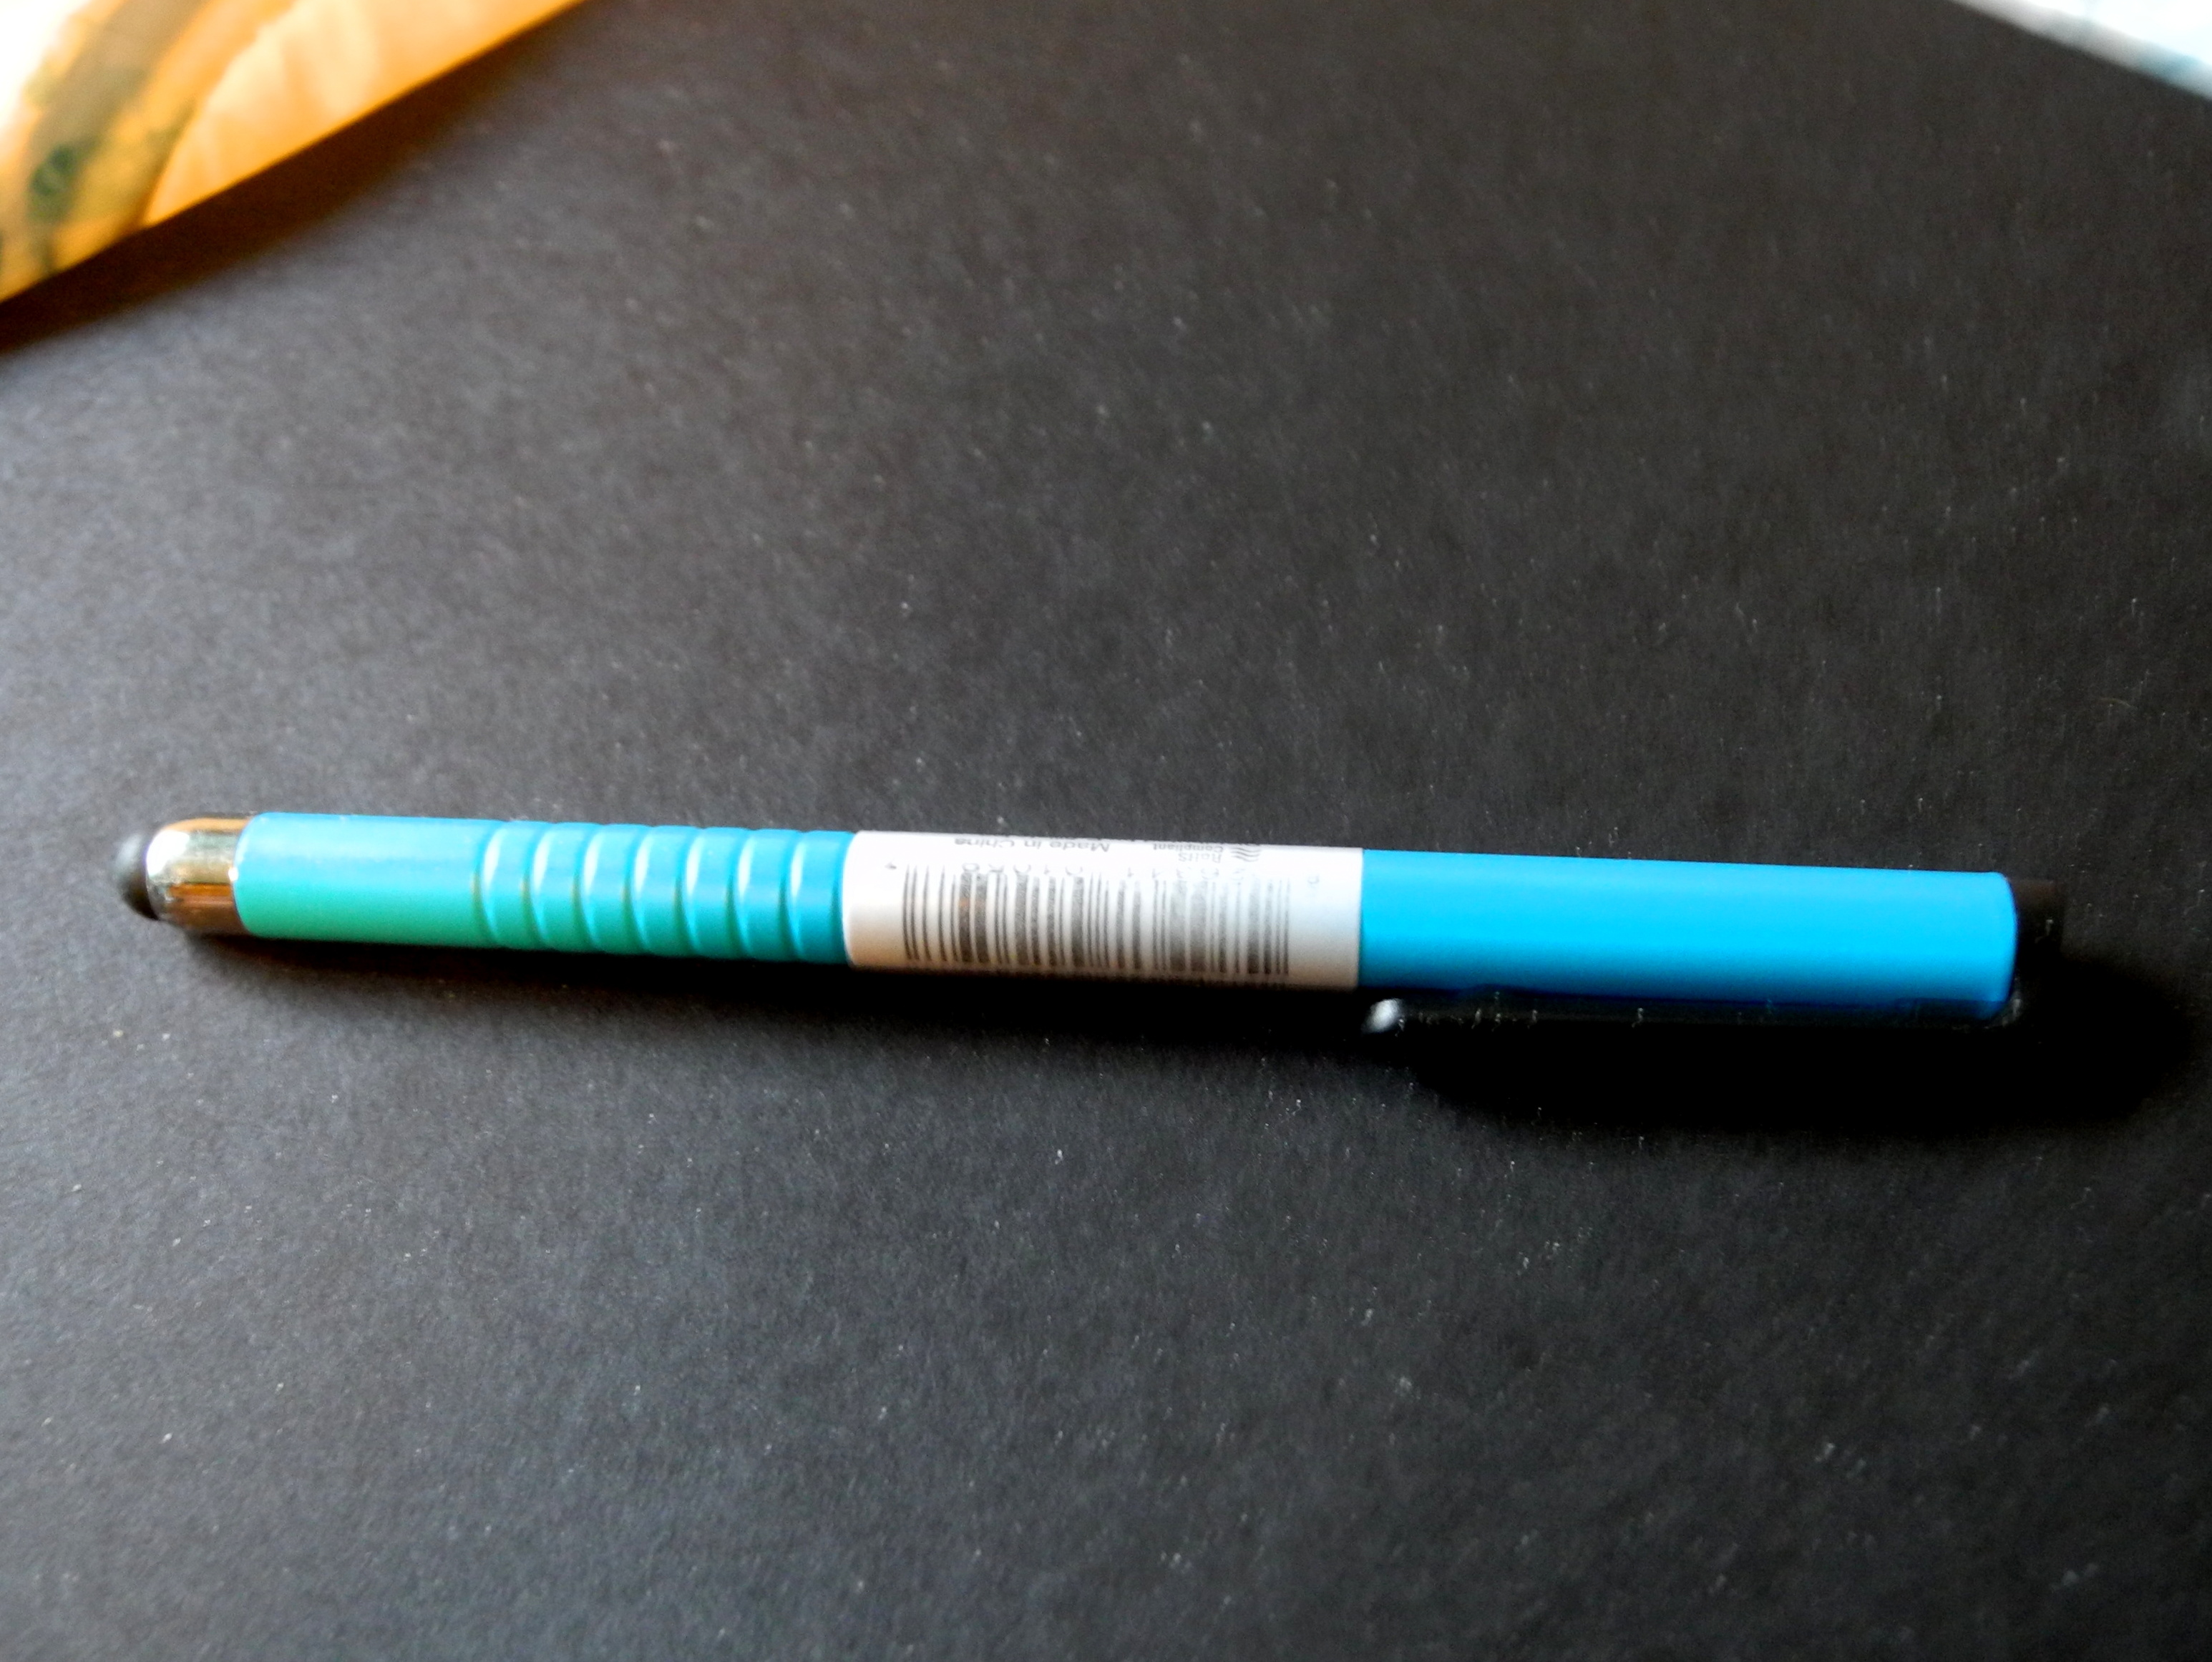
Seriously the hardest part was taking the bar-code sticker off.
So I decided to try to beautify it a little bit. All you need to do this is some rhinestones, or rhinestone stickers, and some glue. Also the little “rhinestone picker-uper” is useful if you use small rhinestones.
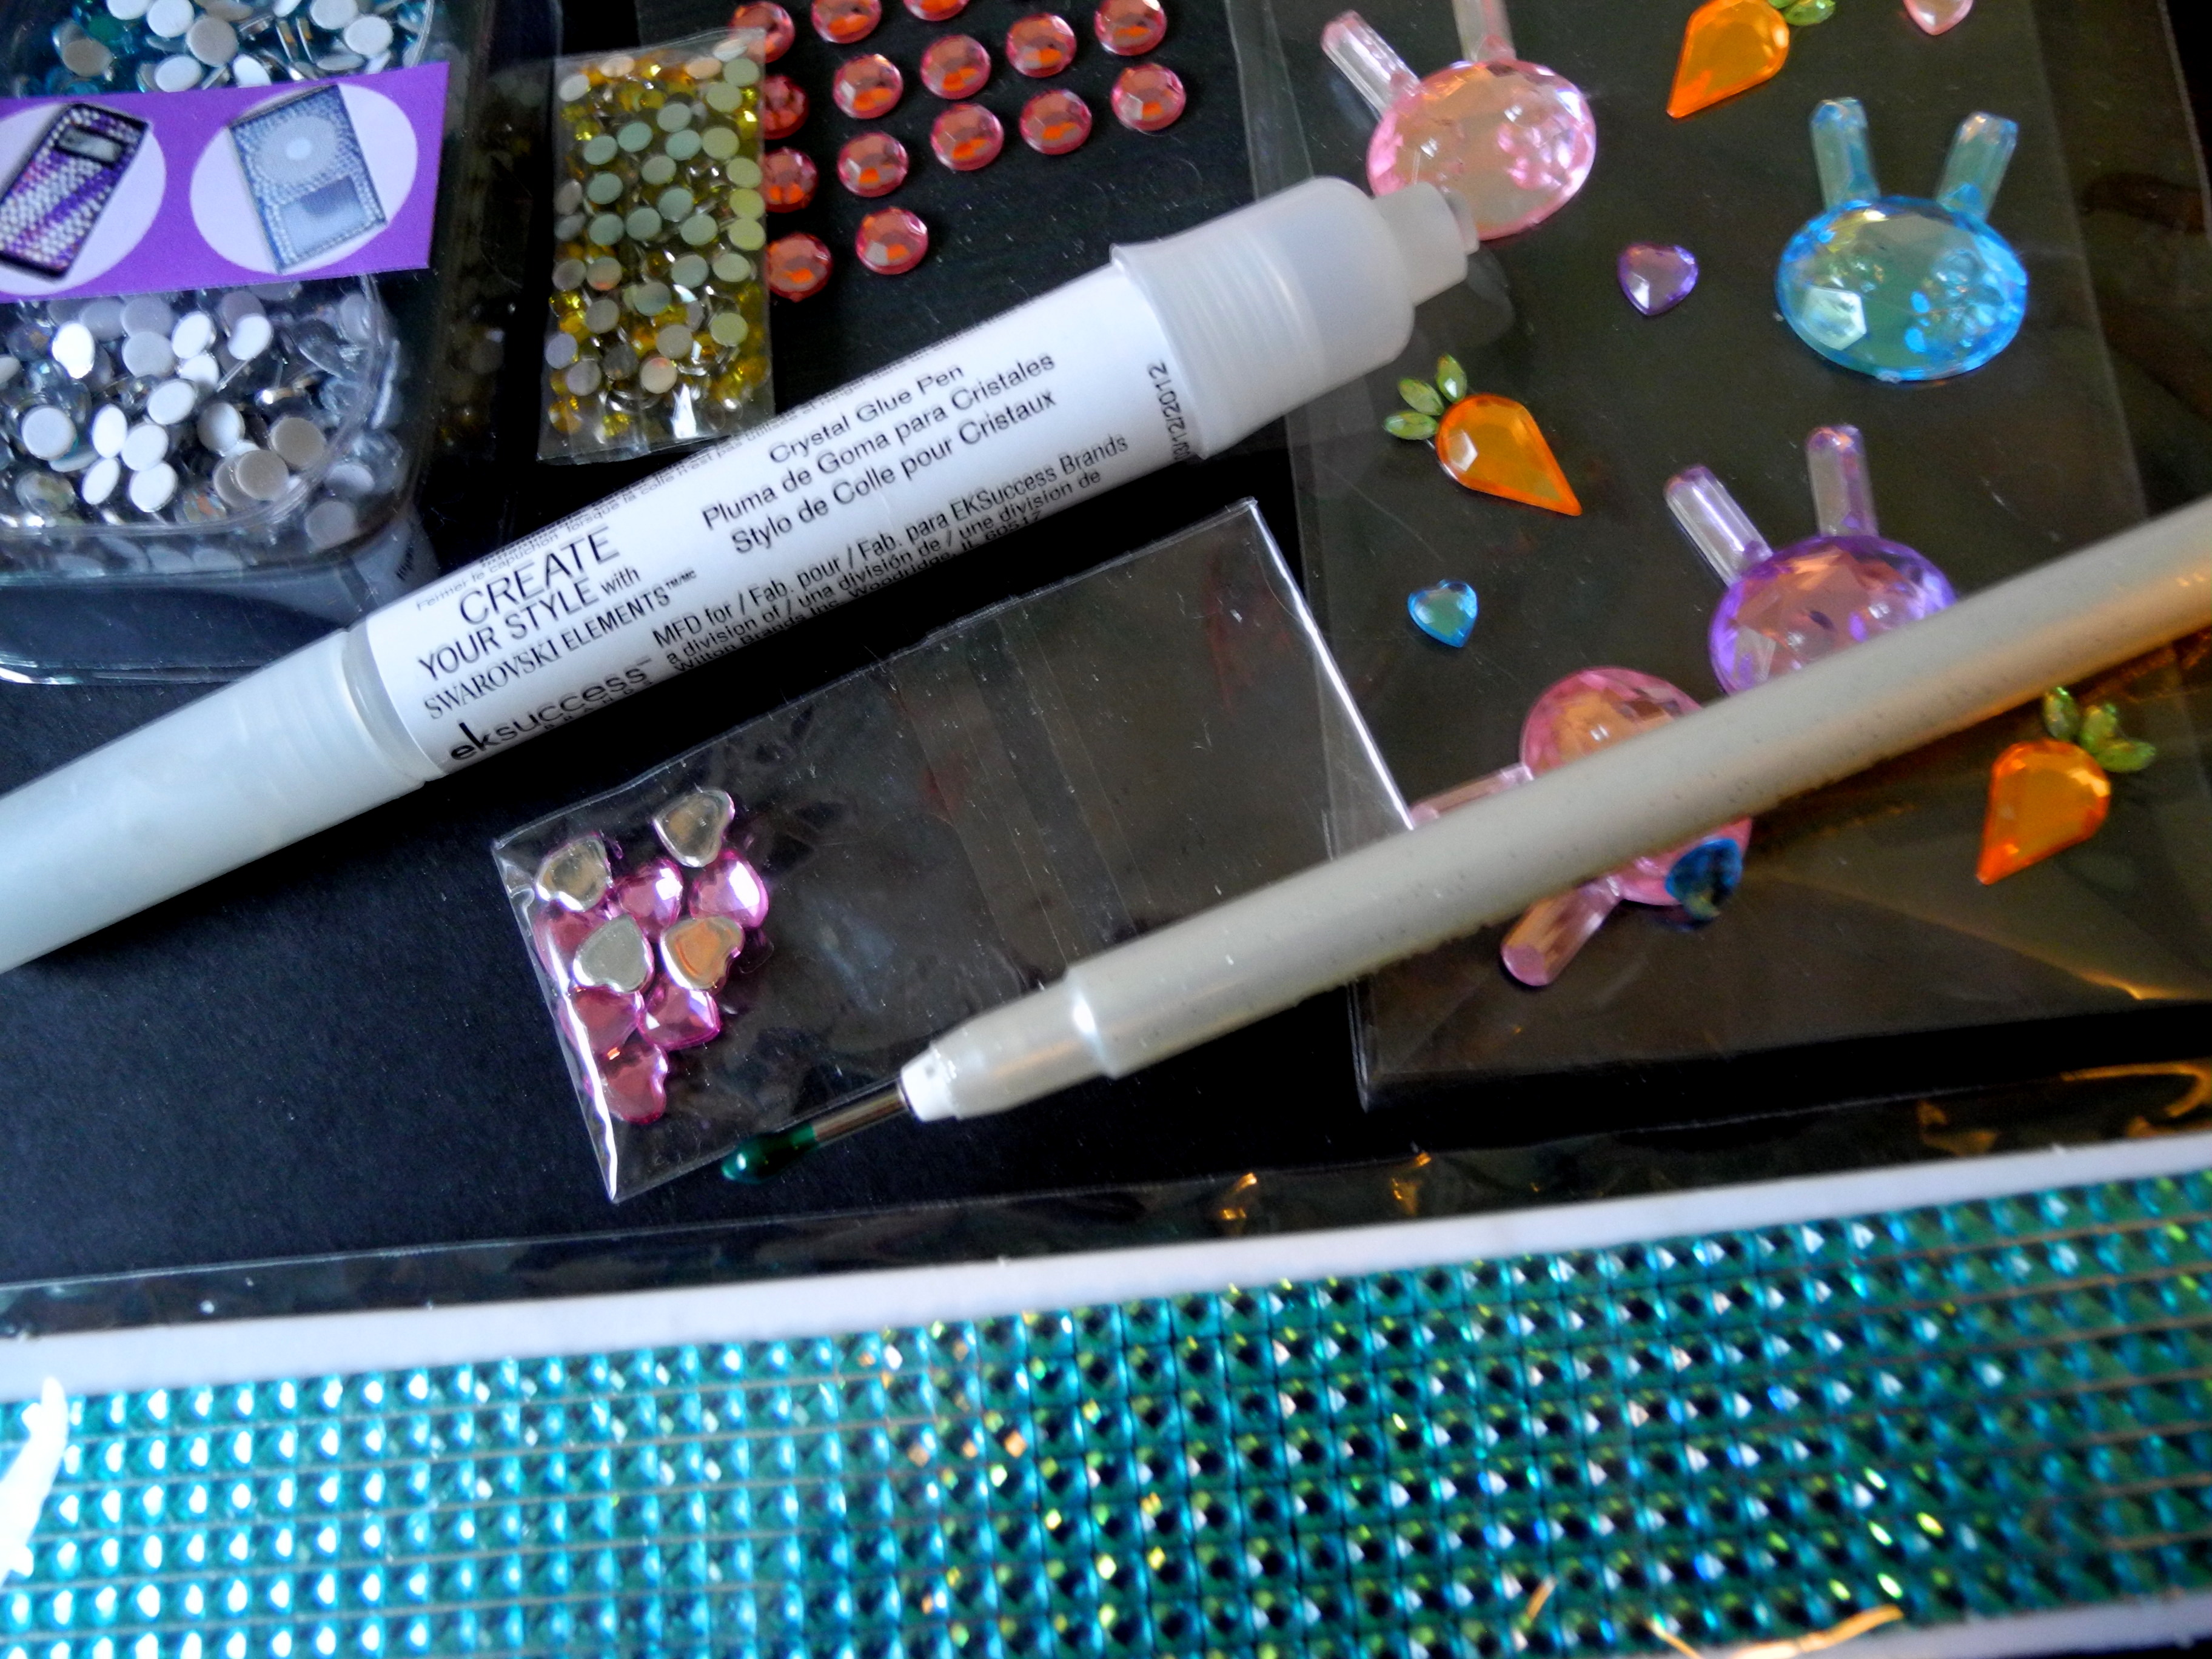
Obviously the bunnies are too big, but I used one of the little hearts from that set.
A few minutes later, and you have a slightly more cute stylus! Yay! If you have some tiny cabochons, you could also use those. I didn’t happen to have any that I felt were tiny enough.

I kept it simple, so that the rhinestones don’t bother my hand or get caught on stuff.
Yep… it doesn’t get much easier than that!
Hi All!

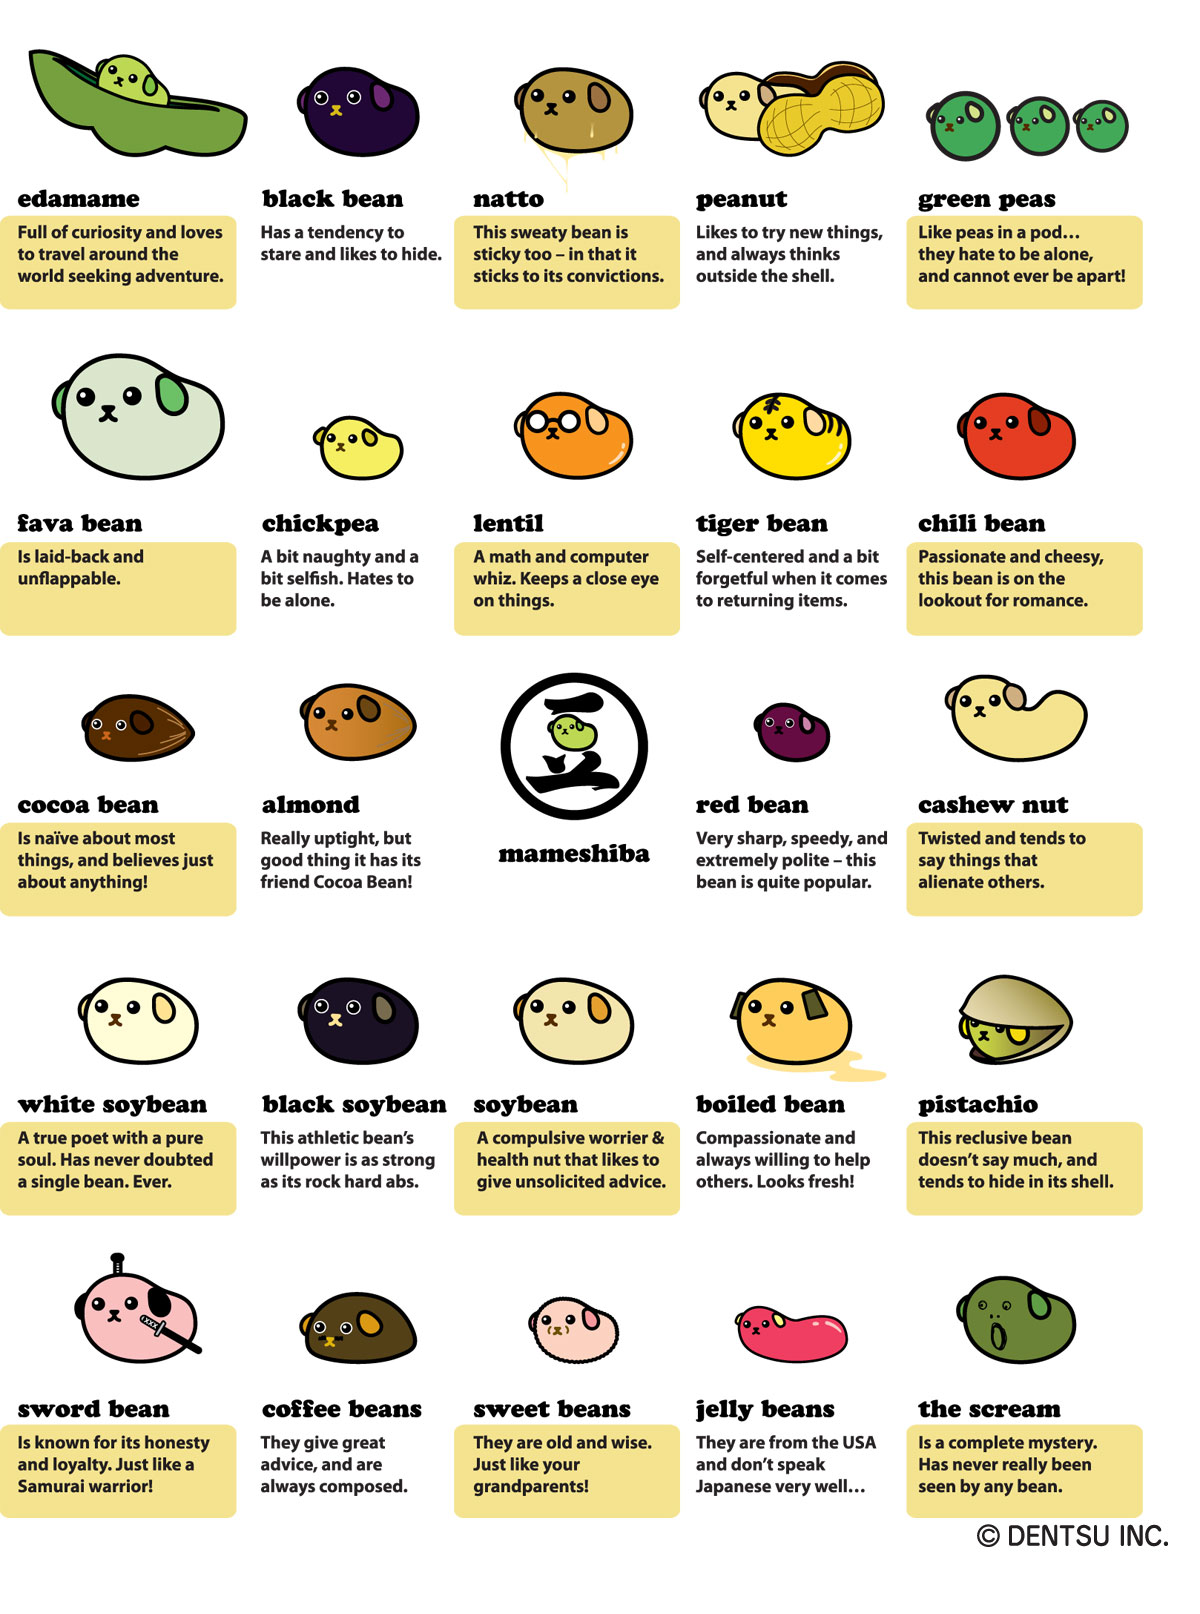
Have you seen Mameshiba? This is a cute bean dog character from Japan. Yes, its strange… but strangely cute! Actually, they have become very popular apparently. There is a series of short videos where the different mameshiba characters pop out of peoples foods and divulge “unsettling” facts (usually very random, although sometimes they actually fit the situation). Personally I don’t find the facts disgusting or whatever, as the people in the videos seem to, but maybe that’s a cultural difference, lol.
Here’s an example of one of the videos, you can find them all on the Mamaeshiba website or on YouTube.
Mamashiba merchandise is popular. Just search google to see some of the cute items you can get.
Hi All!
Today I was over at the mall because I was tutoring, and after my student and I split ways, I decided to go walk the mall. I did have at least one thing to buy in mind… that was some gummy candy at the candy store, so that I can make molds later this week. But along the way I saw Hot Topic. Now, the crazy thing is, I could have sworn that Hot Topic had already closed up and gone, like 5 months ago or more. I was going to go there sometime in November or December, but was surprised to see it had disappeared. And online the location at the mall is no longer listed…. So I don’t know if the store I went in to today was temporary or what…. Everything was Buy One Get One half off, mix and match. I saw a nice long dress with some skull lace, and decided to buy it. While looking through the My Little Pony display, I was really annoyed that the T-shirts were all lame and didn’t have any main characters on them (I would totally have gotten a Twilight Sparkle tee). But I did find this phone case… I decided to get it because I sort of like the wallet / phone case function…. Plus I think I had set myself on getting SOMETHING My Little Pony. (Later today I sort of had second thoughts… like, maybe I should have gotten that Jareth / David Bowie tee? – well I could go back….lol)
Anyway, check it out. $9 (originally 18.99) My Little Pony Phone Case/Wallet . The black background is actually the dress, but I don’t think you can see the skull lace.

Fluttershy is second best, behind Twilight Sparkle, IMO.
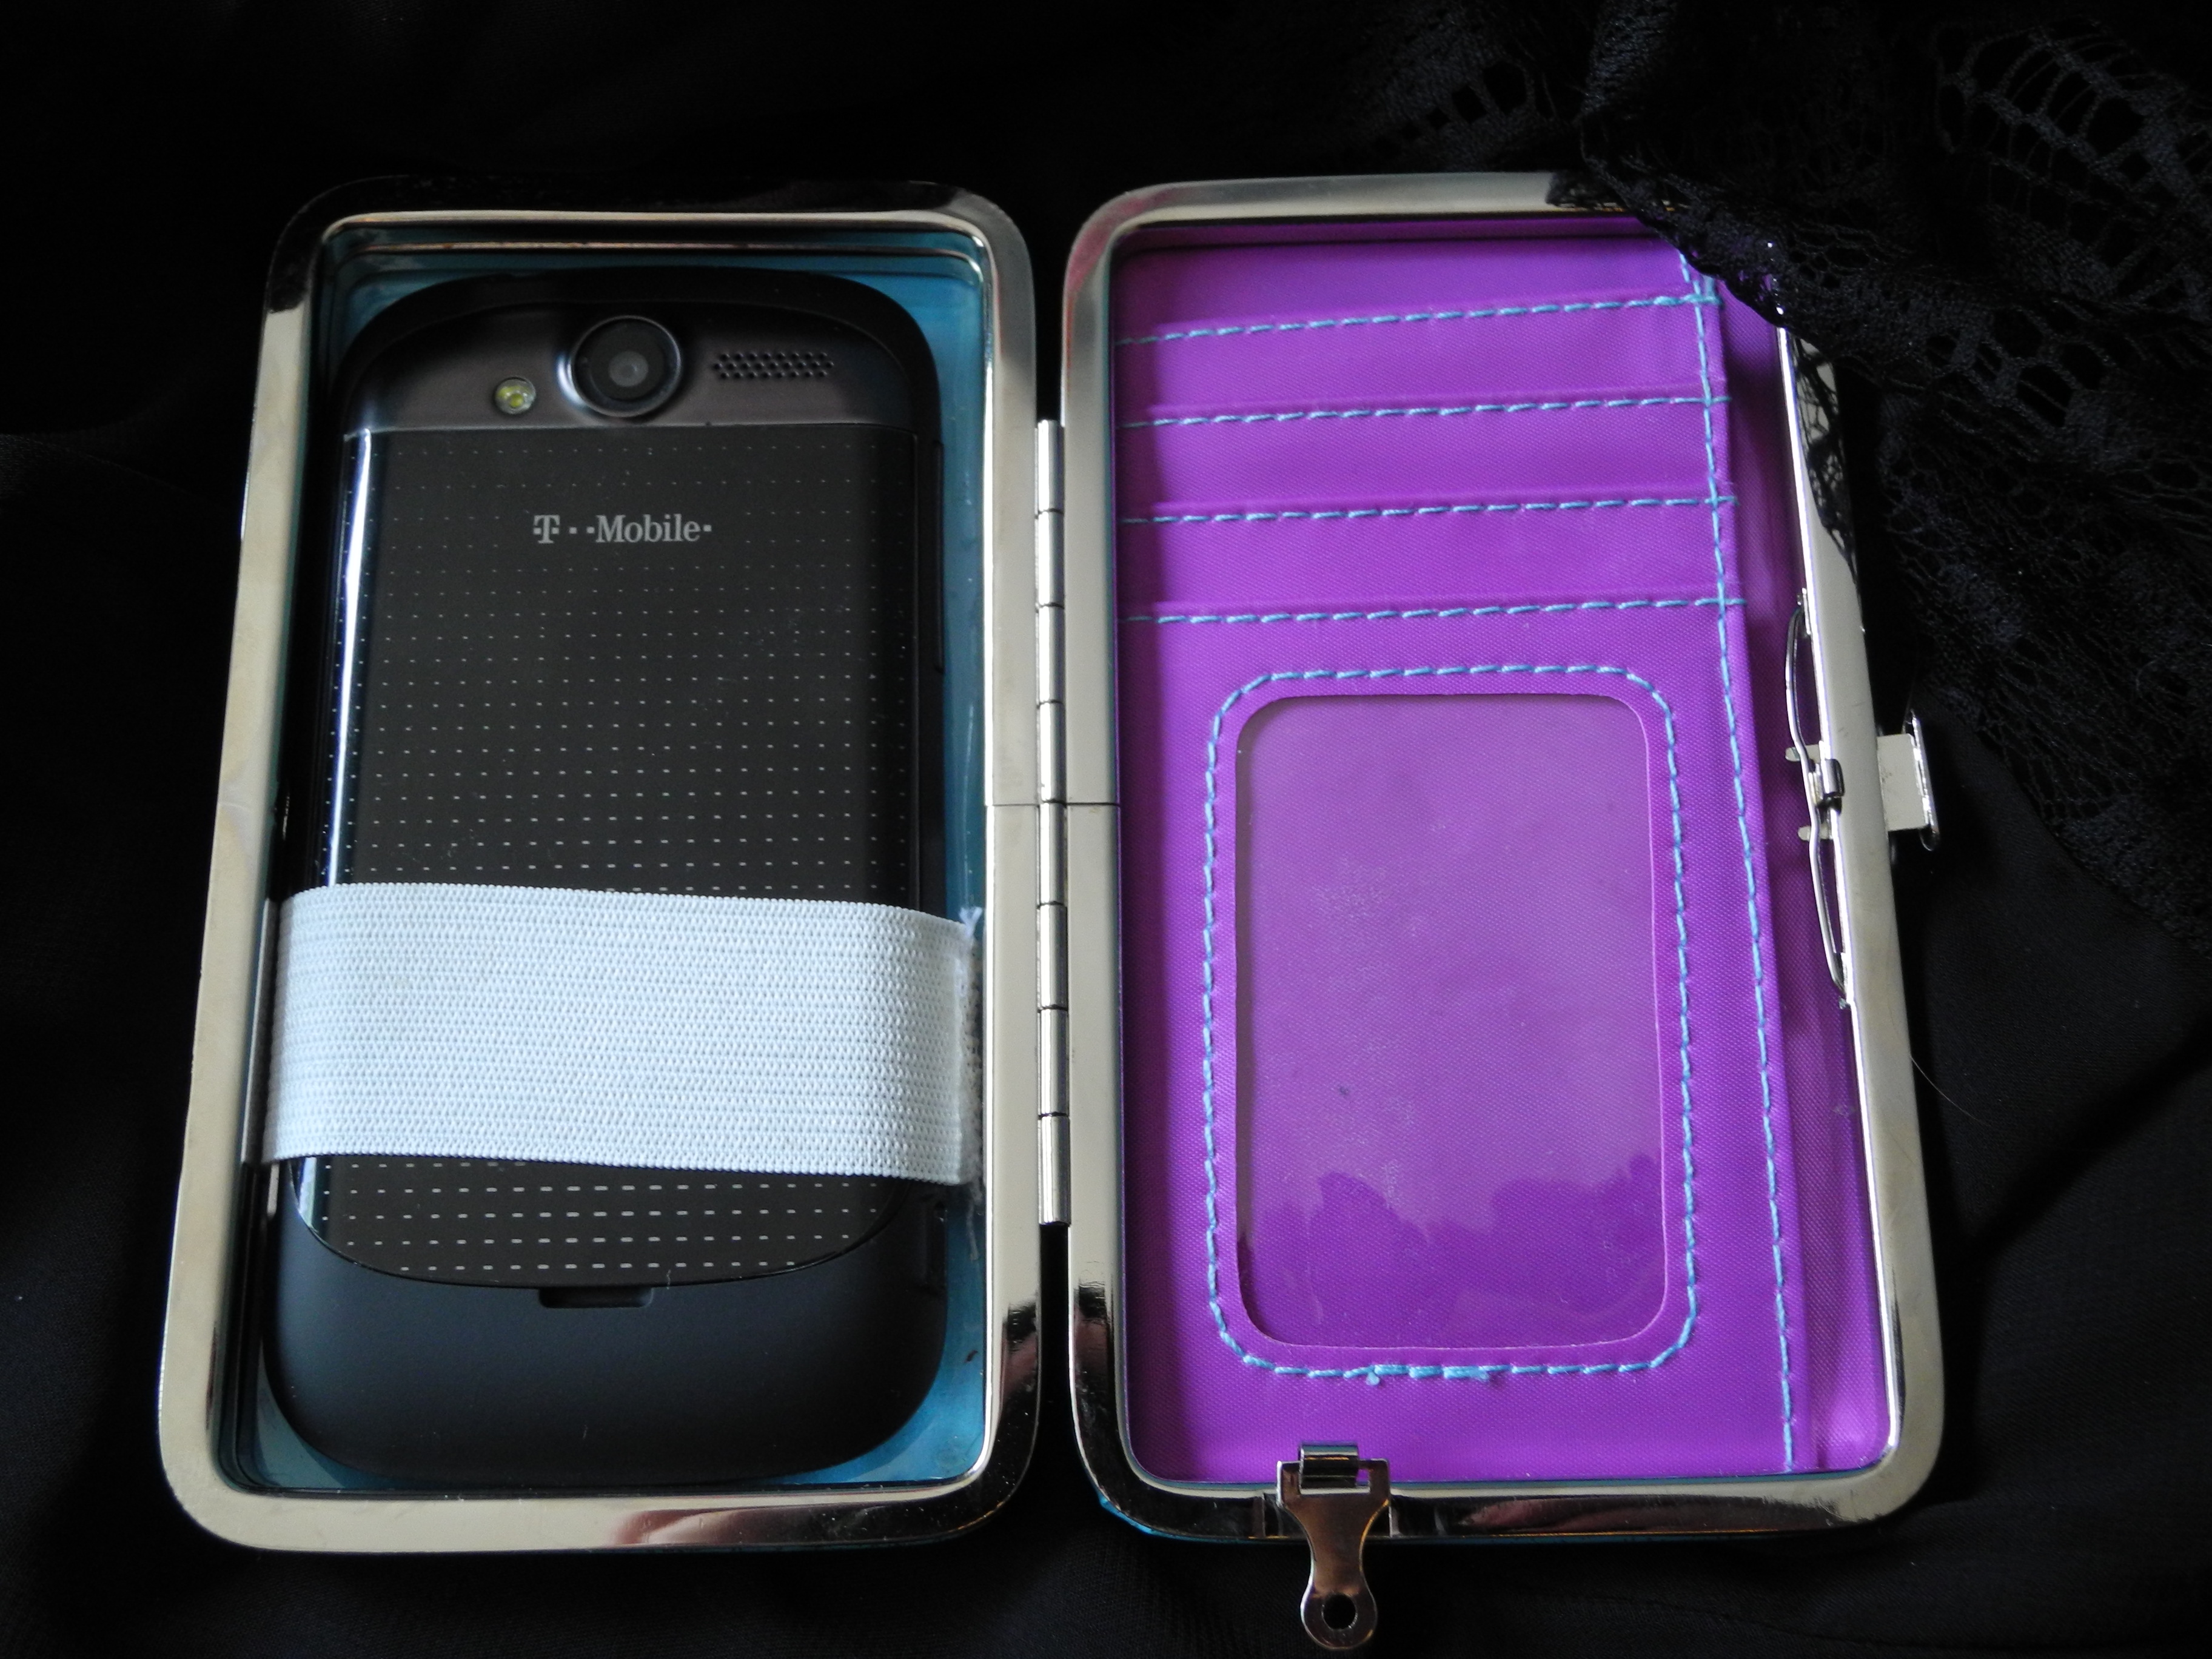
Inside, space for some cards and money
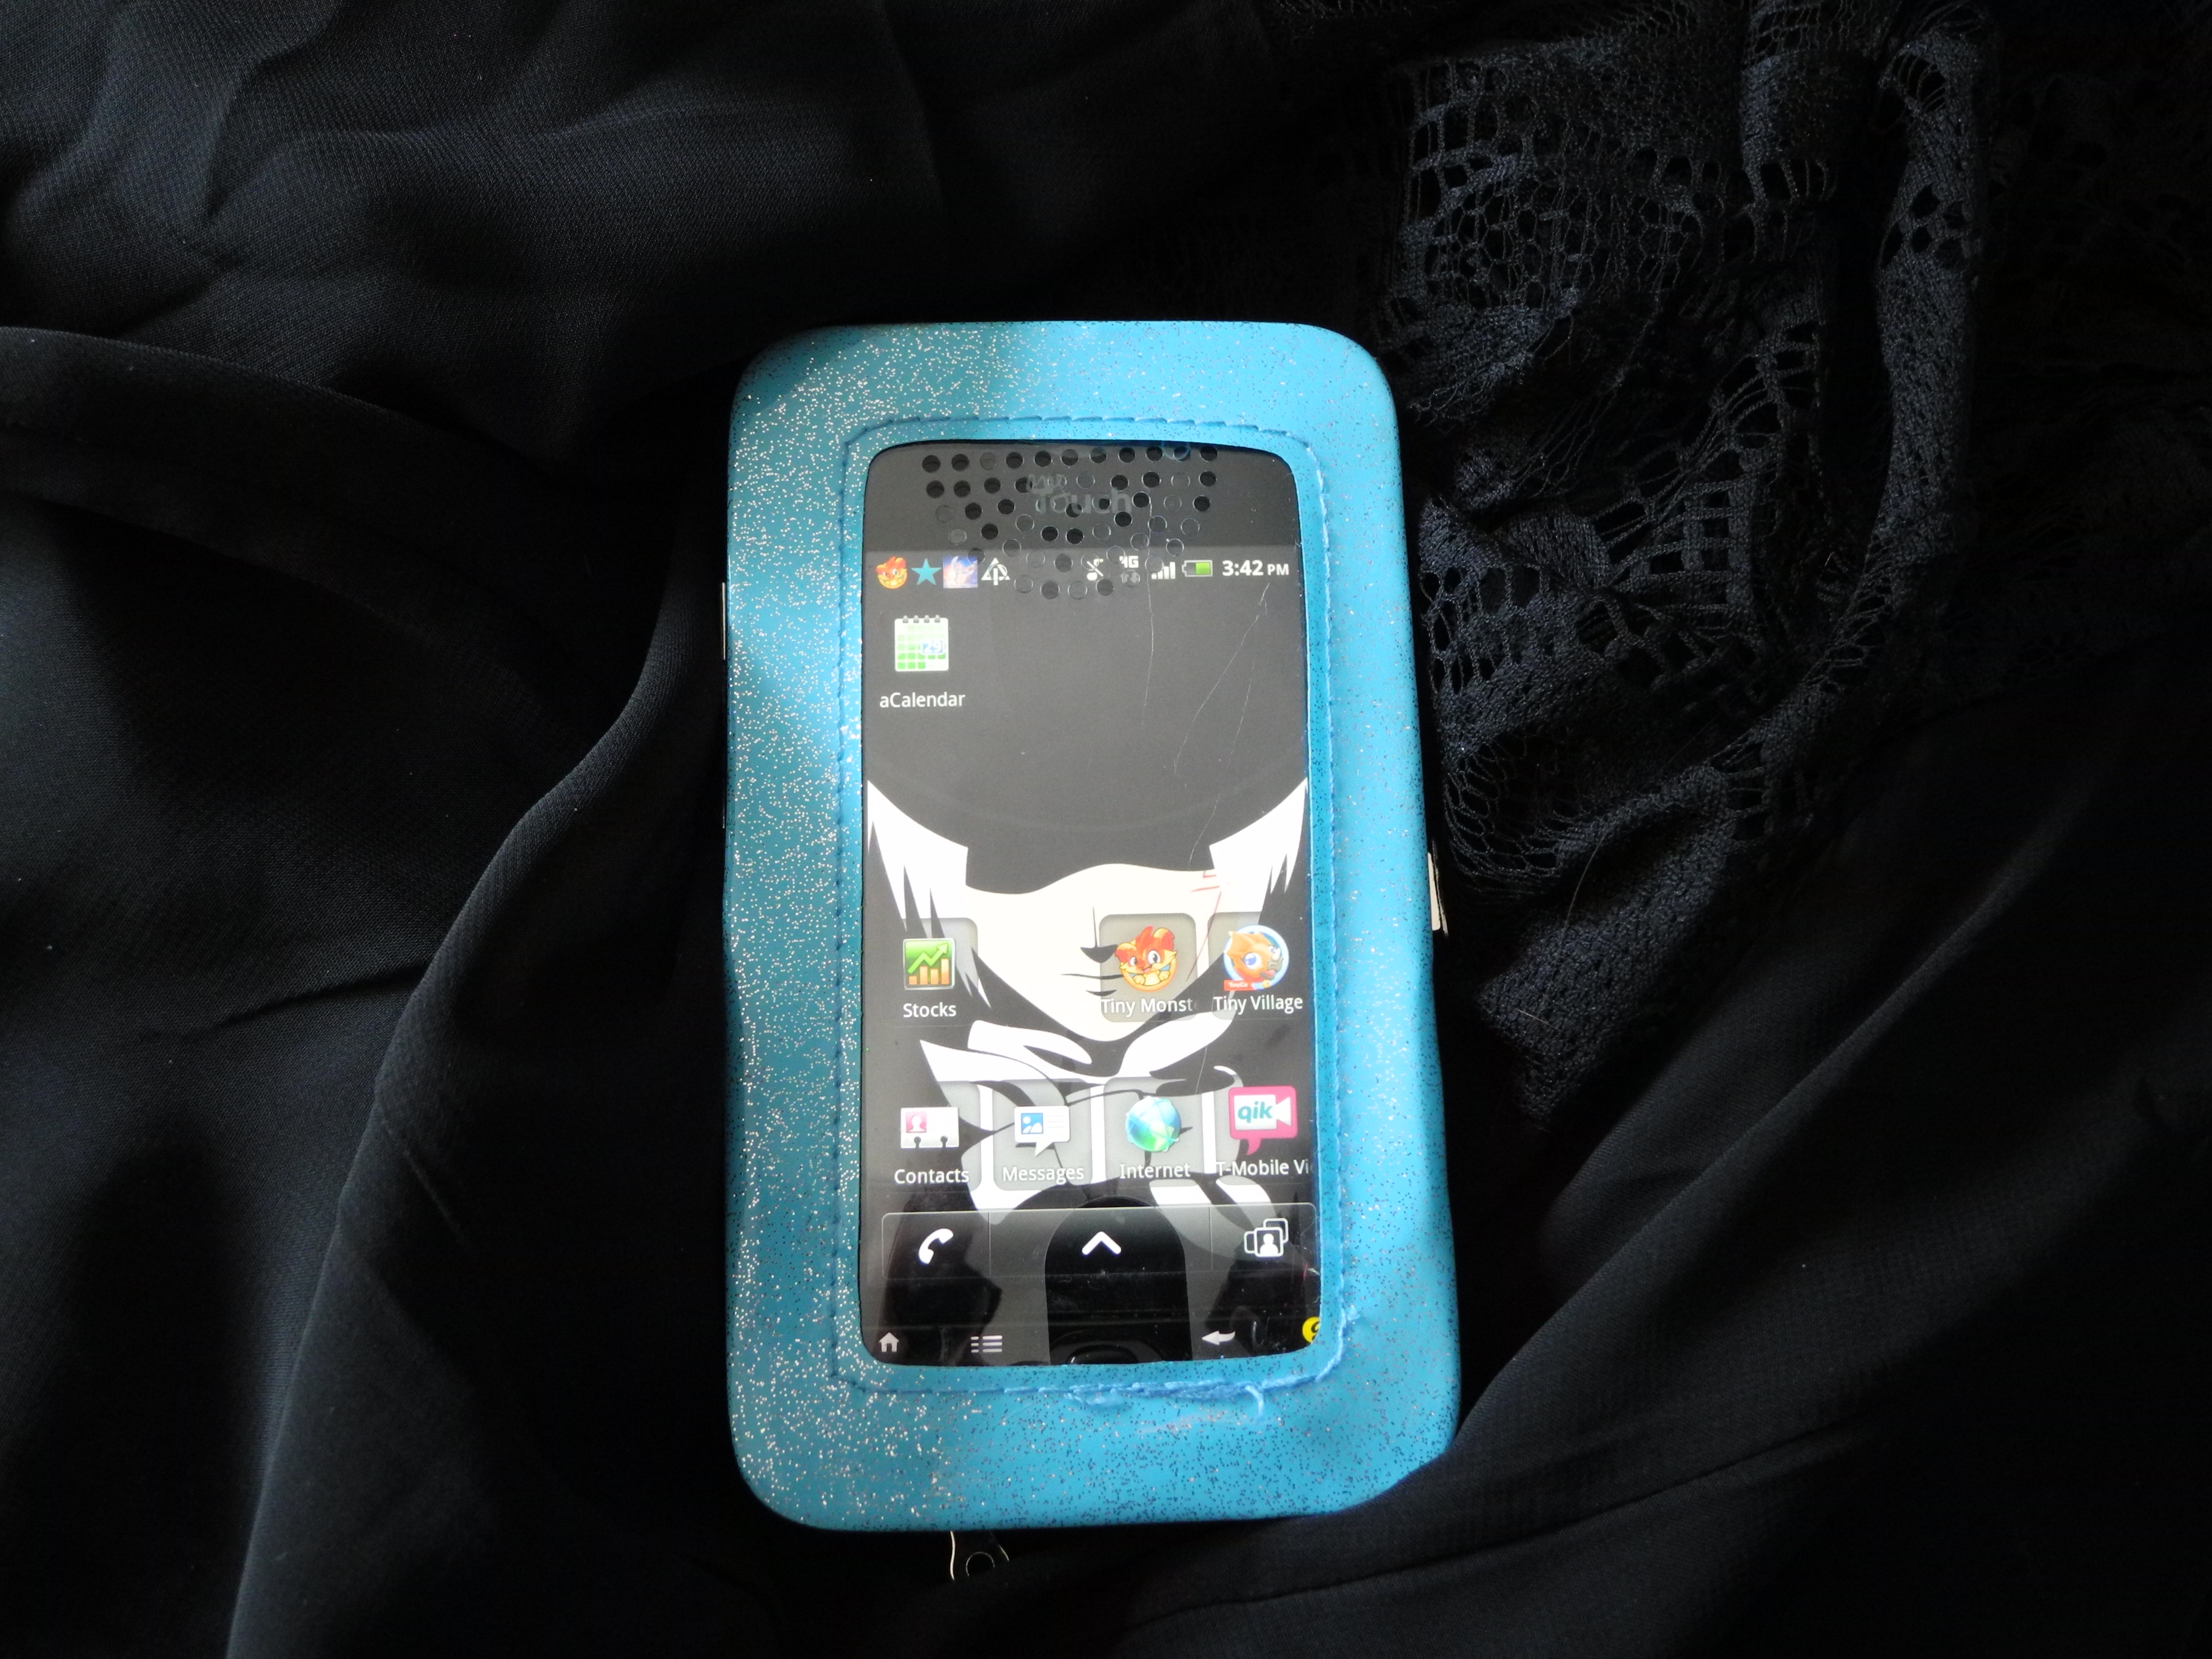
Front has protective plastic window with an opening on bottom for a button (or camera?) and then speaker holes at the top. I couldn’t decide which way the phone was meant to go in, lol. And yeah, Alan Walker from D-Grayman is my wallpaper! 😛

It came with a detachable wrist-let strap.
Today I am going to show you why you don’t ever need to buy premade cord necklaces for you pendants! Seriously people, premade ones are a rip off, and if you are selling your item, they cut into your profit margin significantly! Making satin cord necklaces (or cotton cord or leather cord ones, for that matter), is really very easy and only takes a few ingredients!

From top to bottom: Rattail (nylon), Mousetail (Rayon), Bugtail (Rayon).
Before getting into the tutorial, lets talk satin cord for a minute. This is my cord of choice. I typically prefer it over cotton and leather because it is much more flexible and therefore drapes better. Its even better than chain or ball chain in many cases, but of course this depends on the overall look you are going for.
There are two types of satin cord: Rayon and Nylon/Polyester. Rayon is a bit softer and the type that I prefer. You cannot heat seal rayon, because its mostly natural fiber, but you can use clear nail polish on the ends to keep it from fraying (Or glue, or that “no fray” stuff). Nylon/Polyester cord has a slightly stiffer body, can be heat sealed, and is the type you’ll find at Hobby Lobby in the ribbon section. Both Rayon and Nylon/Polyester Satin cord comes in a variety of colors, and in 3 sizes: Bugtail (1-1.4mm, also called “Petite #0”), Mousetail (1.5 -1.9mm, also called “Lightweight #1”), and Rattail (2mm also called “Heavyweight #2).
Check out The Satin Cord Store to buy either rayon or nylon satin cord by the yard, in 10 yard coils, or 70-yard rolls. You can also get it from Firemountain Gems – I believe theirs is nylon – in all three sized & many colors. Hobby Lobby only carries the heavyweight nylon satin cord, but its only $1.99 (or less if you go when its on sale), for 24ft (8 yards), and they have a decent variety of colors.
The rest of the supplies for this tutorial can be bought from your favorite jewelry supply store – In my case, Beadaholique, but Hobby Lobby or Michaels may also have what you need.
Okay… lets gather our materials, to make a satin cord necklace you will need:

I apologize… the lighting only gets worse from here.
To start, cut the Bugtail cord to the length you desire. Remember 18″ is usually the shortest length for these pendant necklaces. I actually prefer 21″… Obviously you can choose the length you prefer. We will be adding a 2″ extended chain, so remember to add that in when calculating the total possible length of the finished necklace.

When putting the glue on the cord, and inserting into coil, try to avoid the end of the coil on the left side of this picture.
Seal the ends of the cord. Use glue or nail polish or “no fray” if you are using Rayon cord. Use a lighter, candle, or heat tool if you are using nylon cord. A light touch is best for this step, especially with the glue or nail polish – too much and it’ll wick into the cord and discolor it.
Apply a small amount of E6000 to one of the ends of the cord. The slip the cord into the coil end. Push it all the way in. Clean up any excess glue on the cord.
Do the same with the other end of the cord. Allow the ends to complete dry… I usually leave them for about an hour or so just for good measure.
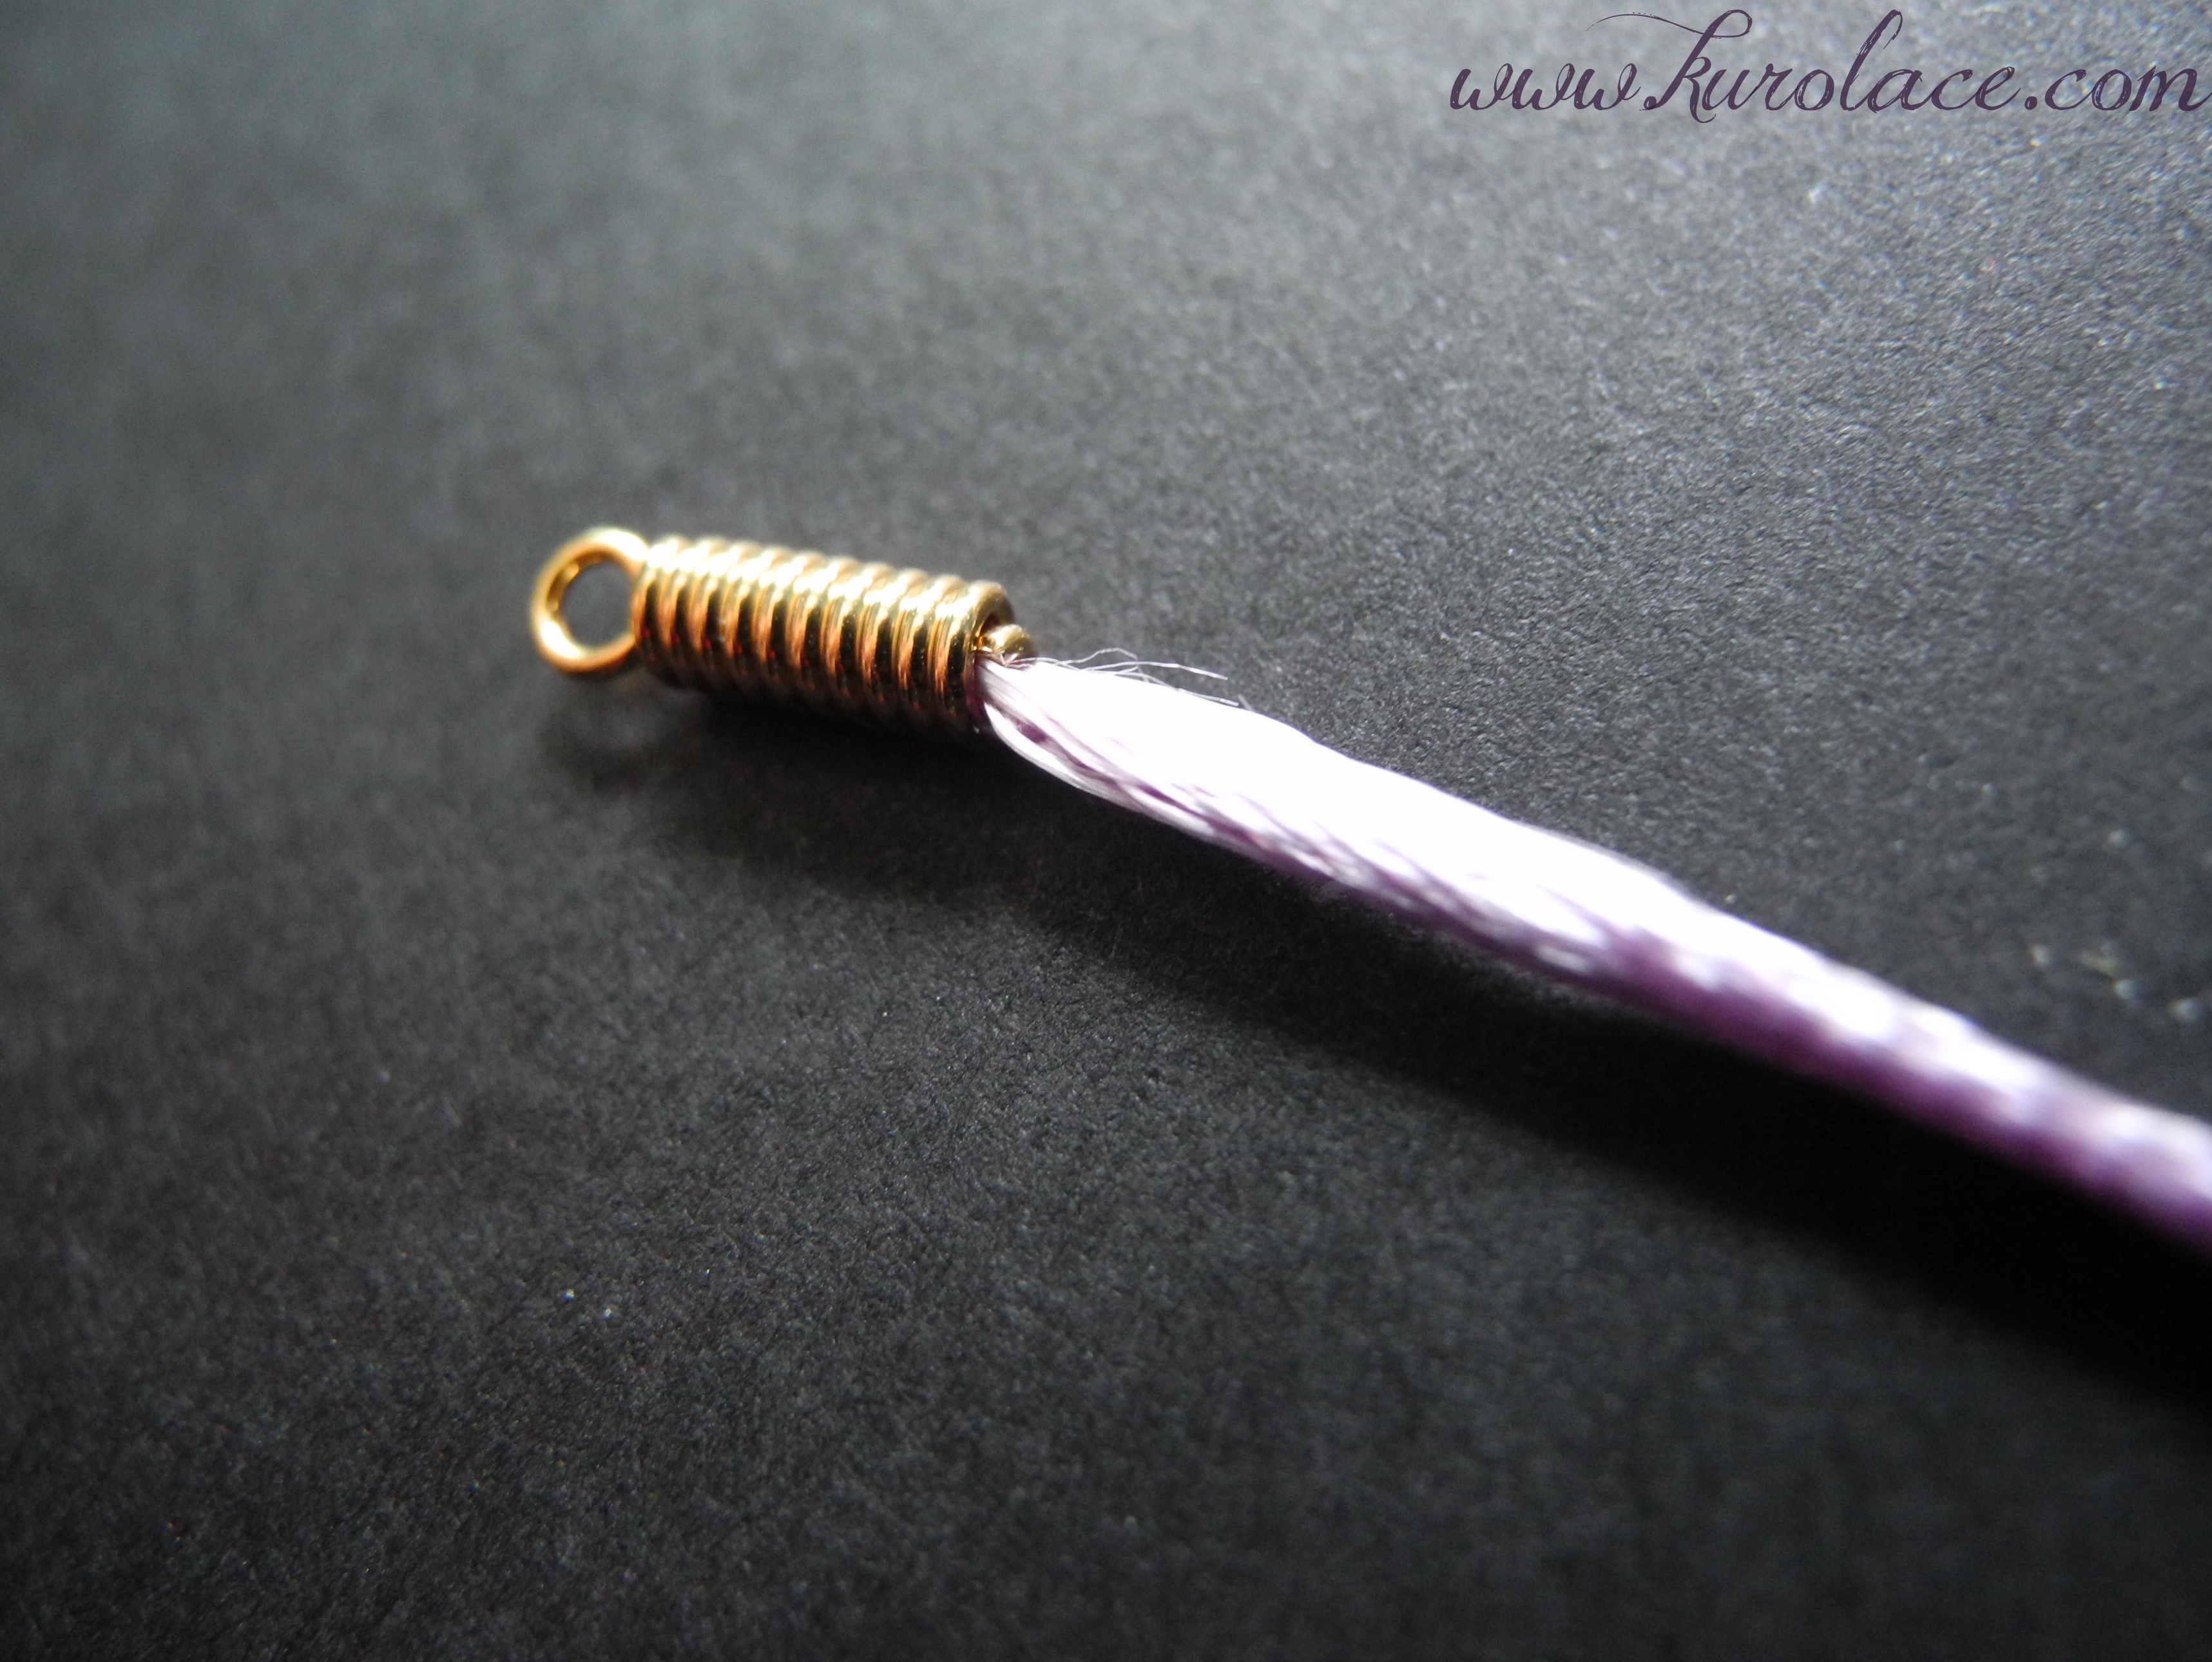
See where the coil wire end has been clamped down?
Take your pliers and clamp down the end of the coil onto the cord. I try to avoid splitting
the cord, and I try to keep the cord centered in the coil…. but it doesn’t always come out perfectly. Don’t worry too much about that. Its only crazy nit picky people like me who notice!

Add jump rings, then extender chain and lobster clasp
Put a jump ring on each end. The add a lobster clasp to one end, and the extender chain to the other end.
Voila! You have a nice satin cord necklace for your pendant! Make a whole bunch at one time, in a few colors, so that you have them on hand to add finished pendants to later!

In case your wondering, this cord is actually “lavender” you just can’t see it due to the glare.
That’s right! Hot Glue isn’t just for fake sauces…. you can use it to make faux chocolate / candy cabochons for your decoden project! Its super easy and fast! And you only need a few supplies for it.

Glue sticks, molds, and glue gun
Here’s the list:
You do need to make sure you are using a mold which can tolerate high temperatures. I think most silicon molds are good up to 400F. If it can be baked in the over, its probably okay.
There are two methods for doing this. The fastest way is to use the glue gun w/ glue stick to fill the mold. This works well with simple (smoother) shapes, especially if you are using a low temperature glue gun (the glue may start to cool before it can fill all the tiny details of a complicated mold).
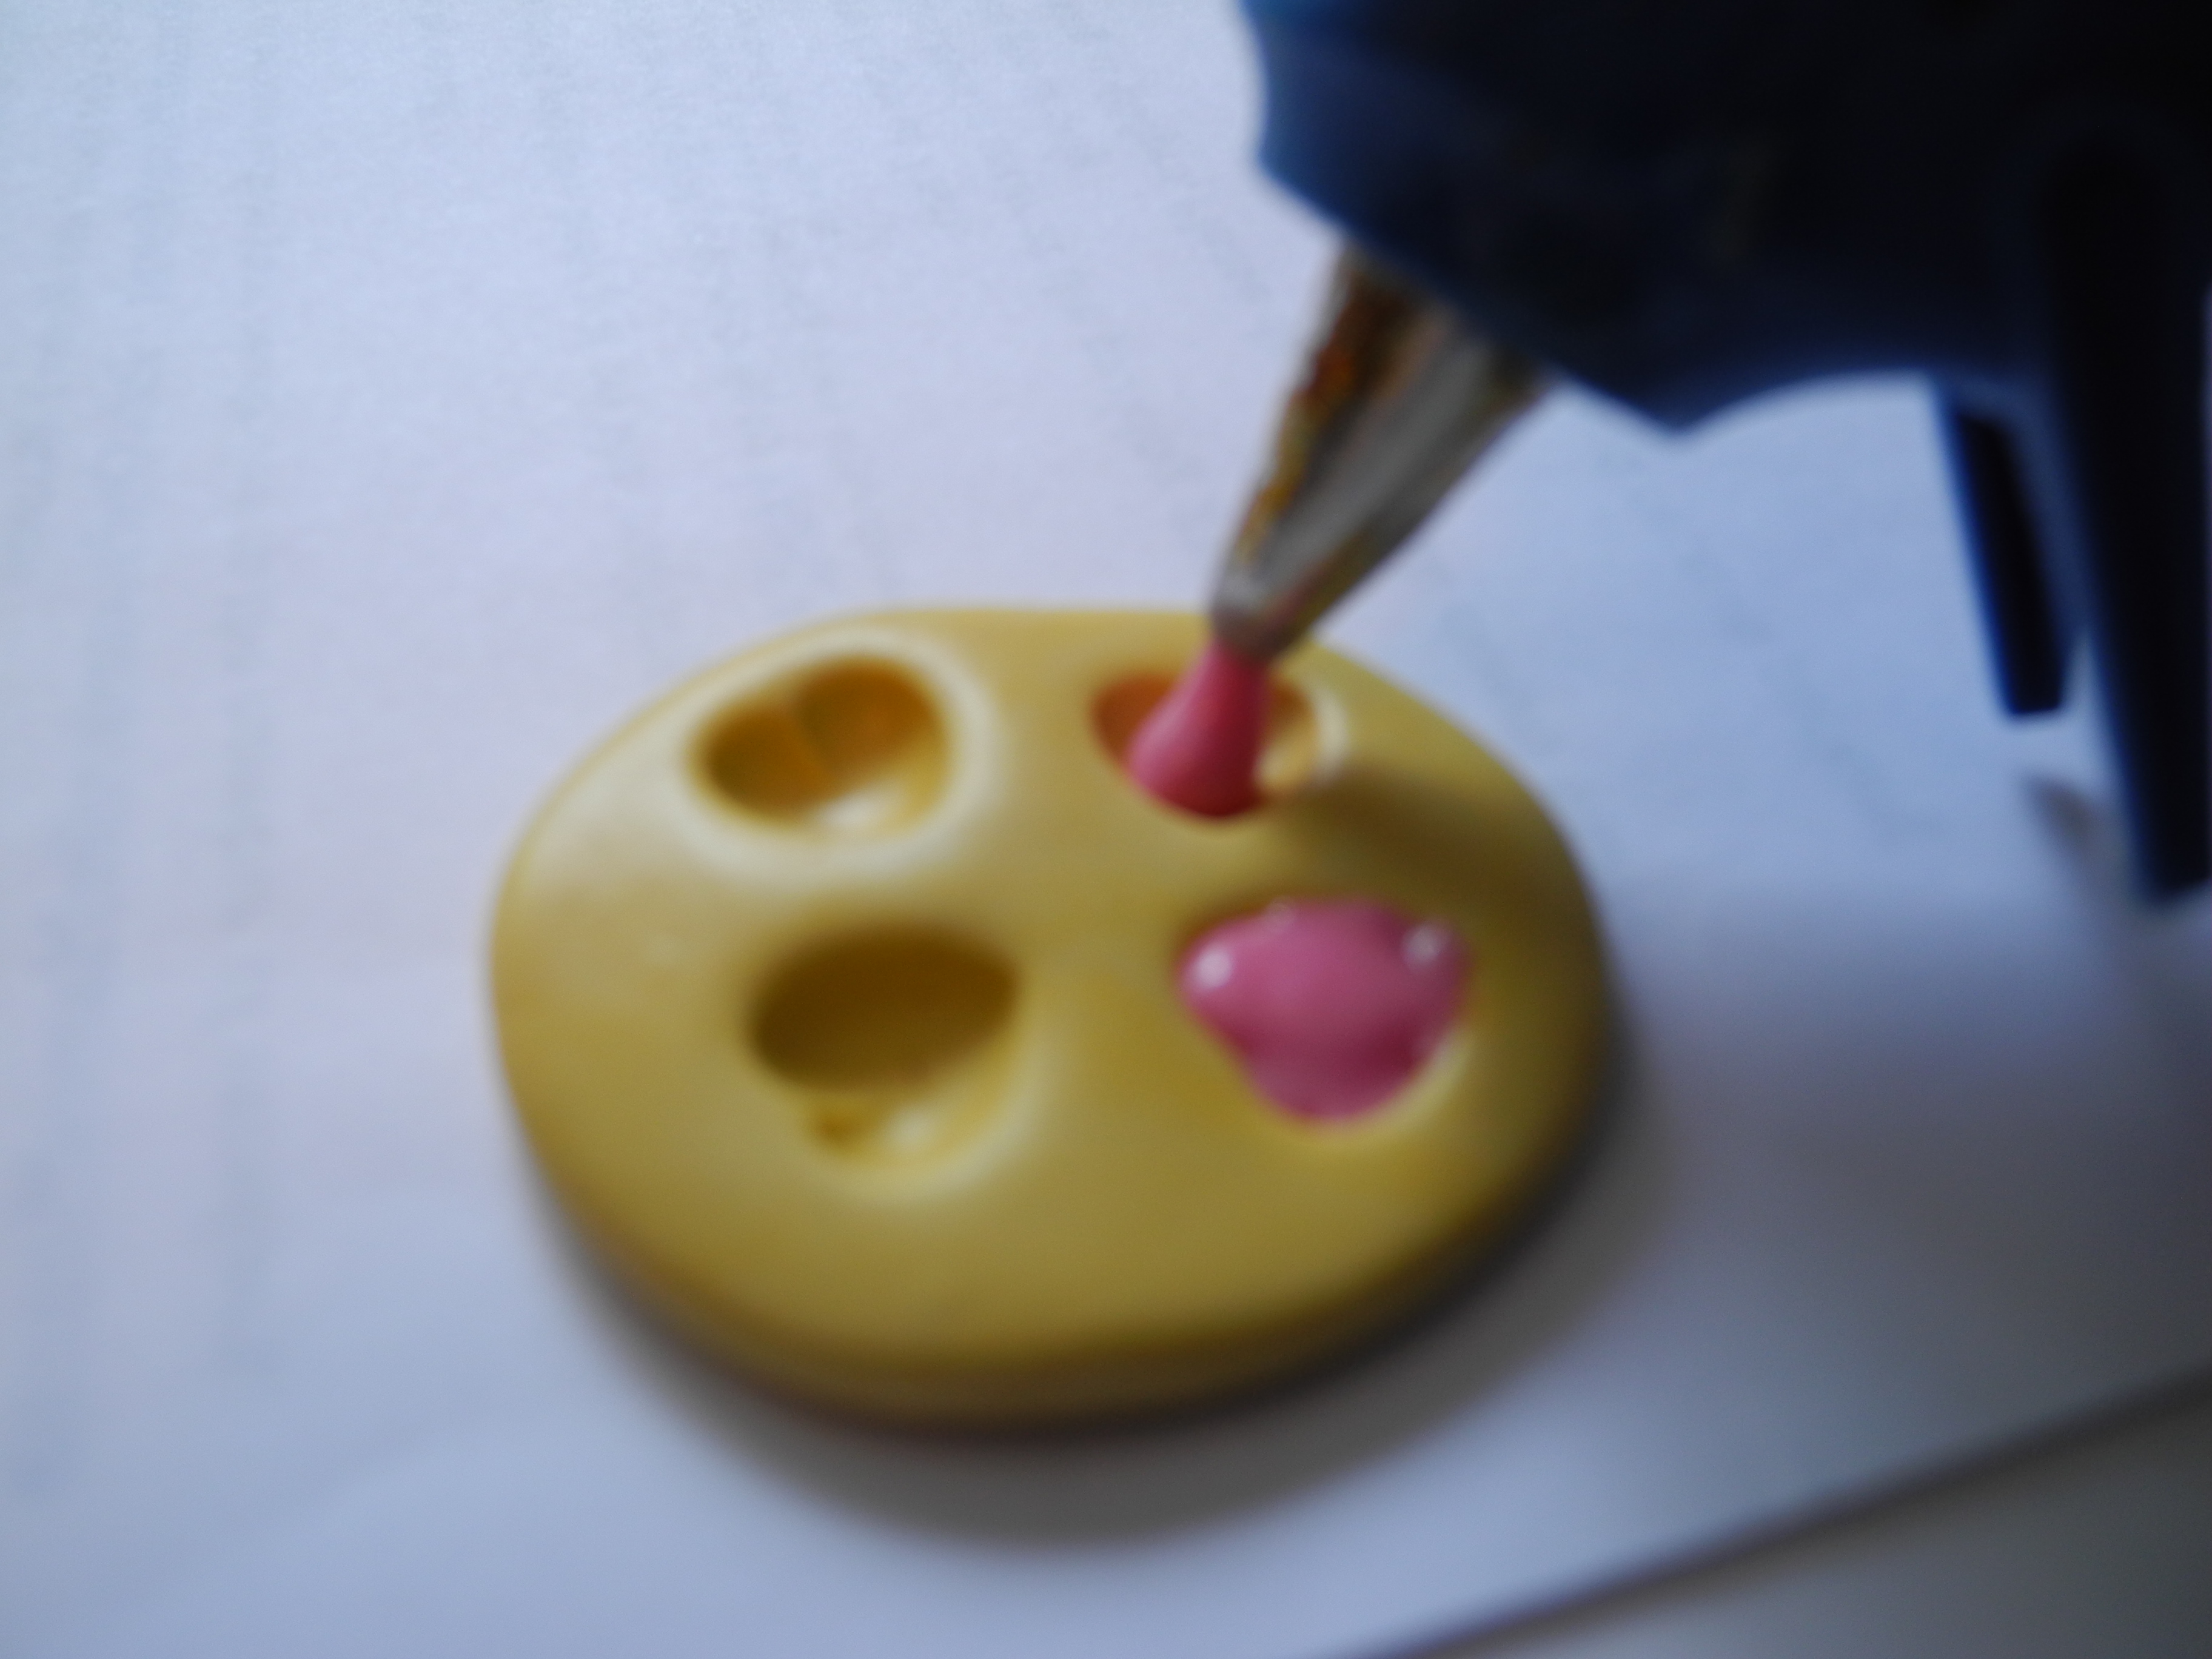
I have yet to master the skill of holding the camera in one hand, and working with the other hand.
The other way is to cut the glue stick into tiny pieces, fill the mold, and then place it in the oven. The Oven method can be used with more complicated shapes since the glue has more time to spread out. Set your oven to about 350F. Bake the mold with glue in it until the glue has completely melted and spread out in the mold.
Let the glue and mold cool completely, then pop the finished item out! If the glue overflowed anywhere, you can use a craft knife to trim it off.
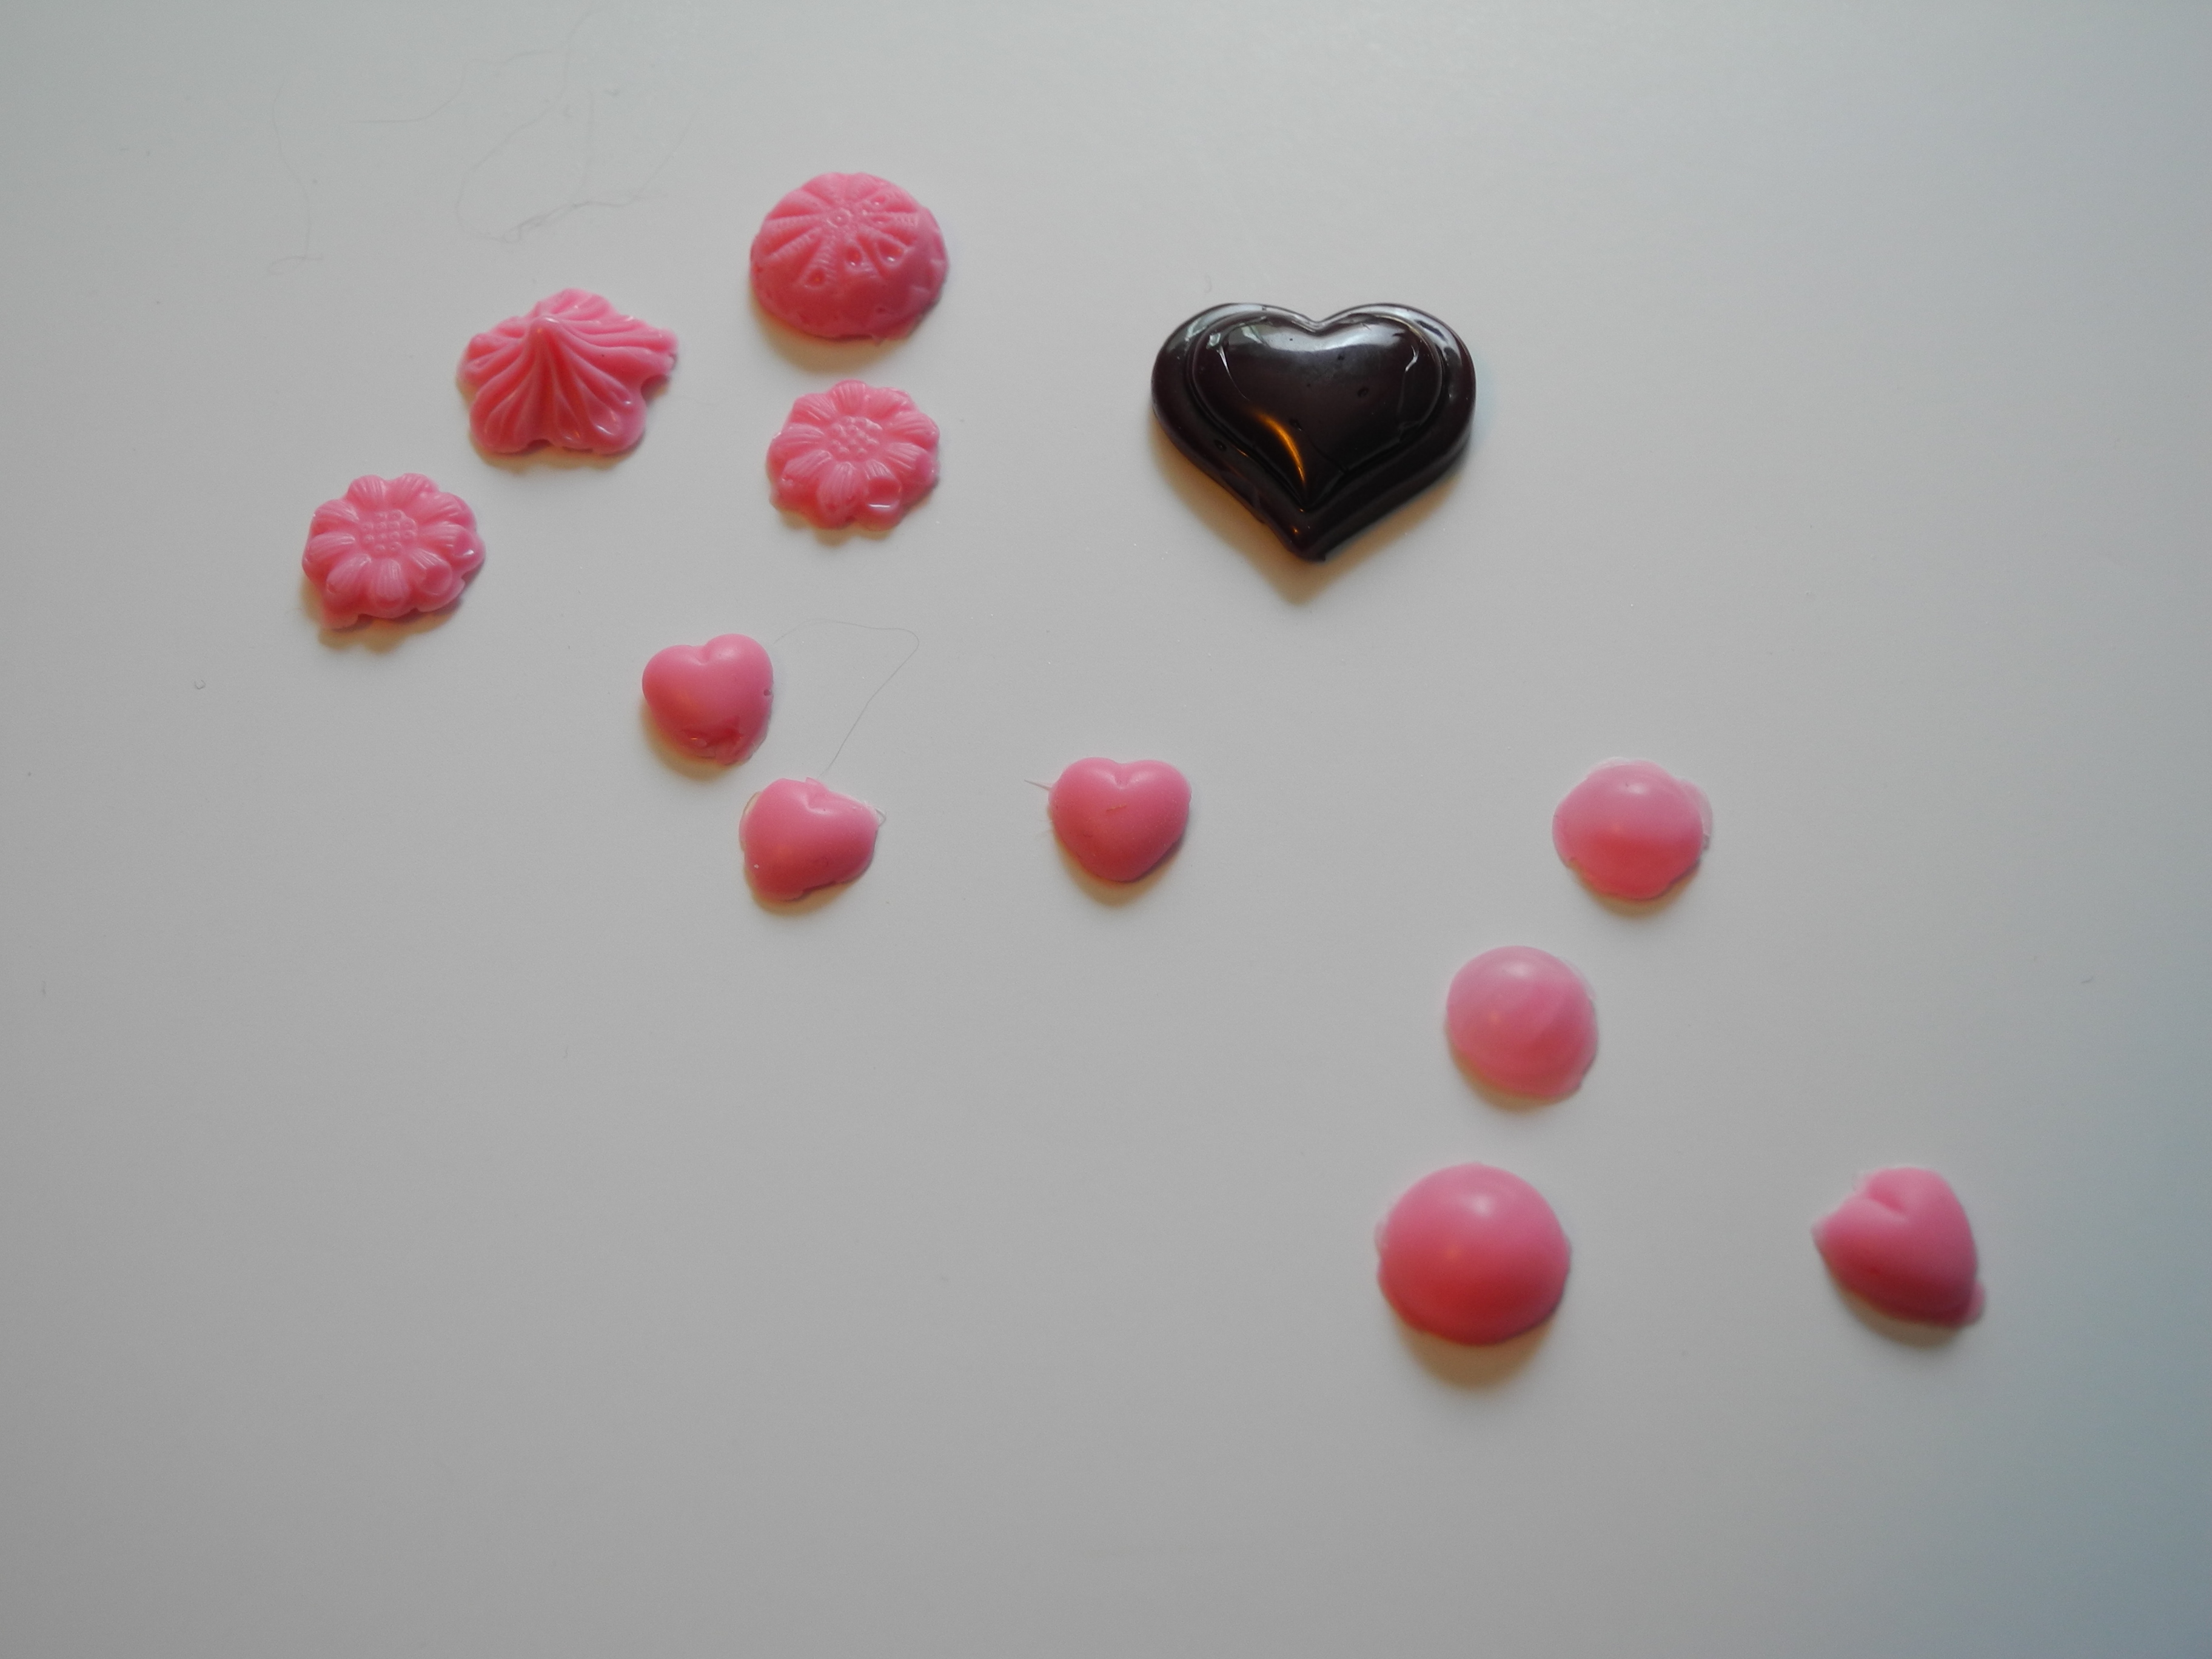
I used a low temp glue gun, which is why there are so many imperfections. That’s okay, because I can always cut them up and melt them via oven.

I had to change glue sticks half way through this, but otherwise it looks very much like a chocolate!
An optional step is to paint some glitter nail polish on the finished piece to add some sparkle.
